Difference between revisions of "Jazwares 4 Inch Fortnite Harvest Tools Master Checklist"
Jump to navigation
Jump to search
Thearchivist (talk | contribs) |
Thearchivist (talk | contribs) |
||
| (16 intermediate revisions by the same user not shown) | |||
| Line 63: | Line 63: | ||
{| class="wikitable" style="display: inline-table;" | {| class="wikitable" style="display: inline-table;" | ||
|- | |- | ||
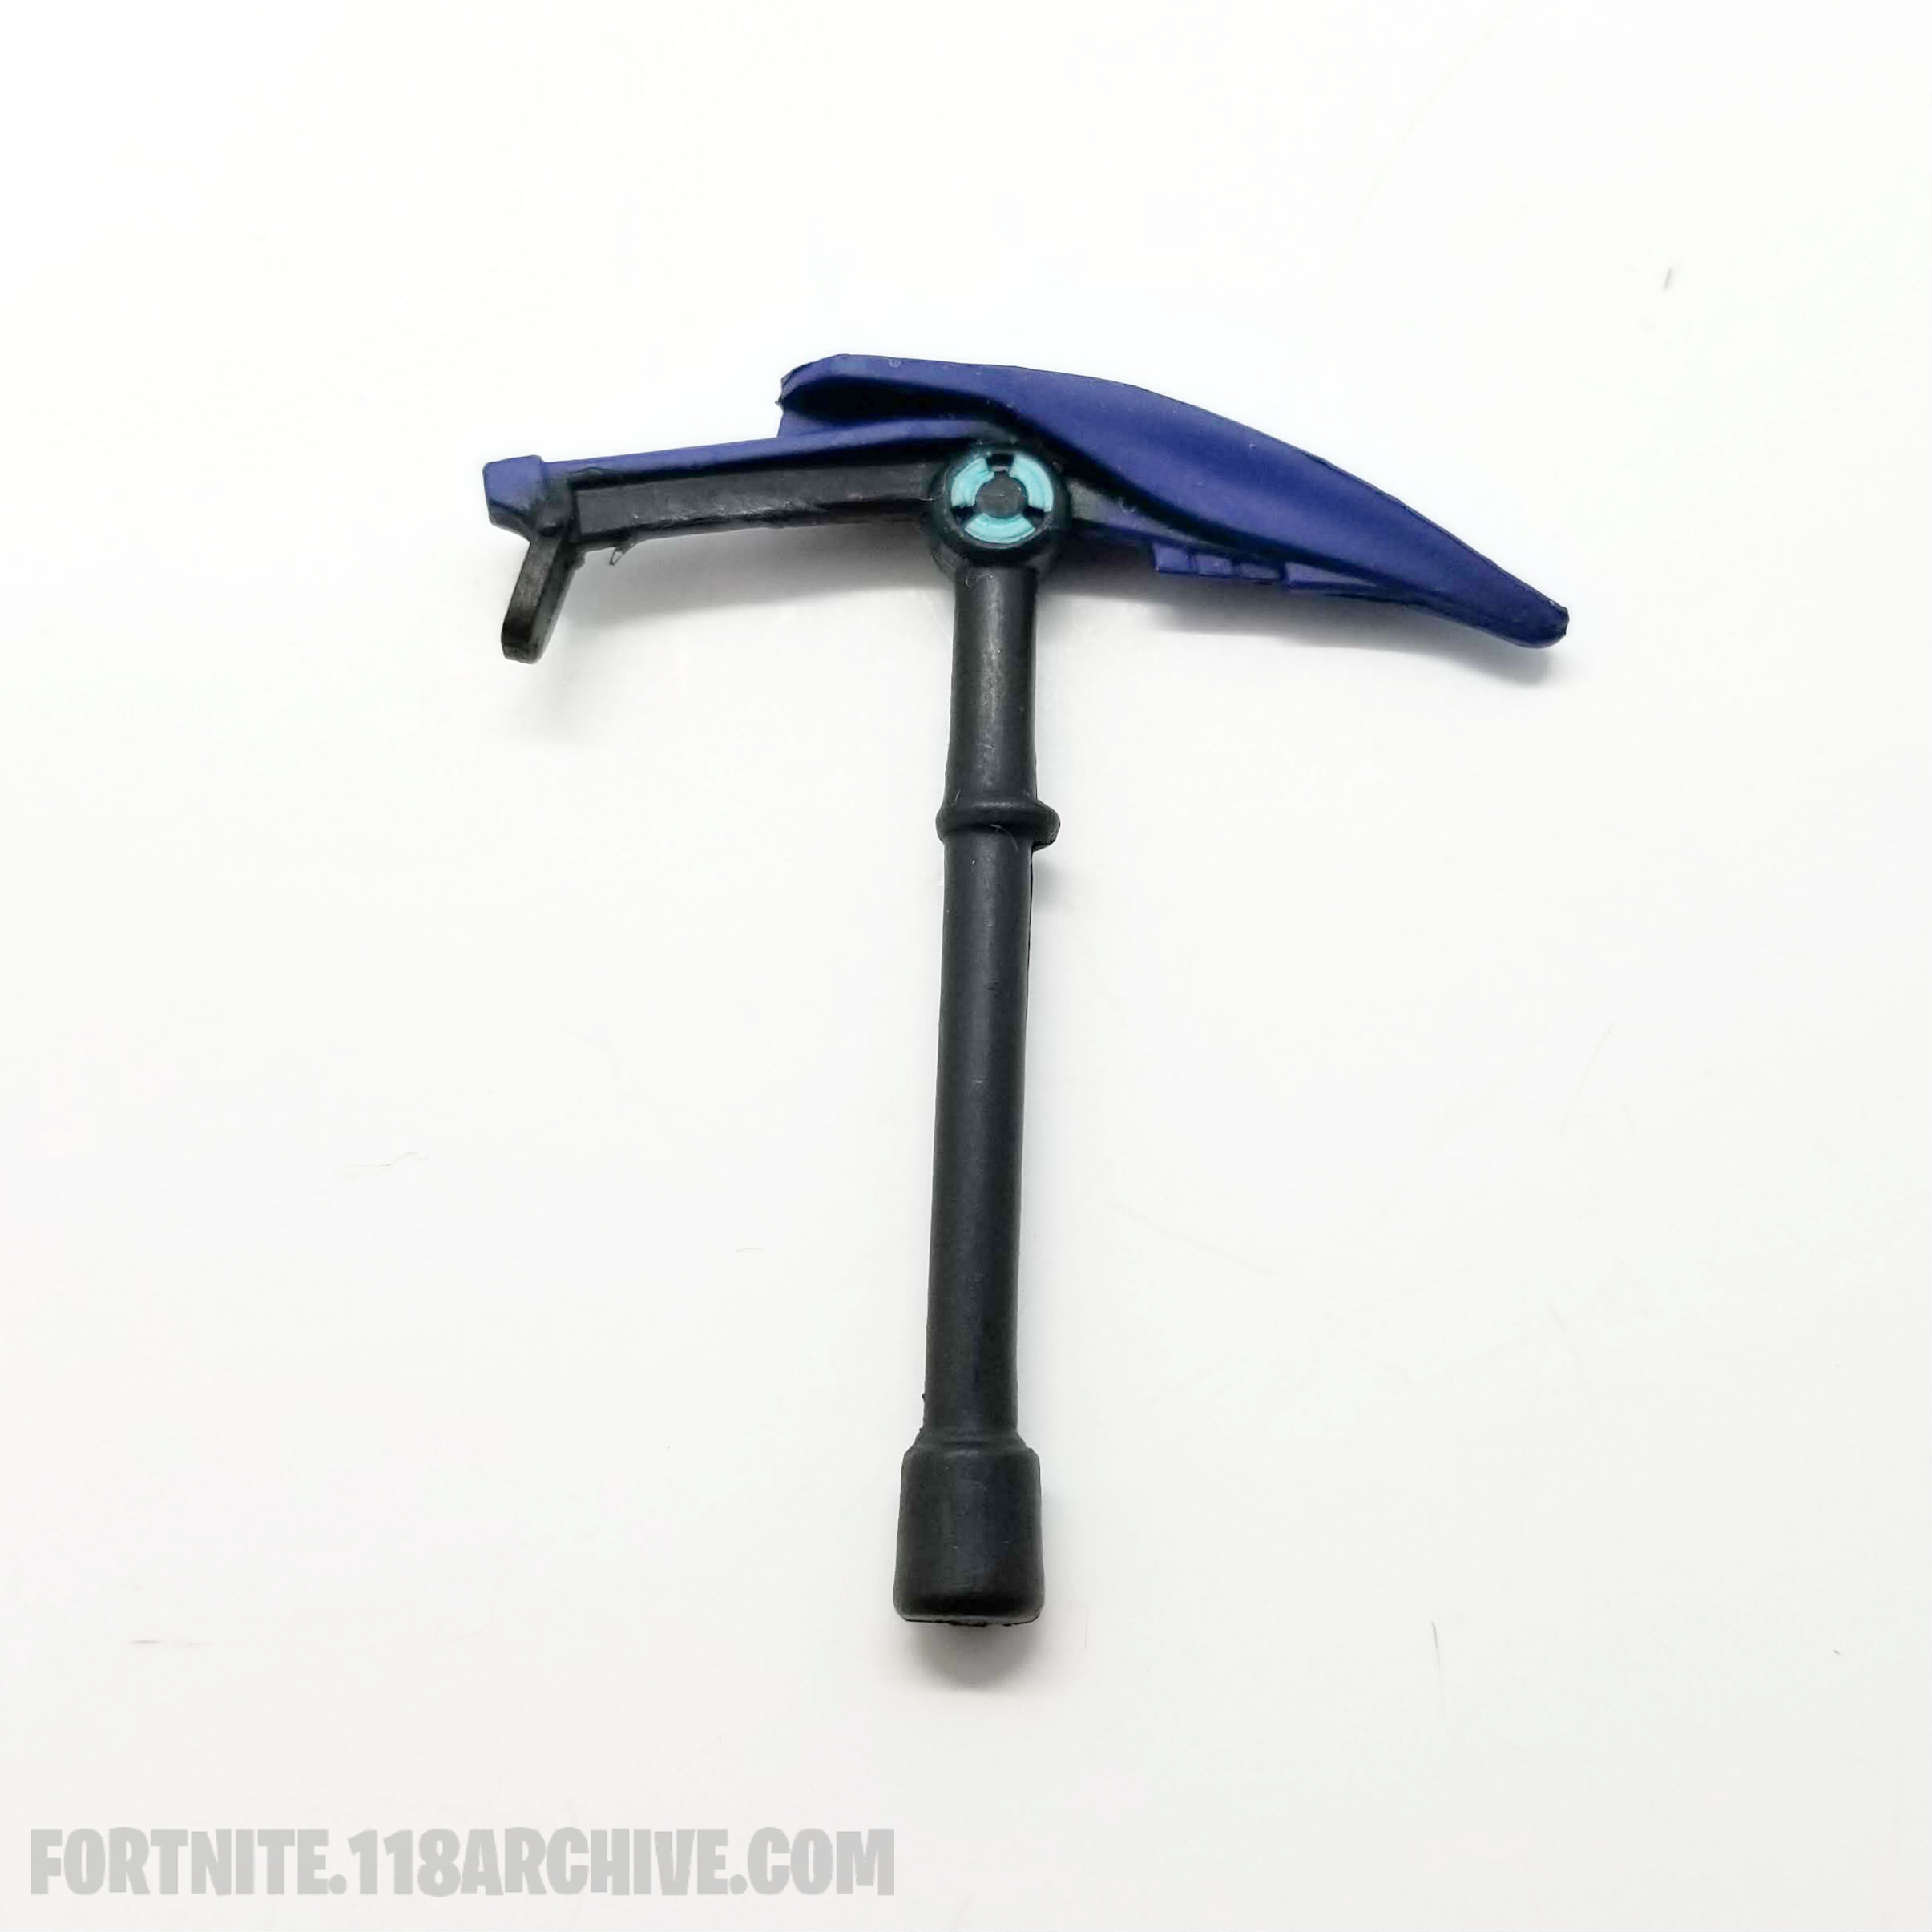
|style="text-align:center;"|<html><a href="https://118archive.com/images/118/.Jazwares_Fortnite/_accessories/harvest_tools/ | |style="text-align:center;"|<html><a href="https://118archive.com/images/118/.Jazwares_Fortnite/_accessories/harvest_tools/Pick_Axe_Default_Jazwares_Fortnite_Action_Figure_Checklist.jpg" target="_blank" ><img src="https://118archive.com/images/118/.Jazwares_Fortnite/_accessories/harvest_tools/Pick_Axe_Default_Jazwares_Fortnite_Action_Figure_Checklist.jpg" alt="Pick Axe Harvest Tool Jazwares Fortnite Action Figure" height="150"> </html> | ||
|- | |- | ||
|style="text-align:center;"|[[Harvest_Tools: | |style="text-align:center;"|[[Harvest_Tools:Pick Axe|Pick Axe]] [[Category:Pick Axe]] | ||
|- | |- | ||
|style="text-align:center;"|No Set | |style="text-align:center;"|No Set | ||
| Line 72: | Line 72: | ||
{| class="wikitable" style="display: inline-table;" | {| class="wikitable" style="display: inline-table;" | ||
|- | |- | ||
|style="text-align:center;"|<html><a href="https://118archive.com/images/118/.Jazwares_Fortnite/_accessories/harvest_tools/ | |style="text-align:center;"|<html><a href="https://118archive.com/images/118/.Jazwares_Fortnite/_accessories/harvest_tools/Pick_Axe_GITD_Fortnite_Action_Figure_Checklist.jpg" target="_blank" ><img src="https://118archive.com/images/118/.Jazwares_Fortnite/_accessories/harvest_tools/Pick_Axe_GITD_Fortnite_Action_Figure_Checklist.jpg" alt="Pick Axe Harvest Tool Jazwares Fortnite Action Figure" height="150"> </html> | ||
|- | |- | ||
|style="text-align:center;"|[[Harvest_Tools:Pick Axe|Pick Axe]] [[Category:Pick Axe]] | |style="text-align:center;"|[[Harvest_Tools:Pick Axe GITD|Pick Axe (Glow)]] [[Category:Pick Axe]] | ||
|- | |- | ||
|style="text-align:center;"|No Set | |style="text-align:center;"|No Set | ||
| Line 84: | Line 84: | ||
|- | |- | ||
|style="text-align:center;"|[[Harvest_Tools:Pick Squeak|Pick Squeak]] [[Category:Pick Squeak]] | |style="text-align:center;"|[[Harvest_Tools:Pick Squeak|Pick Squeak]] [[Category:Pick Squeak]] | ||
|- | |||
|style="text-align:center;"|No Set | |||
|} | |||
{| class="wikitable" style="display: inline-table;" | |||
|- | |||
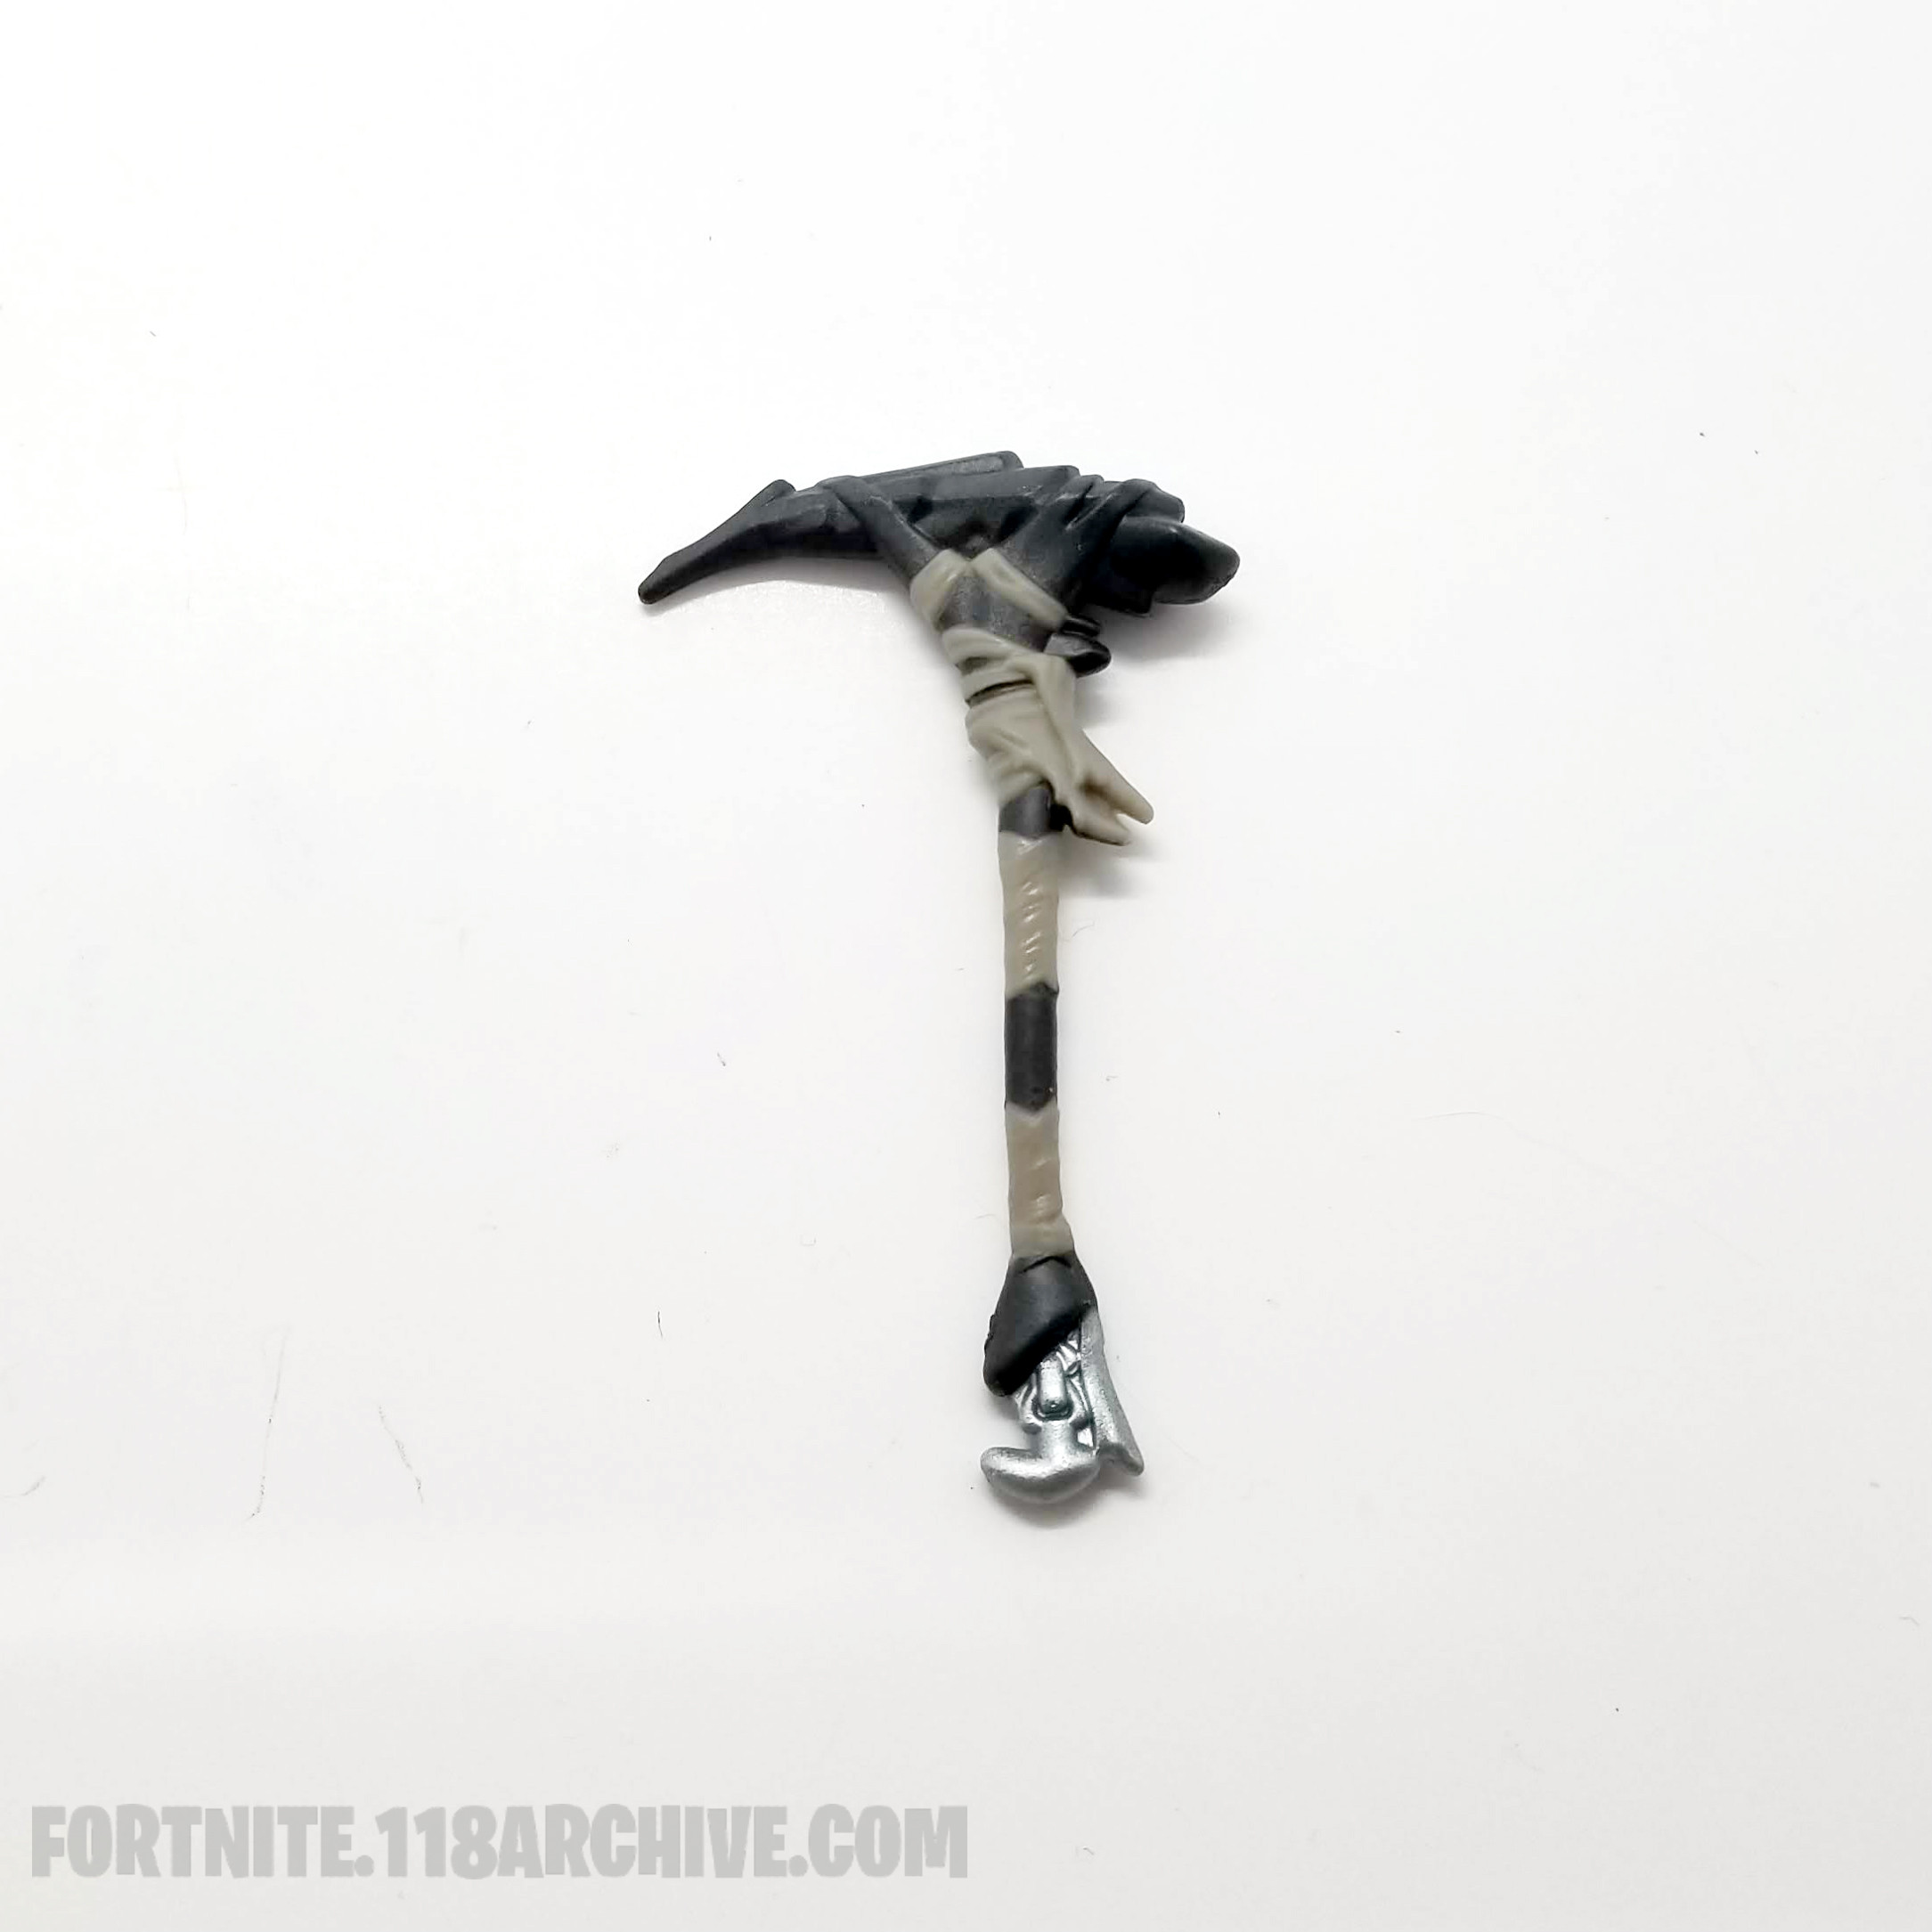
|style="text-align:center;"|<html><a href="https://118archive.com/images/118/.Jazwares_Fortnite/_accessories/harvest_tools/Reaper_Jazwares_Fortnite_Action_Figure_Checklist.jpg" target="_blank" ><img src="https://118archive.com/images/118/.Jazwares_Fortnite/_accessories/harvest_tools/Reaper_Jazwares_Fortnite_Action_Figure_Checklist.jpg" alt="Reaper Harvest Tool Jazwares Fortnite Action Figure" height="150"> </html> | |||
|- | |||
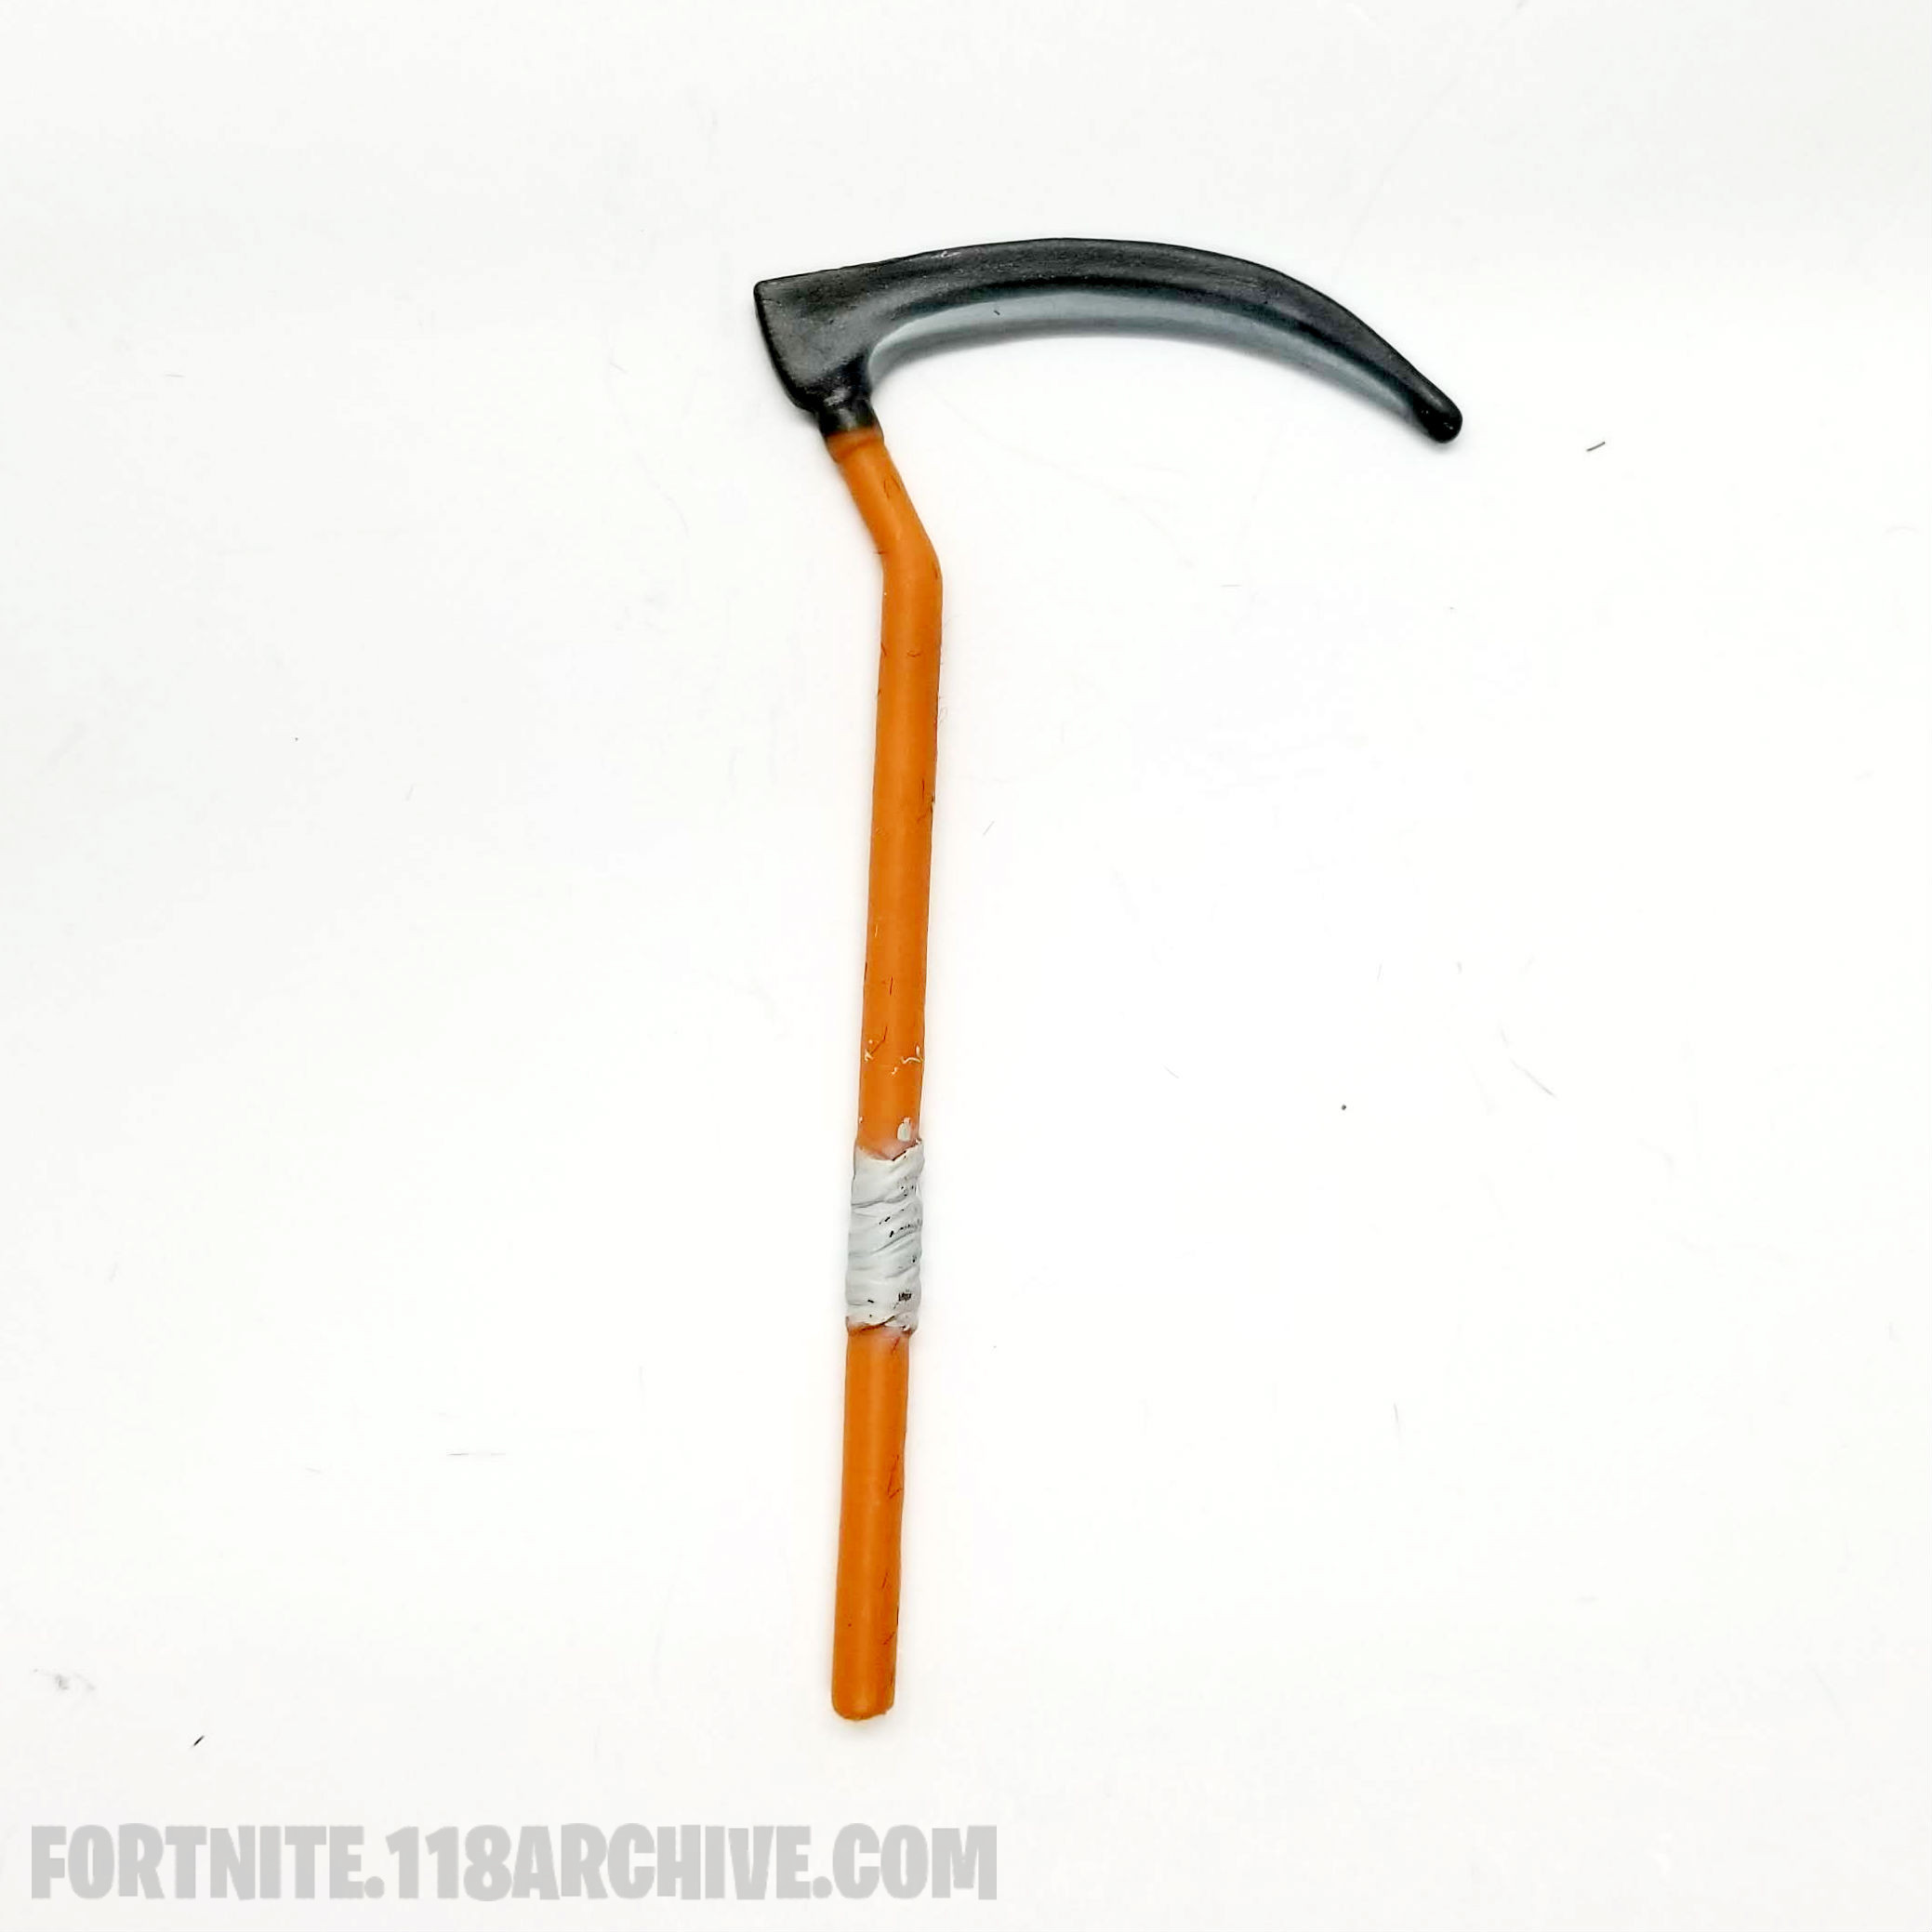
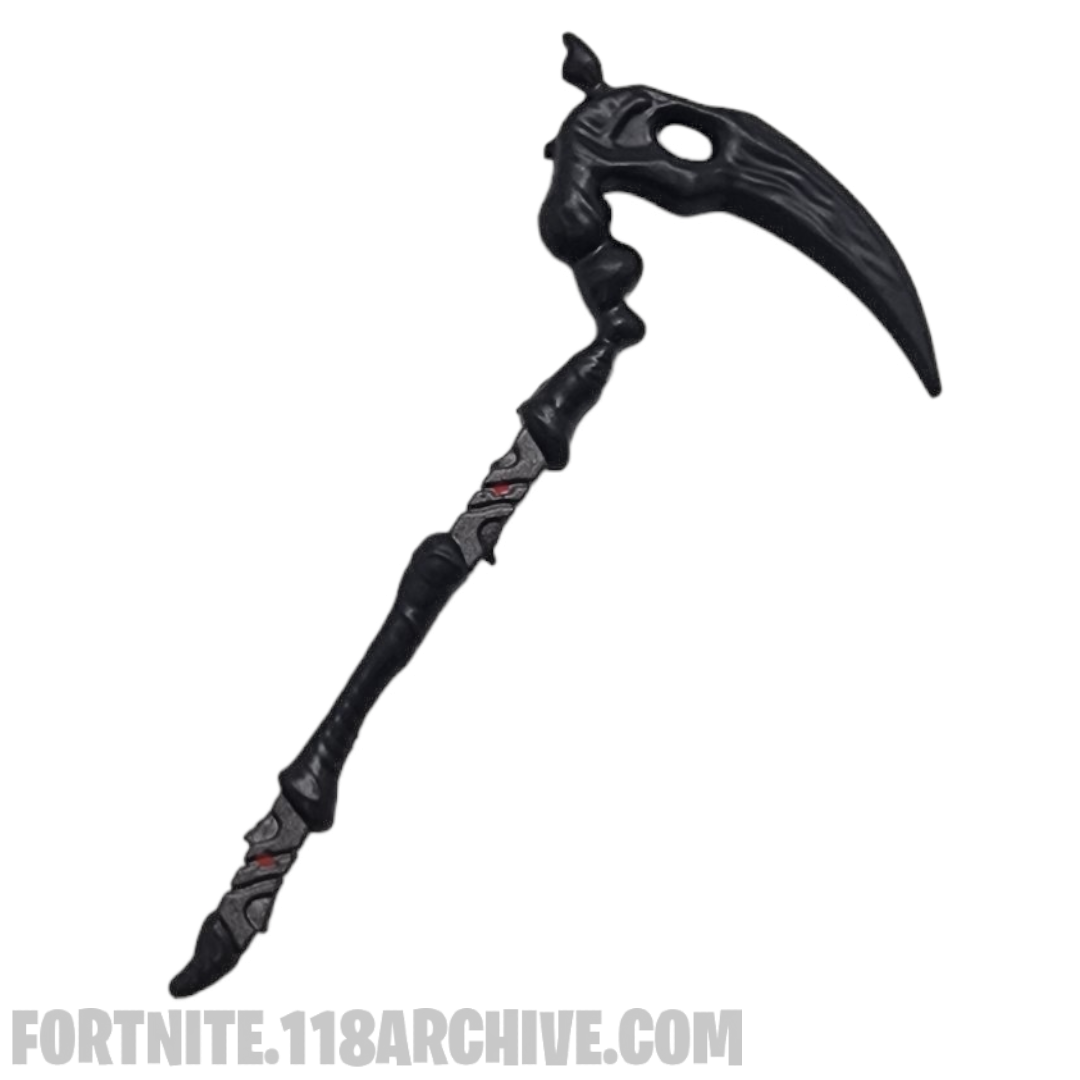
|style="text-align:center;"|[[Harvest_Tools:Reaper|Reaper]] [[Category:Reaper]] | |||
|- | |||
|style="text-align:center;"|No Set | |||
|} | |||
{| class="wikitable" style="display: inline-table;" | |||
|- | |||
|style="text-align:center;"|<html><a href="https://118archive.com/images/118/.Jazwares_Fortnite/_accessories/harvest_tools/Reaper_gitd_Fortnite_Action_Figure_Checklist.jpg" target="_blank" ><img src="https://118archive.com/images/118/.Jazwares_Fortnite/_accessories/harvest_tools/Reaper_gitd_Fortnite_Action_Figure_Checklist.jpg" alt="Reaper Harvest Tool Jazwares Fortnite Action Figure" height="150"> </html> | |||
|- | |||
|style="text-align:center;"|[[Harvest_Tools:Reaper GITD|Reaper (Glow)]] [[Category:Reaper]] | |||
|- | |- | ||
|style="text-align:center;"|No Set | |style="text-align:center;"|No Set | ||
| Line 104: | Line 122: | ||
|- | |- | ||
|style="text-align:center;"|[[Game_sets:A.I.M.|A.I.M. Set]][[Category:A.I.M.]] | |style="text-align:center;"|[[Game_sets:A.I.M.|A.I.M. Set]][[Category:A.I.M.]] | ||
|} | |||
{| class="wikitable" style="display: inline-table;" | |||
|- | |||
|style="text-align:center;"|<html><a href="https://118archive.com/images/118/.Jazwares_Fortnite/_accessories/harvest_tools/Renegade_Roller_Aerosol_Assassins_Jazwares_Fortnite_Action_Figure_Checklist.jpg" target="_blank" ><img src="https://118archive.com/images/118/.Jazwares_Fortnite/_accessories/harvest_tools/Renegade_Roller_Aerosol_Assassins_Jazwares_Fortnite_Action_Figure_Checklist.jpg" alt="Renegade Roller Harvest Tool Jazwares Fortnite Action Figure" height="150"> </html> | |||
|- | |||
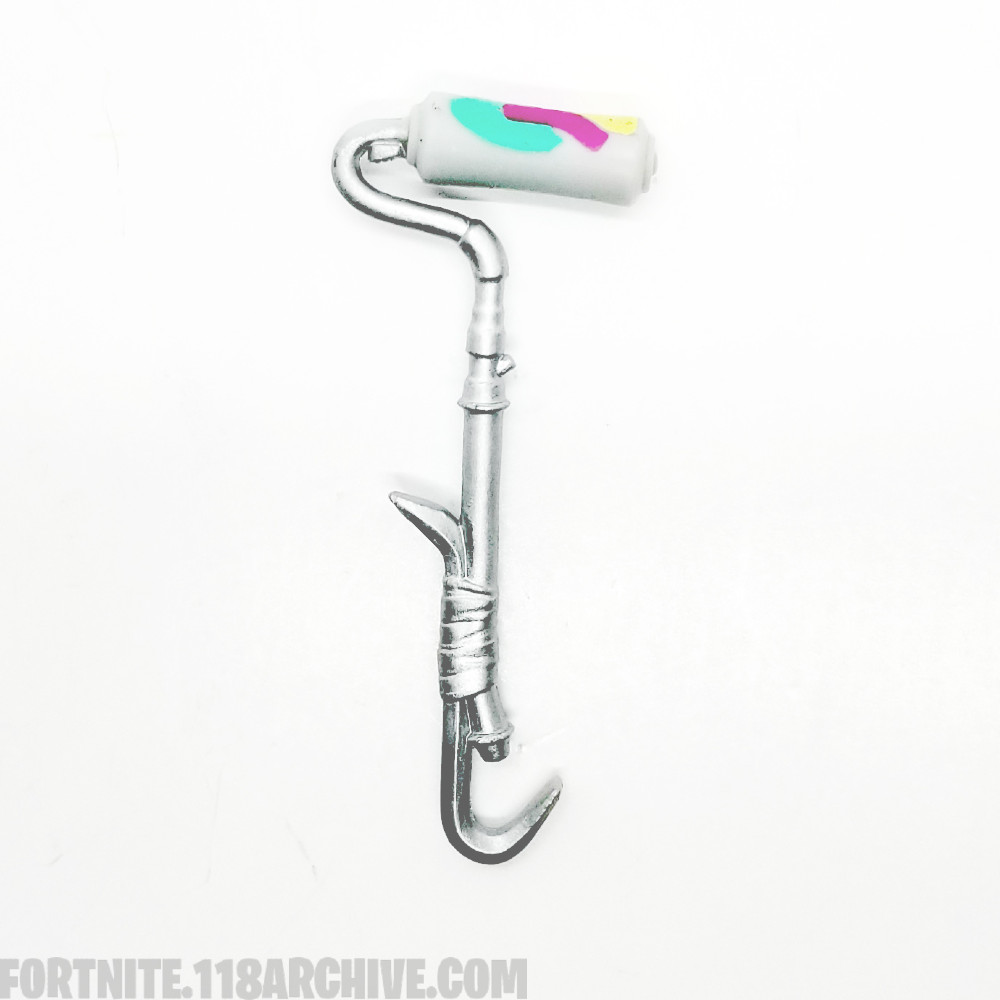
|style="text-align:center;"|[[Harvest_Tools:Renegade Roller|Renegade Roller]] [[Category:Renegade Roller]] | |||
|- | |||
|style="text-align:center;"|[[Game Sets:Aerosol Assassins|Aerosol Assassins]] [[Category:Aerosol Assassins]] | |||
|} | |} | ||
| Line 149: | Line 176: | ||
|- | |- | ||
|style="text-align:center;"|[[Game Sets:Archetype|Archetype]][[Category:Archetype]] | |style="text-align:center;"|[[Game Sets:Archetype|Archetype]][[Category:Archetype]] | ||
|} | |||
{| class="wikitable" style="display: inline-table;" | |||
|- | |||
|style="text-align:center;"|<html><a href="https://118archive.com/images/118/.Jazwares_Fortnite/_accessories/harvest_tools/v.jpg" target="_blank" ><img src="https://118archive.com/images/118/.Jazwares_Fortnite/_accessories/harvest_tools/Axe-olotl_Axolotl_Attack_Jazwares_Fortnite_Action_Figure_Checklist.jpg" alt="Axe-olotl Harvest Tool Jazwares Fortnite Action Figure" height="150"> </html> | |||
|- | |||
|style="text-align:center;"|[[Harvest_Tools:Axe-olotl|Axe-olotl]] [[Category:Axe-olotl]] | |||
|- | |||
|style="text-align:center;"|[[Game Sets:Axolotl Attack!|Axolotl Attack!]][[Category:Axolotl Attack!]] | |||
|} | |} | ||
| Line 158: | Line 194: | ||
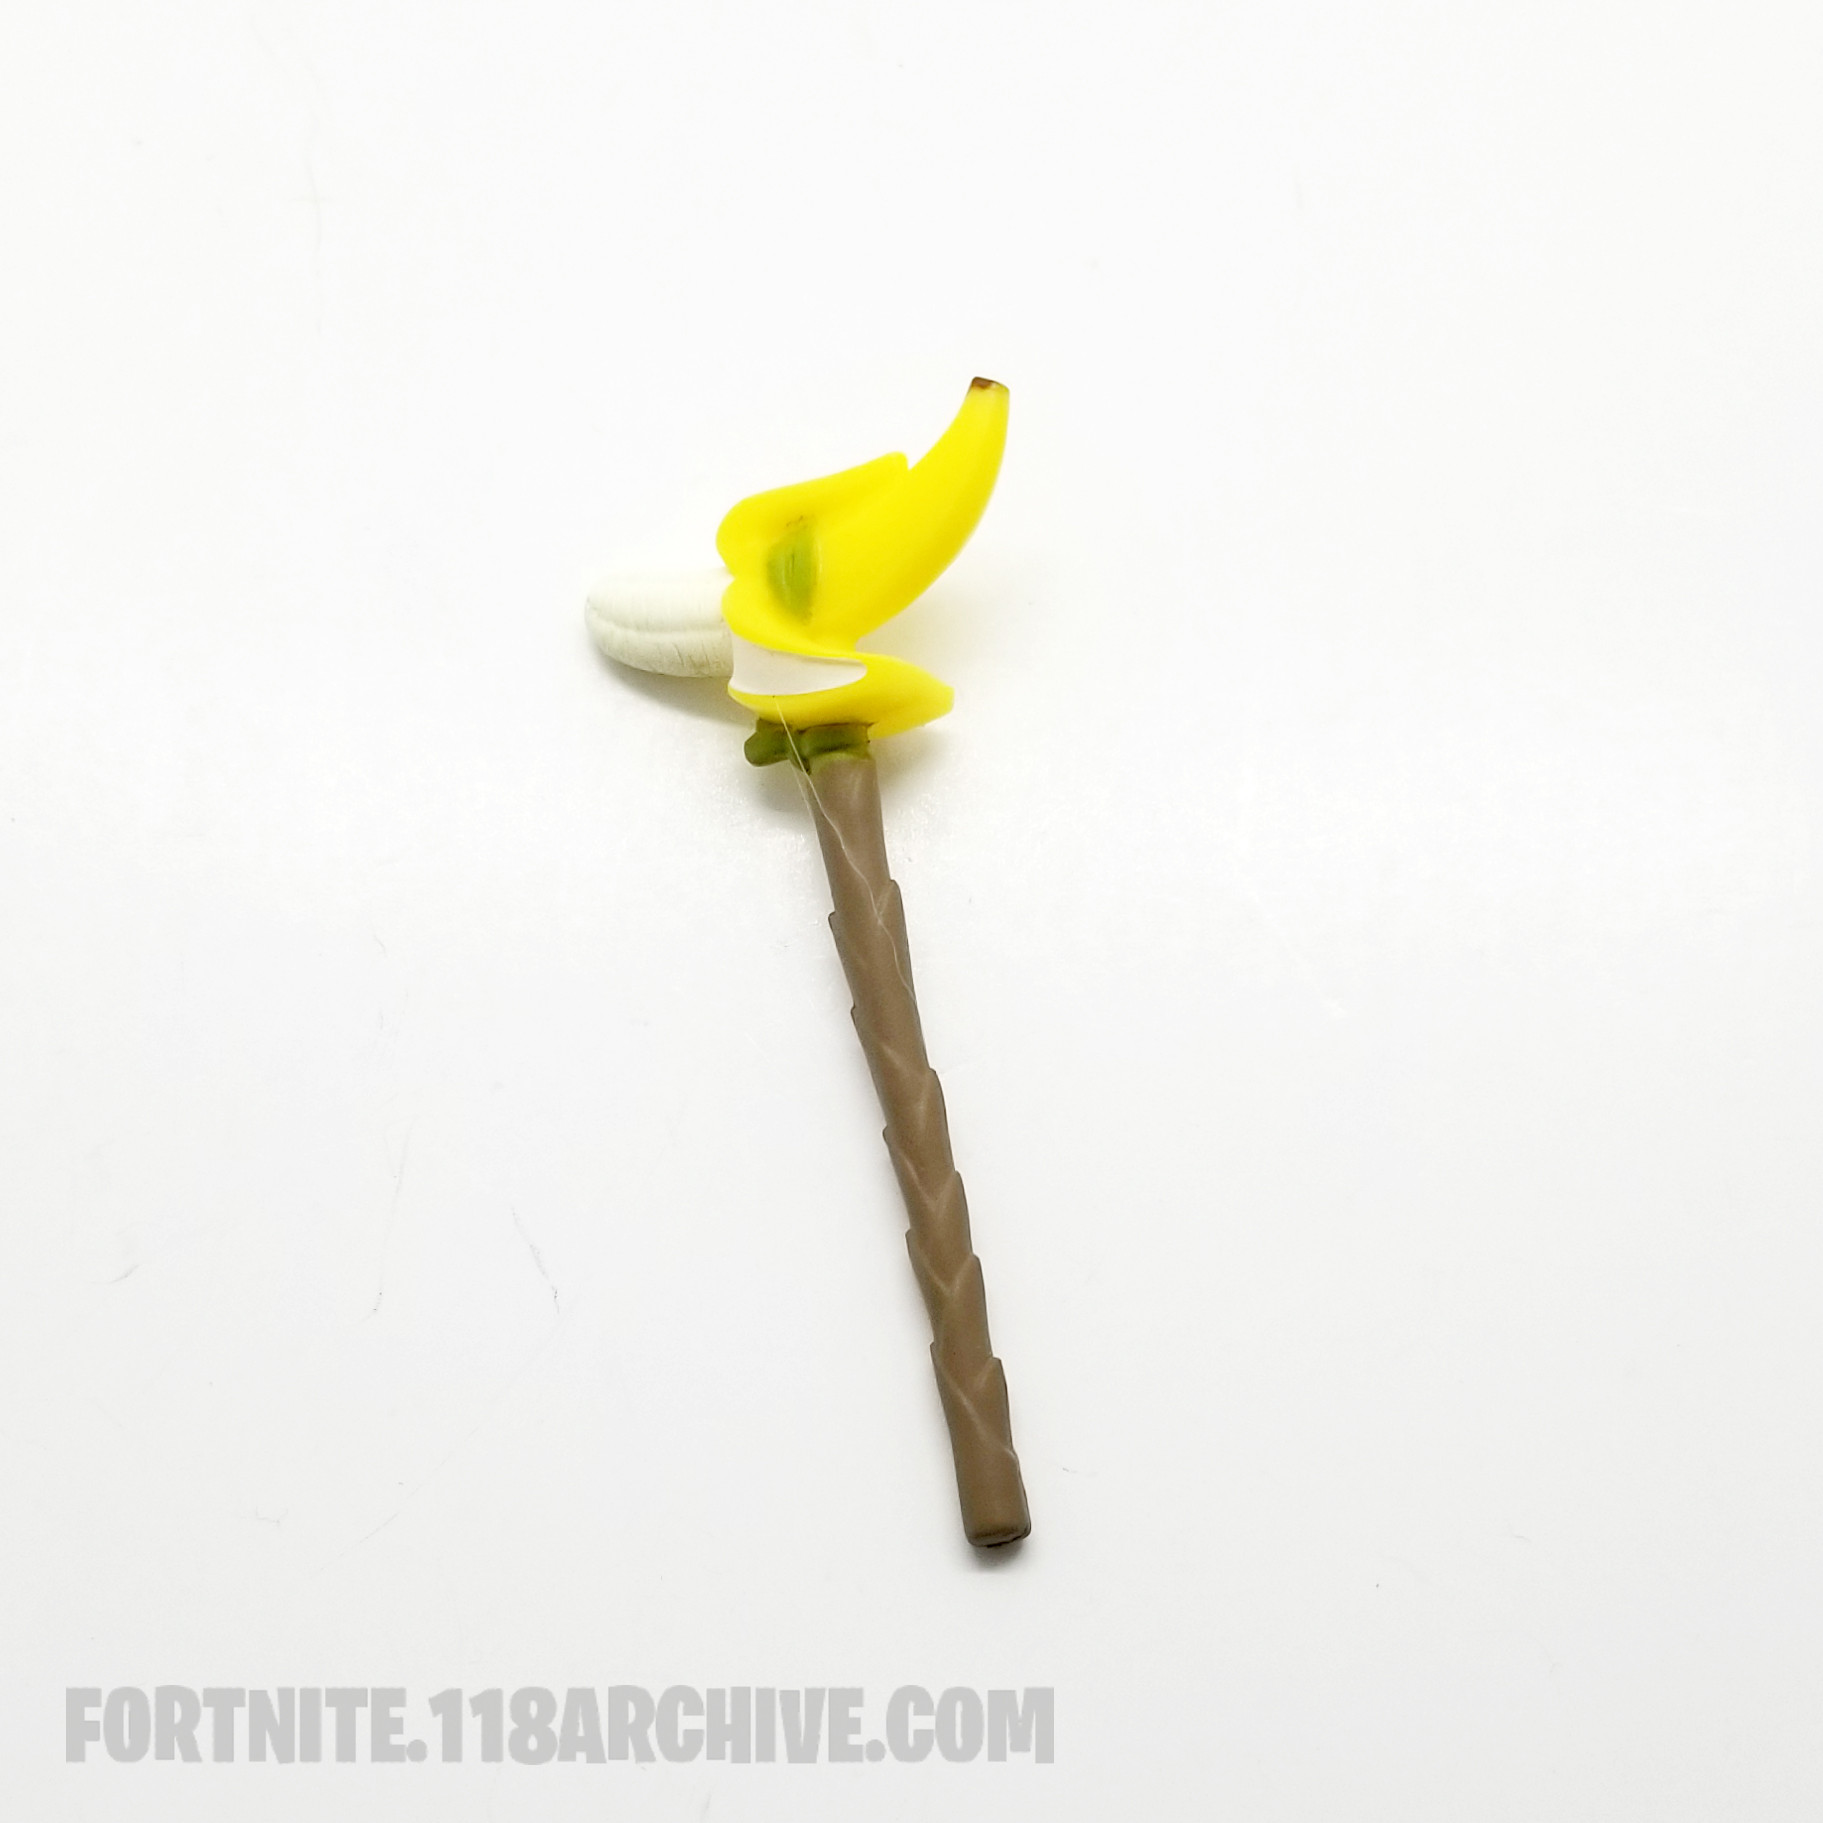
|- | |- | ||
|style="text-align:center;"|[[Game_sets:Banana Bunch|Banana Bunch Set]][[Category:Banana Bunch]] | |style="text-align:center;"|[[Game_sets:Banana Bunch|Banana Bunch Set]][[Category:Banana Bunch]] | ||
|} | |||
{| class="wikitable" style="display: inline-table;" | |||
|- | |||
|style="text-align:center;"|<html><a href="https://118archive.com/images/118/.Jazwares_Fortnite/_accessories/harvest_tools/Colden_Touch_Fortnite_Action_Figure_Checklist.jpg" target="_blank" ><img src="https://118archive.com/images/118/.Jazwares_Fortnite/_accessories/harvest_tools/Colden_Touch_Fortnite_Action_Figure_Checklist.jpg" alt="Cold'en Touch Harvest Tool Jazwares Fortnite Action Figure" height="150"> </html> | |||
|- | |||
|style="text-align:center;"|[[Harvest_Tools:Cold'en Touch|Cold'en Touch]] [[Category:Cold'en Touch]] | |||
|- | |||
|style="text-align:center;"|[[Game_sets:Black Ice|Black Ice Set]][[Category:Black Ice]] | |||
|} | |||
{| class="wikitable" style="display: inline-table;" | |||
|- | |||
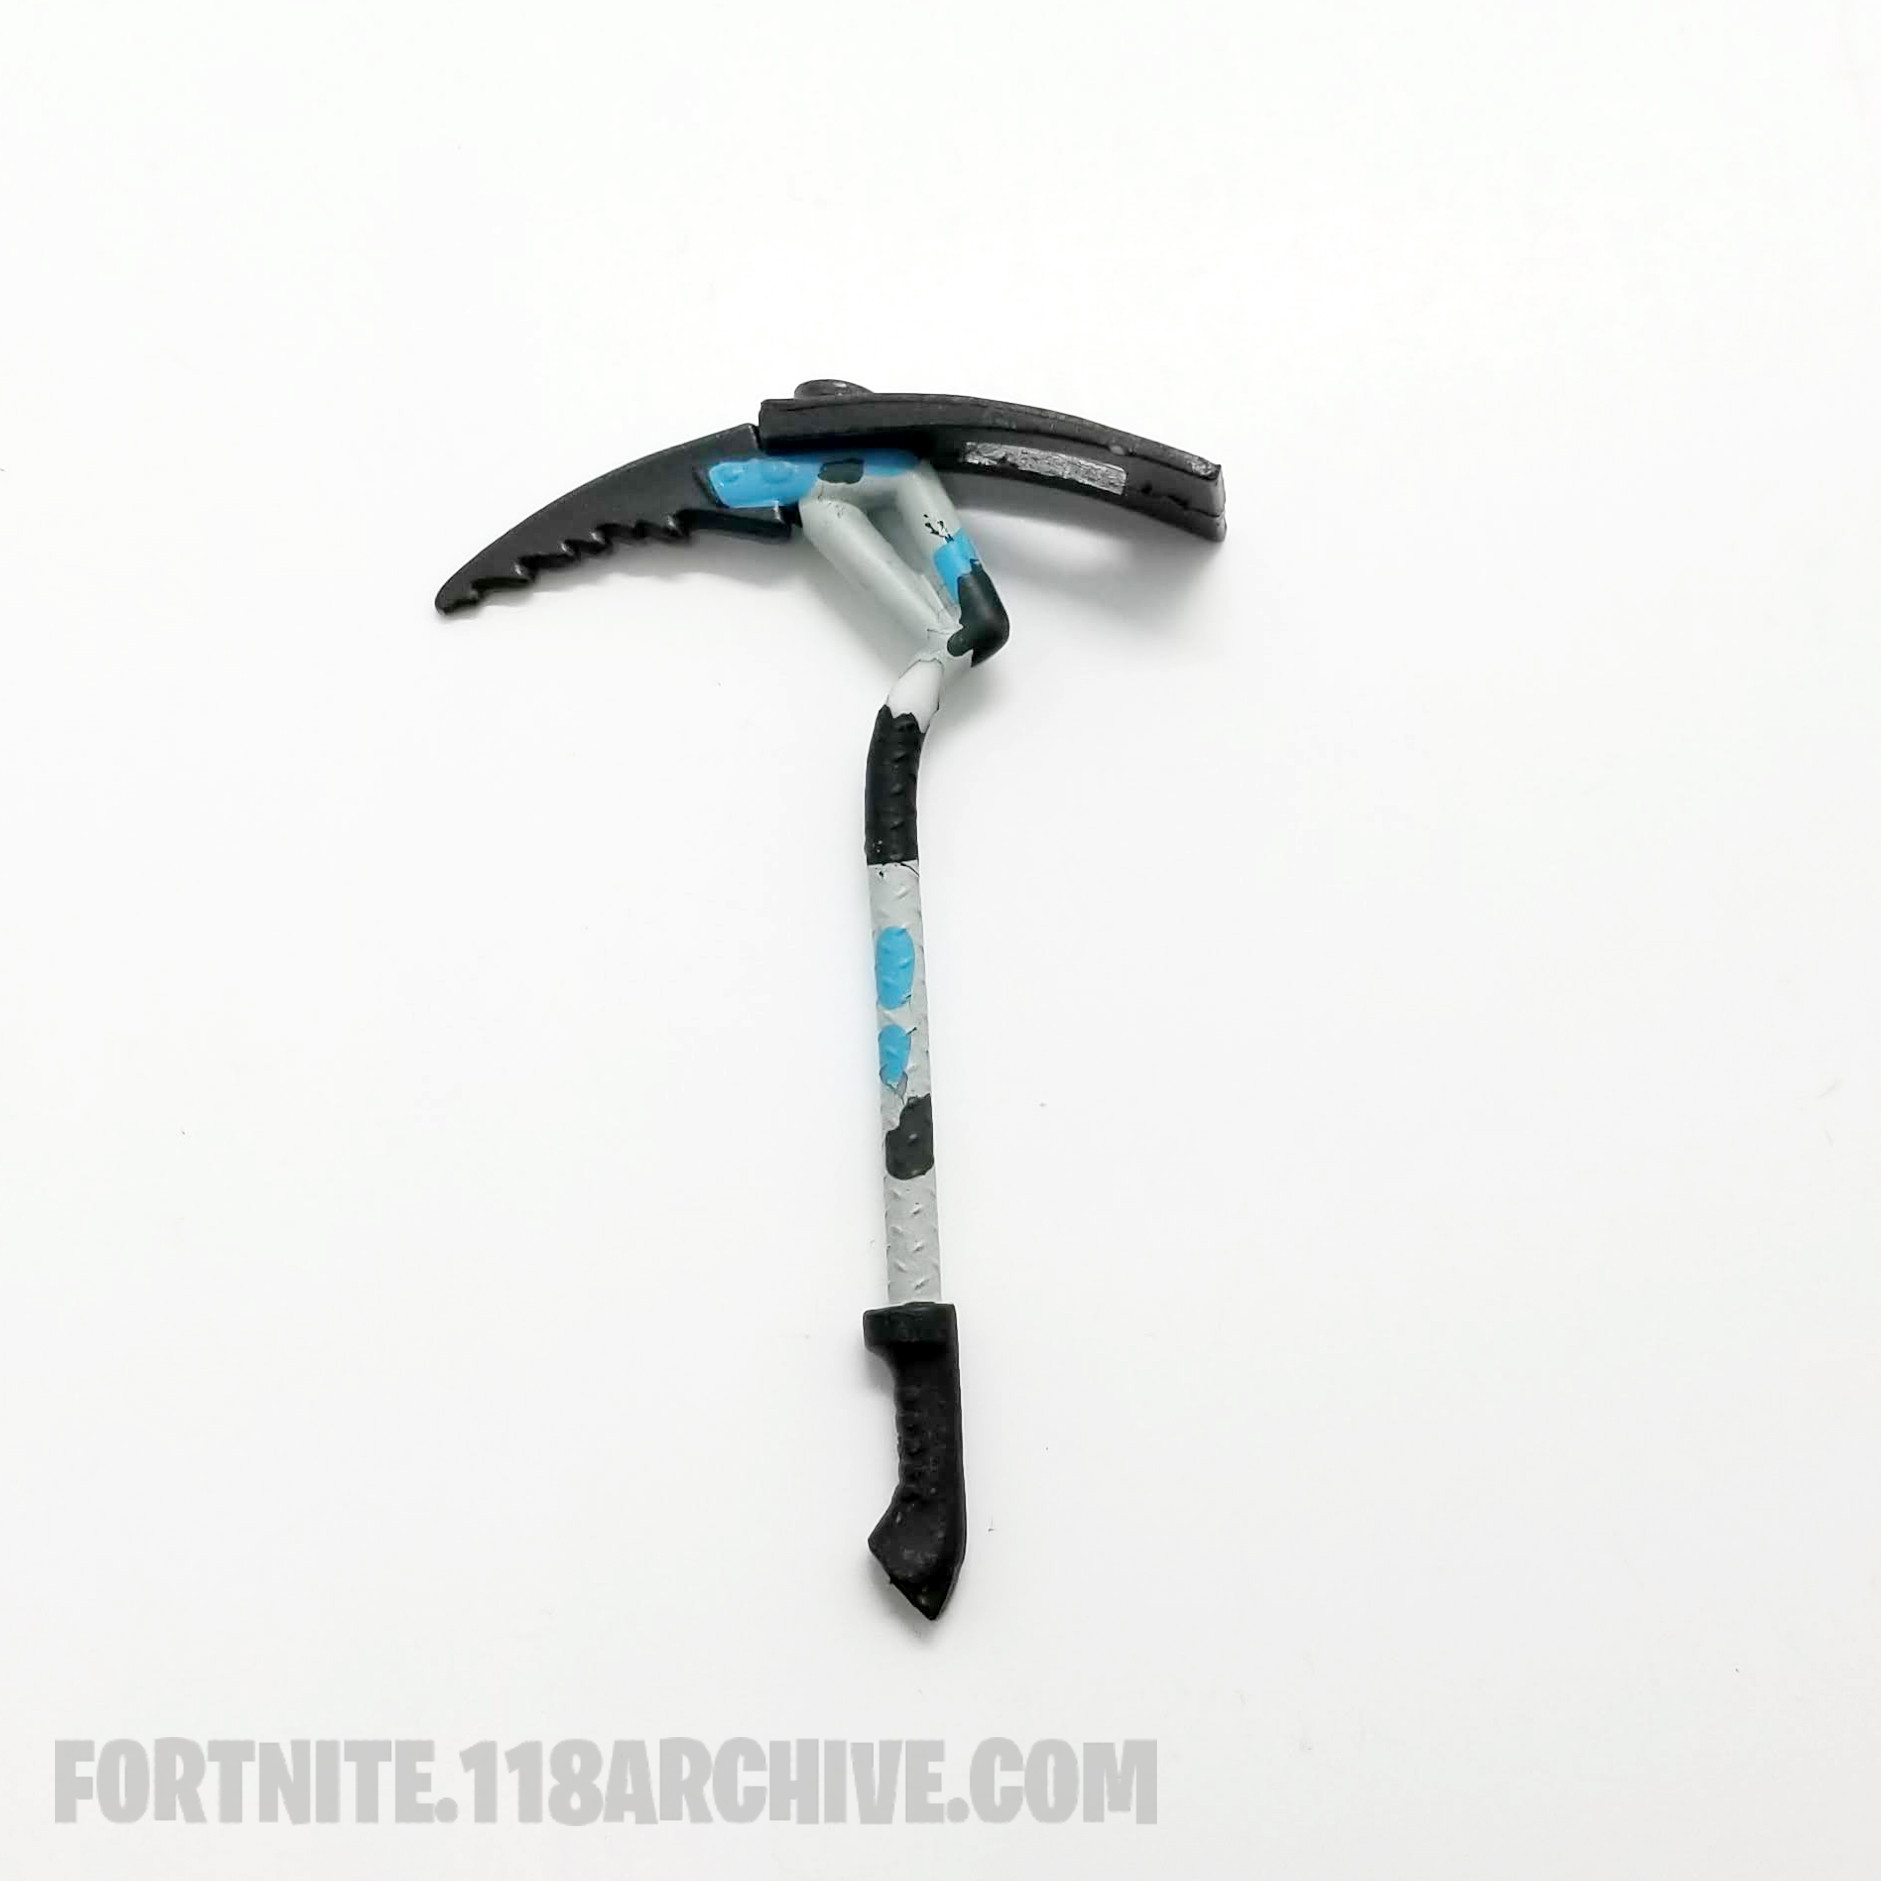
|style="text-align:center;"|<html><a href="https://118archive.com/images/118/.Jazwares_Fortnite/_accessories/harvest_tools/Ice_Carver_Black_Ice_Jazwares_Fortnite_Action_Figure_Checklist.jpg" target="_blank" ><img src="https://118archive.com/images/118/.Jazwares_Fortnite/_accessories/harvest_tools/Ice_Carver_Black_Ice_Jazwares_Fortnite_Action_Figure_Checklist.jpg" alt="Ice Carver Harvest Tool Jazwares Fortnite Action Figure" height="150"> </html> | |||
|- | |||
|style="text-align:center;"|[[Harvest_Tools:Ice Carver|Ice Carver]] [[Category:Ice Carver]] | |||
|- | |||
|style="text-align:center;"|[[Game_sets:Black Ice|Black Ice Set]][[Category:Black Ice]] | |||
|} | |} | ||
| Line 167: | Line 221: | ||
|- | |- | ||
|style="text-align:center;"|[[Game_sets:Black Vector|Black Vector Set]][[Category:Black Vector]] | |style="text-align:center;"|[[Game_sets:Black Vector|Black Vector Set]][[Category:Black Vector]] | ||
|} | |||
{| class="wikitable" style="display: inline-table;" | |||
|- | |||
|style="text-align:center;"|<html><a href="https://118archive.com/images/118/.Jazwares_Fortnite/_accessories/harvest_tools/Phantasmic_Pulse_Red_Boundless_Fortnite_Action_Figure_Checklist.jpg" target="_blank" ><img src="https://118archive.com/images/118/.Jazwares_Fortnite/_accessories/harvest_tools/Phantasmic_Pulse_Red_Boundless_Fortnite_Action_Figure_Checklist.jpg" alt="Phantasmic Pulse Red Harvest Tool Jazwares Fortnite Action Figure" height="150"> </html> | |||
|- | |||
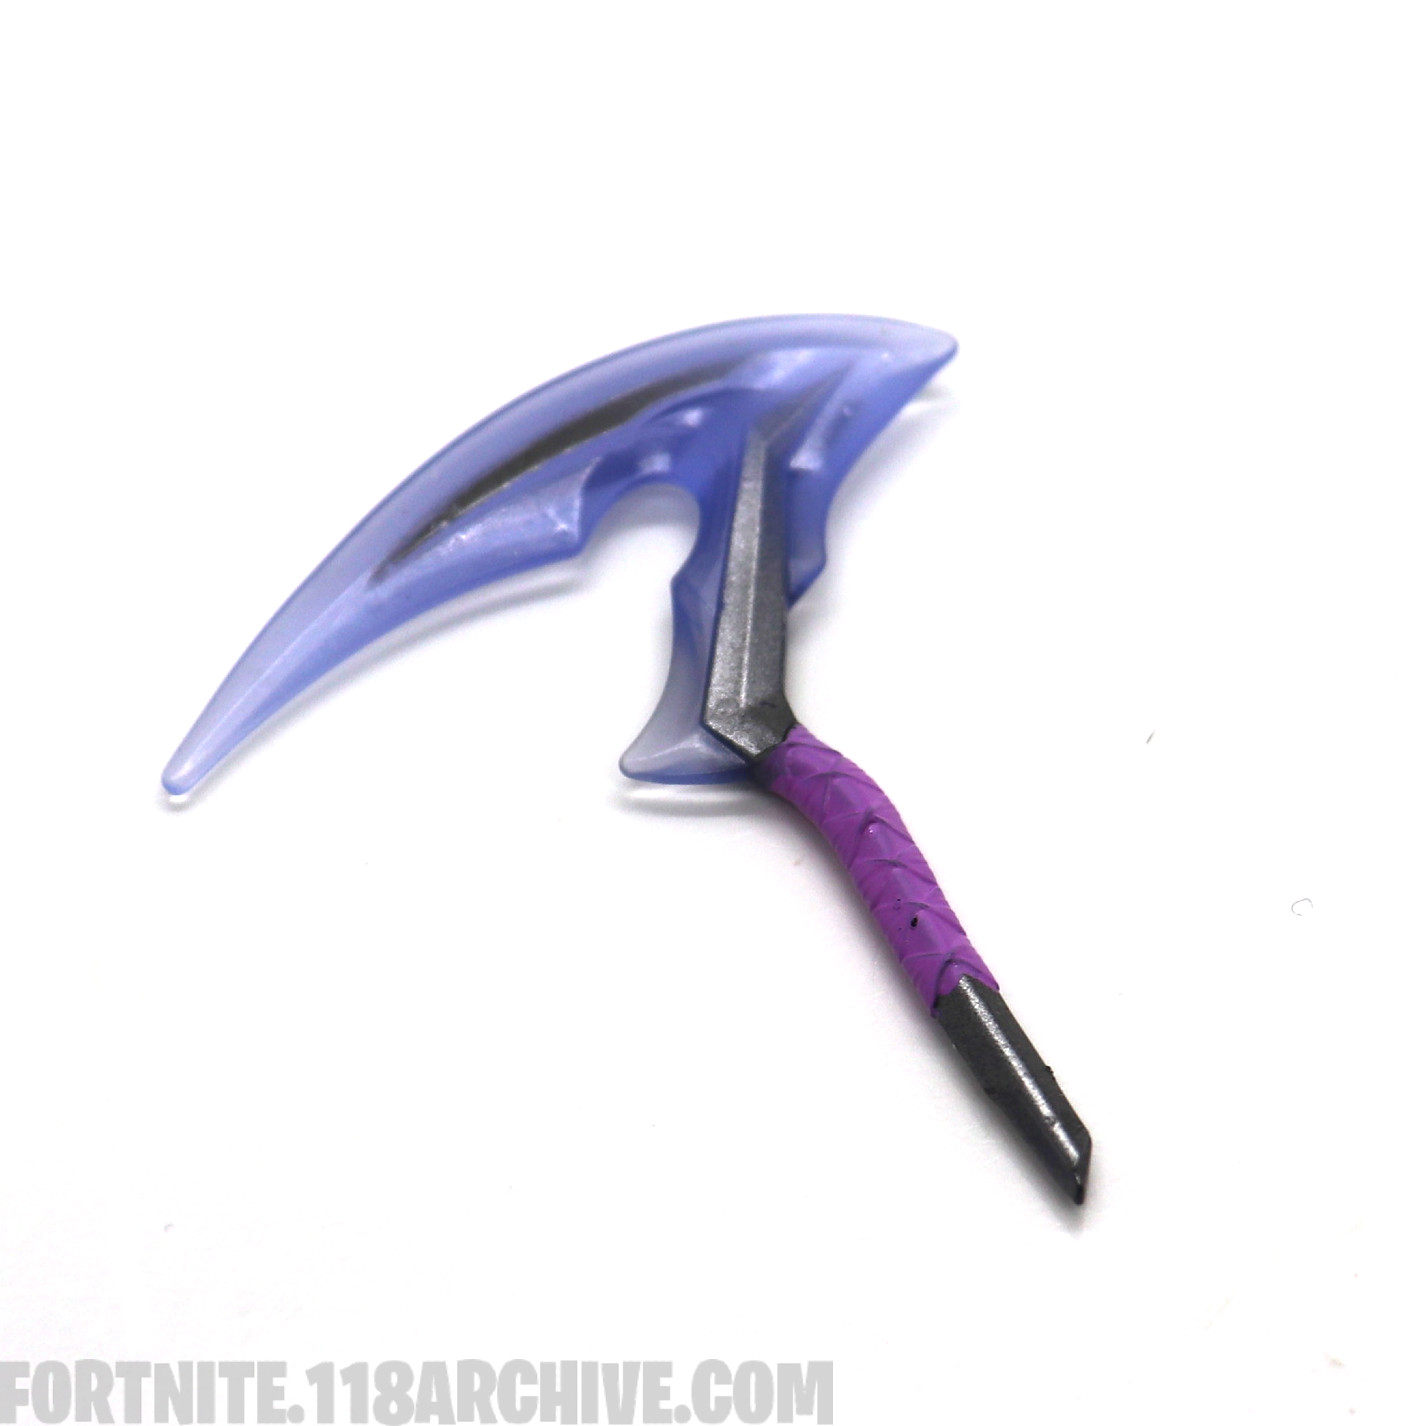
|style="text-align:center;"|[[Harvest_Tools:Phantasmic Pulse Red|Phantasmic Pulse (Red)]] [[Category:Phantasmic Pulse]] | |||
|- | |||
|style="text-align:center;"|[[Game Sets:Boundless|Boundless]] [[Category:Boundless]] | |||
|} | |||
{| class="wikitable" style="display: inline-table;" | |||
|- | |||
|style="text-align:center;"|<html><a href="https://118archive.com/images/118/.Jazwares_Fortnite/_accessories/harvest_tools/Ripe_Rippers_Bunker_Days_Jazwares_Fortnite_Action_Figure_Checklist.jpg" target="_blank" ><img src="https://118archive.com/images/118/.Jazwares_Fortnite/_accessories/harvest_tools/Ripe_Rippers_Bunker_Days_Jazwares_Fortnite_Action_Figure_Checklist.jpg" alt="Ripe Rippers Harvest Tool Jazwares Fortnite Action Figure" height="150"> </html> | |||
|- | |||
|style="text-align:center;"|[[Harvest_Tools:Ripe Rippers|Ripe Rippers]] [[Category:Ripe Rippers]] | |||
|- | |||
|style="text-align:center;"|[[Game Sets:Bunker Days|Bunker Days]] [[Category:Bunker Days]] | |||
|} | |||
{| class="wikitable" style="display: inline-table;" | |||
|- | |||
|style="text-align:center;"|<html><a href="https://118archive.com/images/118/.Jazwares_Fortnite/_accessories/harvest_tools/Bunker_Basher_GITD_Jazwares_Fortnite_Action_Figure_Checklist.jpg" target="_blank" ><img src="https://118archive.com/images/118/.Jazwares_Fortnite/_accessories/harvest_tools/Bunker_Basher_GITD_Jazwares_Fortnite_Action_Figure_Checklist.jpg" alt="Bunker Basher Harvest Tool Jazwares Fortnite Action Figure" height="150"> </html> | |||
|- | |||
|style="text-align:center;"|[[Harvest_Tools:Bunker Basher GITD|Bunker Basher (Glow)]] [[Category:Bunker Basher]] | |||
|- | |||
|style="text-align:center;"|[[Game Sets:Bunker Days|Bunker Days]] [[Category:Bunker Days]] | |||
|} | |} | ||
| Line 203: | Line 284: | ||
|- | |- | ||
|style="text-align:center;"|[[Game_sets:Deep Freeze|Deep Freeze]][[Category:Deep Freeze]] | |style="text-align:center;"|[[Game_sets:Deep Freeze|Deep Freeze]][[Category:Deep Freeze]] | ||
|} | |||
{| class="wikitable" style="display: inline-table;" | |||
|- | |||
|style="text-align:center;"|<html><a href="https://118archive.com/images/118/.Jazwares_Fortnite/_accessories/harvest_tools/Giant_ Jelly_Sourfish_Fortnite_Action_Figure_Checklist.jpg" target="_blank" ><img src="https://118archive.com/images/118/.Jazwares_Fortnite/_accessories/harvest_tools/Giant_ Jelly_Sourfish_Fortnite_Action_Figure_Checklist.jpg" alt="Giant Jelly Sourfish Harvest Tool Jazwares Fortnite Action Figure" height="150"> </html> | |||
|- | |||
|style="text-align:center;"|[[Harvest_Tools:Giant Jelly Sourfish|Giant Jelly Sourfish]] [[Category:Giant Jelly Sourfish]] | |||
|- | |||
|style="text-align:center;"|[[Game Sets:Delicious Fishes|Delicious Fishes]][[Category:Delicious Fishes]] | |||
|} | |||
{| class="wikitable" style="display: inline-table;" | |||
|- | |||
|style="text-align:center;"|<html><a href="https://118archive.com/images/118/.Jazwares_Fortnite/_accessories/harvest_tools/Burning_Blades_Jazwares_Fortnite_Action_Figure_Checklist.jpg" target="_blank" ><img src="https://118archive.com/images/118/.Jazwares_Fortnite/_accessories/harvest_tools/Burning_Blades_Jazwares_Fortnite_Action_Figure_Checklist.jpg" alt="Burning Blades Harvest Tool Jazwares Fortnite Action Figure" height="150"> </html> | |||
|- | |||
|style="text-align:center;"|[[Harvest_Tools:Burning Blades|Burning Blades]] [[Category:Burning Blades]] | |||
|- | |||
|style="text-align:center;"|[[Game Sets:Diabolical|Diabolical]][[Category:Diabolical]] | |||
|} | |||
{| class="wikitable" style="display: inline-table;" | |||
|- | |||
|style="text-align:center;"|<html><a href="https://118archive.com/images/118/.Jazwares_Fortnite/_accessories/harvest_tools/Chaos_Scythe_Final_Reckoning_Jazwares_Fortnite_Action_Figure_Checklist.jpg" target="_blank" ><img src="https://118archive.com/images/118/.Jazwares_Fortnite/_accessories/harvest_tools/Chaos_Scythe_Final_Reckoning_Jazwares_Fortnite_Action_Figure_Checklist.jpg" alt="Mayhem Scythe Harvest Tool Jazwares Fortnite Action Figure" height="150"> </html> | |||
|- | |||
|style="text-align:center;"|[[Harvest_Tools:Mayhem Scythe |Mayhem Scythe]] [[Category:Mayhem Scythe ]] | |||
|- | |||
|style="text-align:center;"|[[Game Sets:Double Agent|Double Agent]][[Category:Double Agent]] | |||
|} | |||
{| class="wikitable" style="display: inline-table;" | |||
|- | |||
|style="text-align:center;"|<html><a href="https://118archive.com/images/118/.Jazwares_Fortnite/_accessories/harvest_tools/Dual_Edge_Drift_Jazwares_Fortnite_Action_Figure_Checklist.jpg" target="_blank" ><img src="https://118archive.com/images/118/.Jazwares_Fortnite/_accessories/harvest_tools/Dual_Edge_Drift_Jazwares_Fortnite_Action_Figure_Checklist.jpg" alt="Dual Edge Harvest Tool Jazwares Fortnite Action Figure" height="150"> </html> | |||
|- | |||
|style="text-align:center;"|[[Harvest_Tools:Dual Edge|Dual Edge]] [[Category:Dual Edge]] | |||
|- | |||
|style="text-align:center;"|[[Game_sets:Drift|Drift Set]][[Category:Drift]] | |||
|} | |} | ||
| Line 221: | Line 338: | ||
|- | |- | ||
|style="text-align:center;"|[[Game_sets:Durrr Burger|Durrr Burger]][[Category:Durrr Burger]] | |style="text-align:center;"|[[Game_sets:Durrr Burger|Durrr Burger]][[Category:Durrr Burger]] | ||
|} | |||
{| class="wikitable" style="display: inline-table;" | |||
|- | |||
|style="text-align:center;"|<html><a href="https://118archive.com/images/118/.Jazwares_Fortnite/_accessories/harvest_tools/Drummies_Fortnite_Action_Figure_Checklist.jpg" target="_blank" ><img src="https://118archive.com/images/118/.Jazwares_Fortnite/_accessories/harvest_tools/Drummies_Fortnite_Action_Figure_Checklist.jpg" alt="Drummies Harvest Tool Jazwares Fortnite Action Figure" height="150"> </html> | |||
|- | |||
|style="text-align:center;"|[[Harvest_Tools:Drummies|Drummies]] [[Category:Drummies]] | |||
|- | |||
|style="text-align:center;"|[[Game Sets:Explosives Expert|Explosives Expert Set]][[Category:Explosives Expert]] | |||
|} | |} | ||
| Line 248: | Line 374: | ||
|- | |- | ||
|style="text-align:center;"|[[Game_sets:Fish Food|Fish Food Set]][[Category:Fish Food]] | |style="text-align:center;"|[[Game_sets:Fish Food|Fish Food Set]][[Category:Fish Food]] | ||
|} | |||
{| class="wikitable" style="display: inline-table;" | |||
|- | |||
|style="text-align:center;"|<html><a href="https://118archive.com/images/118/.Jazwares_Fortnite/_accessories/harvest_tools/Scampi_Fortnite_Action_Figure_Checklist.jpg" target="_blank" ><img src="https://118archive.com/images/118/.Jazwares_Fortnite/_accessories/harvest_tools/Scampi_Fortnite_Action_Figure_Checklist.jpg" alt="Scampi Harvest Tool Jazwares Fortnite Action Figure" height="150"> </html> | |||
|- | |||
|style="text-align:center;"|[[Harvest_Tools:Scampi|Scampi]] [[Category:Scampi]] | |||
|- | |||
|style="text-align:center;"|[[Game_sets:Fish Food|Fish Food Set]][[Category:Fish Food]] | |||
|} | |||
{| class="wikitable" style="display: inline-table;" | |||
|- | |||
|style="text-align:center;"|<html><a href="https://118archive.com/images/118/.Jazwares_Fortnite/_accessories/harvest_tools/Forsaken_Strike_Forsaken_Fortnite_Action_Figure_Checklist.jpg" target="_blank" ><img src="https://118archive.com/images/118/.Jazwares_Fortnite/_accessories/harvest_tools/Forsaken_Strike_Forsaken_Fortnite_Action_Figure_Checklist.jpg" alt="Forsaken Strike Harvest Tool Jazwares Fortnite Action Figure" height="150"> </html> | |||
|- | |||
|style="text-align:center;"|[[Harvest_Tools:Forsaken Strike|Forsaken Strike]] [[Category:Forsaken Strike]] | |||
|- | |||
|style="text-align:center;"|[[Game Sets:Forsaken|Forsaken]][[Category:Forsaken]] | |||
|} | |} | ||
| Line 331: | Line 475: | ||
|- | |- | ||
|style="text-align:center;"|[[Game_sets:Fusion|Fusion Set]][[Category:Fusion]] | |style="text-align:center;"|[[Game_sets:Fusion|Fusion Set]][[Category:Fusion]] | ||
|} | |||
{| class="wikitable" style="display: inline-table;" | |||
|- | |||
|style="text-align:center;"|<html><a href="https://118archive.com/images/118/.Jazwares_Fortnite/_accessories/harvest_tools/Cosmic_Llamacorn_Fortnite_Action_Figure_Checklist.jpg" target="_blank" ><img src="https://118archive.com/images/118/.Jazwares_Fortnite/_accessories/harvest_tools/Cosmic_Llamacorn_Fortnite_Action_Figure_Checklist.jpg" alt="Cosmic Llamacorn Harvest Tool Jazwares Fortnite Action Figure" height="150"> </html> | |||
|- | |||
|style="text-align:center;"|[[Harvest_Tools:Cosmic Llamacorn|Cosmic Llamacorn]] [[Category:Cosmic Llamacorn]] | |||
|- | |||
|style="text-align:center;"|[[Game Sets:Galaxia|Galaxia]][[Category:Galaxia]] | |||
|} | |} | ||
| Line 356: | Line 509: | ||
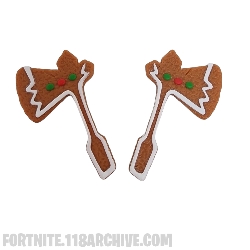
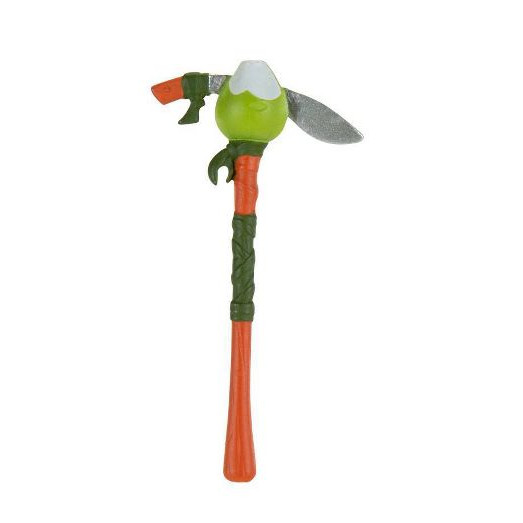
|- | |- | ||
|style="text-align:center;"|[[Harvest_Tools:Cookie Cutter|Cookie Cutter]] [[Category:Cookie Cutter]] | |style="text-align:center;"|[[Harvest_Tools:Cookie Cutter|Cookie Cutter]] [[Category:Cookie Cutter]] | ||
|- | |||
|style="text-align:center;"|[[Game_sets:Gingerbread|Gingerbread Set]][[Category:Gingerbread]] | |||
|} | |||
{| class="wikitable" style="display: inline-table;" | |||
|- | |||
|style="text-align:center;"|<html><a href="https://fortnite.118archive.com/index.php?title=Harvest_Tools:Shortbread Slicers" target="_blank" ><img src="https://118archive.com/images/118/.Jazwares_Fortnite/_accessories/harvest_tools/Shortbread_Slicers_Gingerbread_Fortnite_Action_Figure_Checklist.jpg" alt="Shortbread Slicers Harvest Tool Jazwares Fortnite Action Figure" height="150"> </html> | |||
|- | |||
|style="text-align:center;"|[[Harvest_Tools:Shortbread Slicers|Shortbread Slicers]] [[Category:Shortbread Slicers]] | |||
|- | |- | ||
|style="text-align:center;"|[[Game_sets:Gingerbread|Gingerbread Set]][[Category:Gingerbread]] | |style="text-align:center;"|[[Game_sets:Gingerbread|Gingerbread Set]][[Category:Gingerbread]] | ||
| Line 367: | Line 529: | ||
|- | |- | ||
|style="text-align:center;"|[[Game_sets:Goalbound|Goalbound Set]][[Category:Goalbound]] | |style="text-align:center;"|[[Game_sets:Goalbound|Goalbound Set]][[Category:Goalbound]] | ||
|} | |||
{| class="wikitable" style="display: inline-table;" | |||
|- | |||
|style="text-align:center;"|<html><a href="https://fortnite.118archive.com/index.php?title=Harvest_Tools:Chew Toy" target="_blank" ><img src="https://118archive.com/images/118/.Jazwares_Fortnite/_accessories/harvest_tools/Chew_Toy_Grumble_Gang_Fortnite_Action_Figure_Checklist.jpg" alt="Chew Toy Harvest Tool Jazwares Fortnite Action Figure" height="150"> </html> | |||
|- | |||
|style="text-align:center;"|[[Harvest_Tools:Chew Toy|Chew Toy]] [[Category:Chew Toy]] | |||
|- | |||
|style="text-align:center;"|[[Game_sets:Grumble Gang|Grumble Gang Set]][[Category:Grumble Gang]] | |||
|} | |||
{| class="wikitable" style="display: inline-table;" | |||
|- | |||
|style="text-align:center;"|<html><a href="https://fortnite.118archive.com/index.php?title=Harvest_Tools:Holiday Ham" target="_blank" ><img src="https://118archive.com/images/118/.Jazwares_Fortnite/_accessories/harvest_tools/Holiday_Ham_Grumble_Gang_Fortnite_Action_Figure_Checklist.jpg" alt="Holiday Ham Harvest Tool Jazwares Fortnite Action Figure" height="150"> </html> | |||
|- | |||
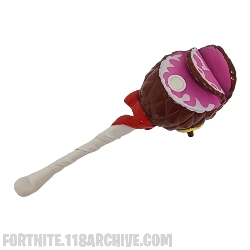
|style="text-align:center;"|[[Harvest_Tools:Holiday Ham|Holiday Ham]] [[Category:Holiday Ham]] | |||
|- | |||
|style="text-align:center;"|[[Game_sets:Grumble Gang|Grumble Gang Set]][[Category:Grumble Gang]] | |||
|} | |} | ||
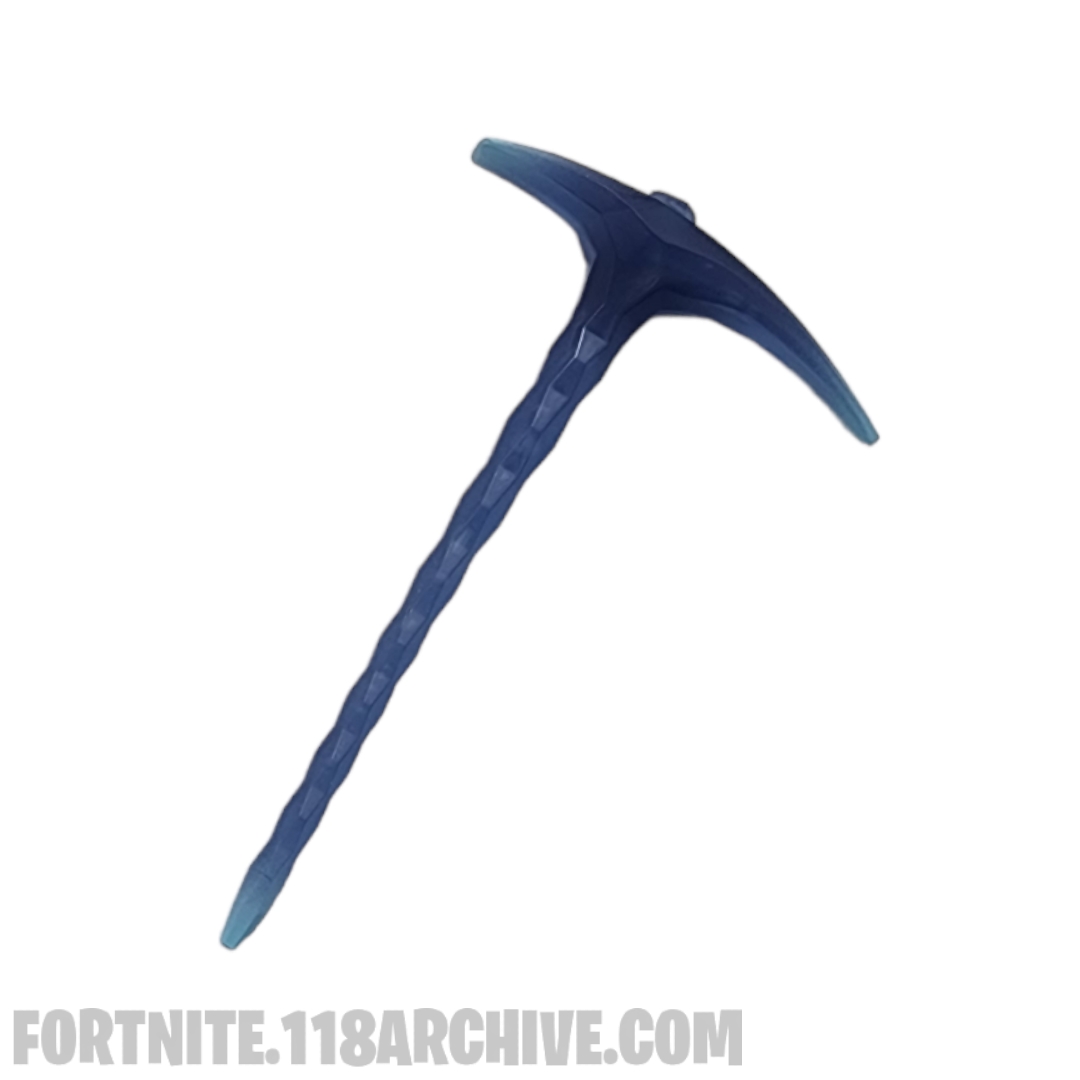
| Line 375: | Line 555: | ||
|style="text-align:center;"|[[Harvest_Tools:Permafrost|Permafrost]] [[Category:Permafrost]] | |style="text-align:center;"|[[Harvest_Tools:Permafrost|Permafrost]] [[Category:Permafrost]] | ||
|- | |- | ||
[[Category:Harbinger]] | |style="text-align:center;"|[[Game Sets:Harbinger|Harbinger]][[Category:Harbinger]] | ||
|} | |||
{| class="wikitable" style="display: inline-table;" | |||
|- | |||
|style="text-align:center;"|<html><a href="https://fortnite.118archive.com/index.php?title=Harvest_Tools:Knights Torment" target="_blank" ><img src="https://118archive.com/images/118/.Jazwares_Fortnite/_accessories/harvest_tools/Knights_Torment_Fortnite_Action_Figure_Checklist.jpg" alt="Knights Torment Harvest Tool Jazwares Fortnite Action Figure" height="150"> </html> | |||
|- | |||
|style="text-align:center;"|[[Harvest_Tools:Knights Torment|Knights Torment]] [[Category:]] | |||
|- | |||
|style="text-align:center;"|[[Game_sets:Honor Glory Gold|Honor Glory Gold Set]][[Category:Honor Glory Gold]] | |||
|} | |} | ||
| Line 383: | Line 572: | ||
|- | |- | ||
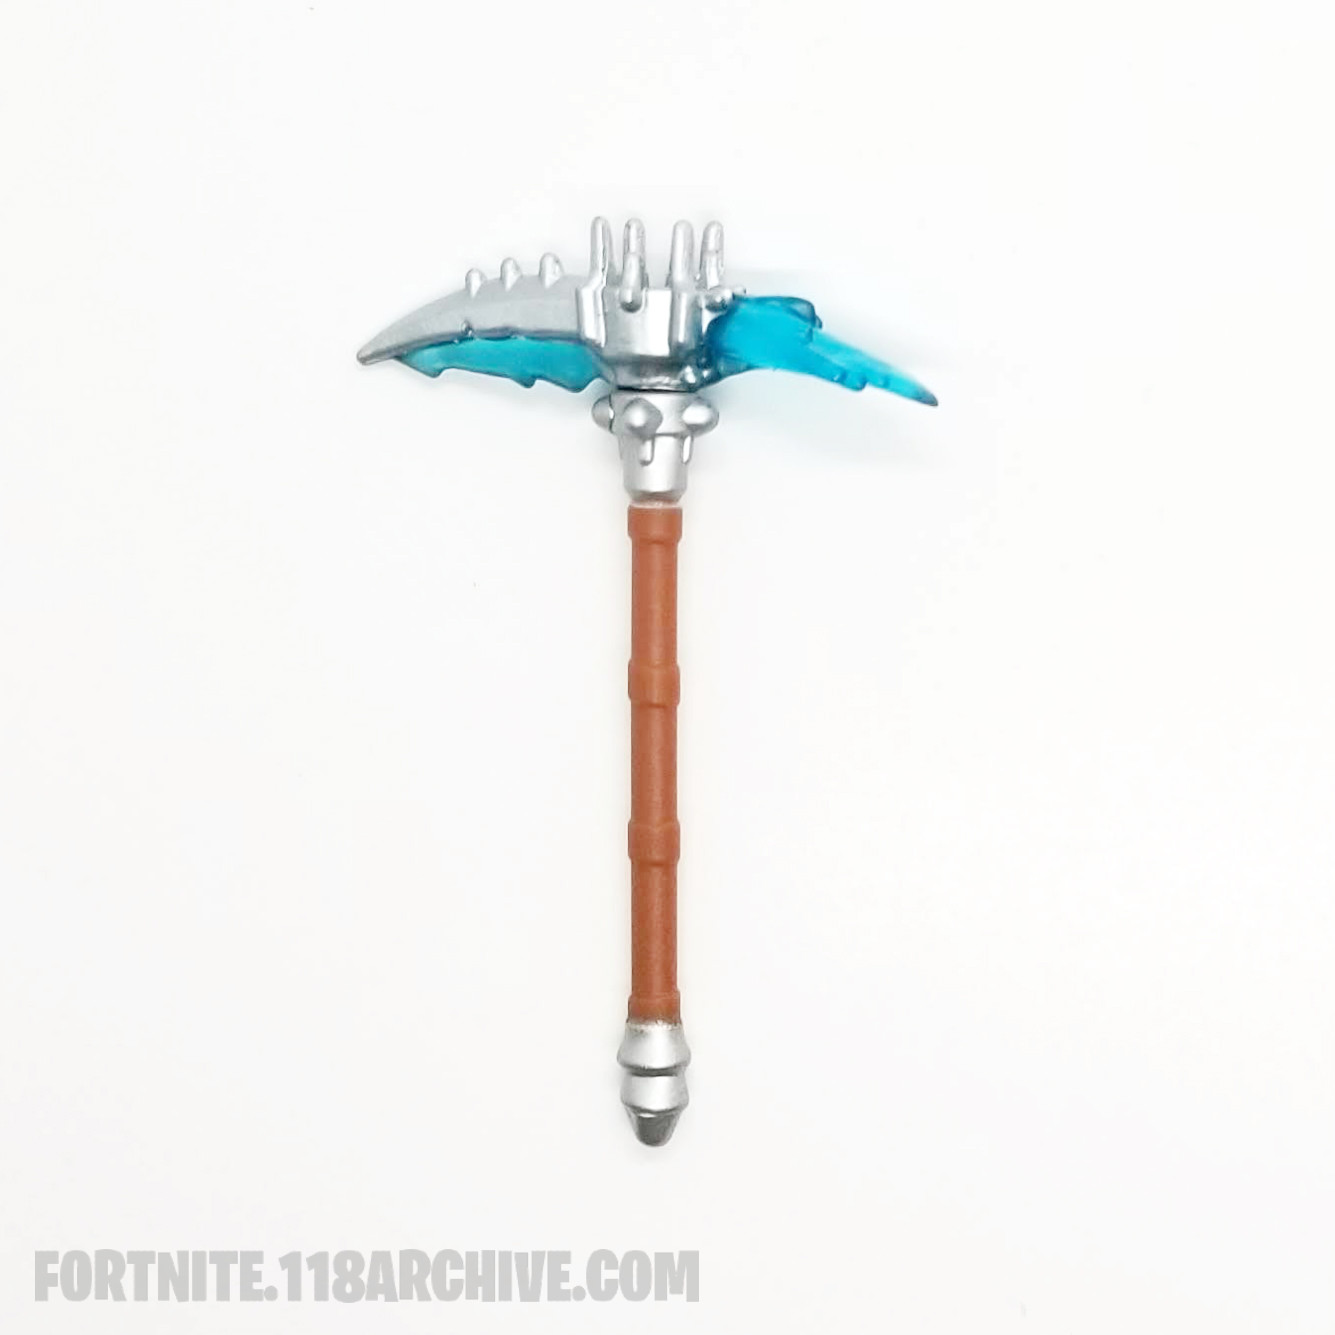
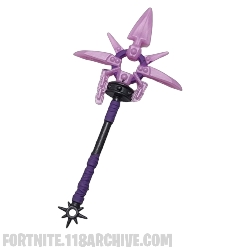
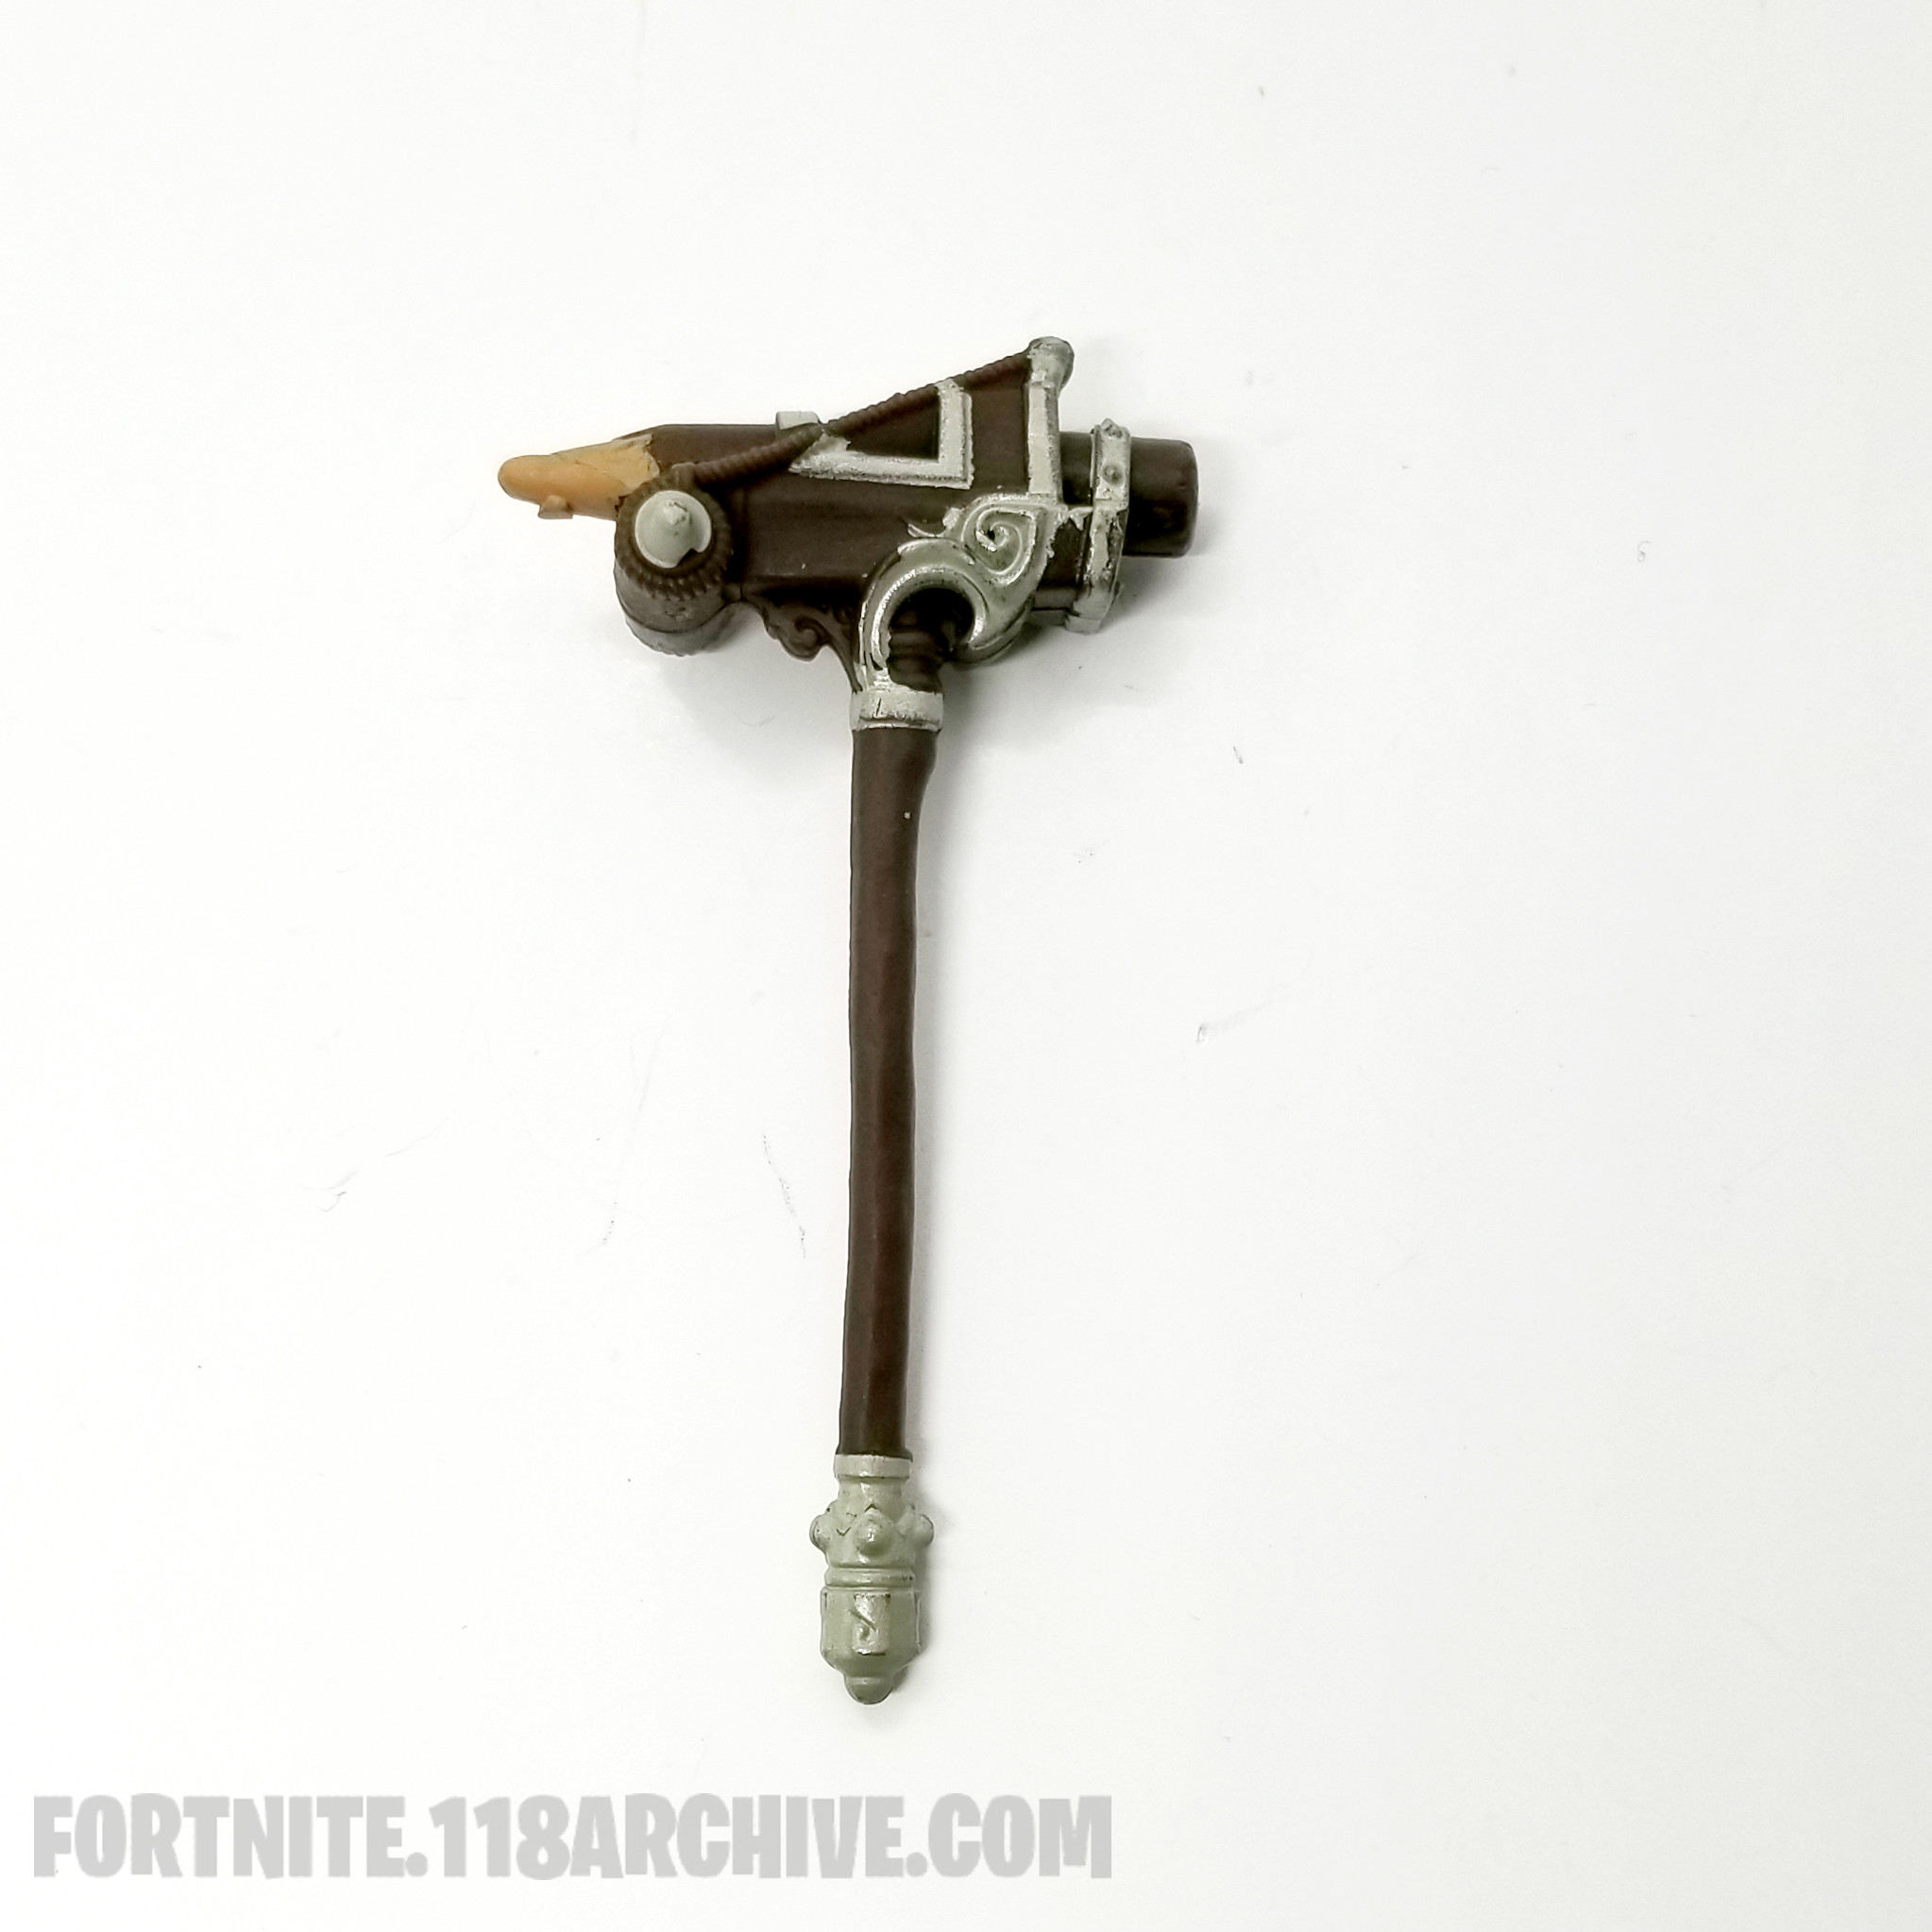
|style="text-align:center;"|[[Harvest_Tools:Ice Scepter|Ice Scepter]] [[Category:Ice Scepter]] | |style="text-align:center;"|[[Harvest_Tools:Ice Scepter|Ice Scepter]] [[Category:Ice Scepter]] | ||
[[Category:Ice Kingdom]] | |- | ||
|style="text-align:center;"|[[Game Sets:Ice Kingdom|Ice Kingdom]][[Category:Ice Kingdom]] | |||
|} | |} | ||
| Line 392: | Line 582: | ||
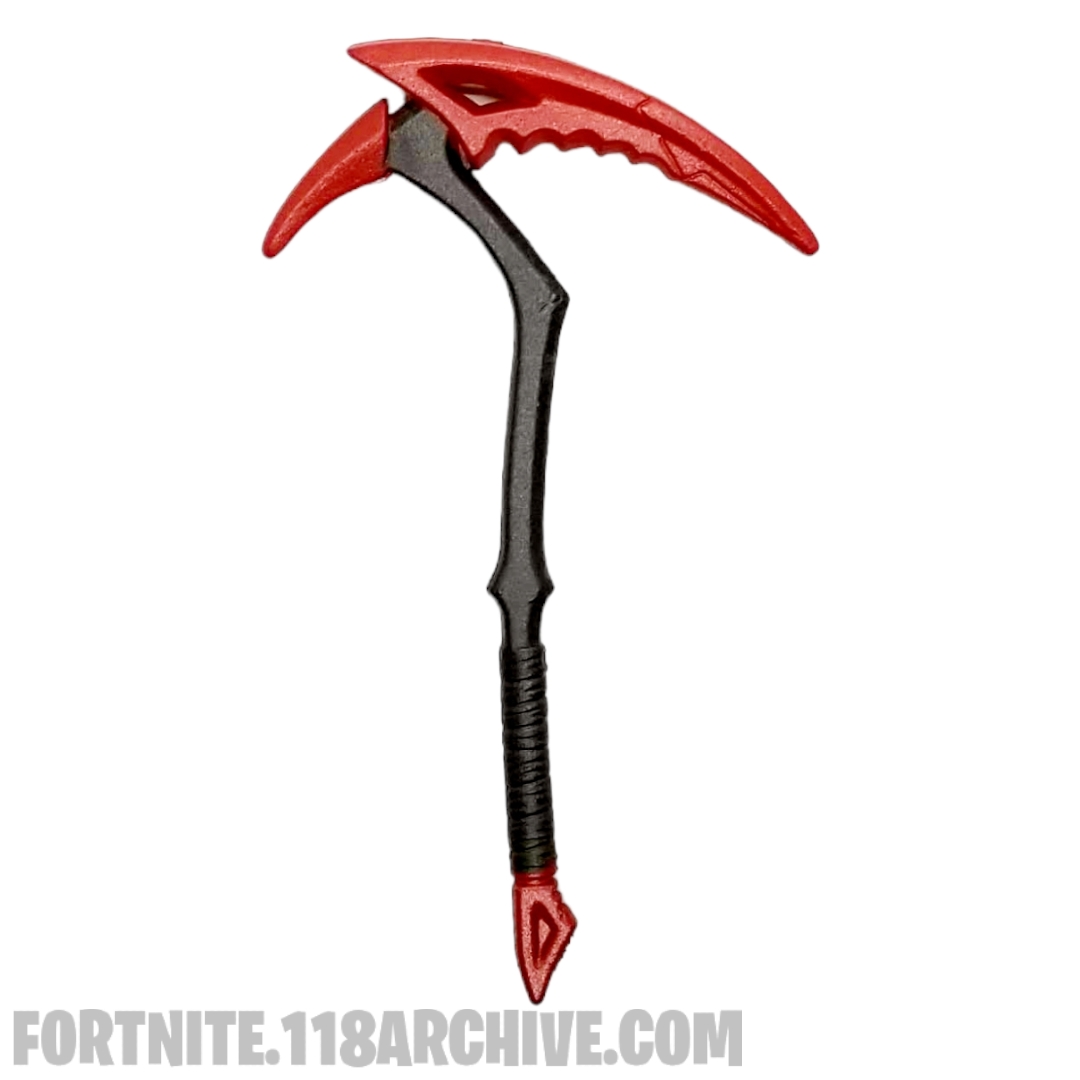
|style="text-align:center;"|[[Harvest_Tools:Crimson Scythe|Crimson Scythe]] [[Category:Crimson Scythe]] | |style="text-align:center;"|[[Harvest_Tools:Crimson Scythe|Crimson Scythe]] [[Category:Crimson Scythe]] | ||
|- | |- | ||
[[Category:Inferno]] | |style="text-align:center;"|[[Game Sets:Inferno|Inferno]][[Category:Inferno]] | ||
|} | |} | ||
| Line 400: | Line 590: | ||
|- | |- | ||
|style="text-align:center;"|[[Harvest_Tools:Astral Axe|Astral Axe]] [[Category:Astral Axe]] | |style="text-align:center;"|[[Harvest_Tools:Astral Axe|Astral Axe]] [[Category:Astral Axe]] | ||
[[Category:Interstellar]] | |- | ||
|style="text-align:center;"|[[Game Sets:Interstellar|Interstellar]][[Category:Interstellar]] | |||
|} | |||
{| class="wikitable" style="display: inline-table;" | |||
|- | |||
|style="text-align:center;"|<html><a href="https://fortnite.118archive.com/index.php?title=Harvest_Tools:Punch Saw" target="_blank" ><img src="https://118archive.com/images/118/.Jazwares_Fortnite/_accessories/harvest_tools/Punch_Saw_IO_Fortnite_Action_Figure_Checklist.jpg" alt="Punch Saw Harvest Tool Jazwares Fortnite Action Figure" height="150"> </html> | |||
|- | |||
|style="text-align:center;"|[[Harvest_Tools:Punch Saw|Punch Saw]] [[Category:Punch Saw]] | |||
|- | |||
|style="text-align:center;"|[[Game_sets:IO Inquest|IO Inquest Set]][[Category:IO Inquest]] | |||
|} | |||
{| class="wikitable" style="display: inline-table;" | |||
|- | |||
|style="text-align:center;"|<html><a href="https://fortnite.118archive.com/index.php?title=Harvest_Tools:Sparkleaxe" target="_blank" ><img src="https://118archive.com/images/118/.Jazwares_Fortnite/_accessories/harvest_tools/Punch_Saw_IO_Fortnite_Action_Figure_Checklist.jpg" alt="Sparkleaxe Harvest Tool Jazwares Fortnite Action Figure" height="150"> </html> | |||
|- | |||
|style="text-align:center;"|[[Harvest_Tools:Sparkleaxe|Sparkleaxe]] [[Category:Sparkleaxe]] | |||
|- | |||
|style="text-align:center;"|[[Game_sets:Ka-Bang!|Ka-Bang! Set]][[Category:Ka-Bang!]] | |||
|} | |} | ||
| Line 409: | Line 618: | ||
|style="text-align:center;"|[[Harvest_Tools:Lockpick|Lockpick]] [[Category:Lockpick]] | |style="text-align:center;"|[[Harvest_Tools:Lockpick|Lockpick]] [[Category:Lockpick]] | ||
|- | |- | ||
[[Category:Key Force]] | |style="text-align:center;"|[[Game Sets:Key Force|Key Force]][[Category:Key Force]] | ||
|} | |} | ||
| Line 418: | Line 627: | ||
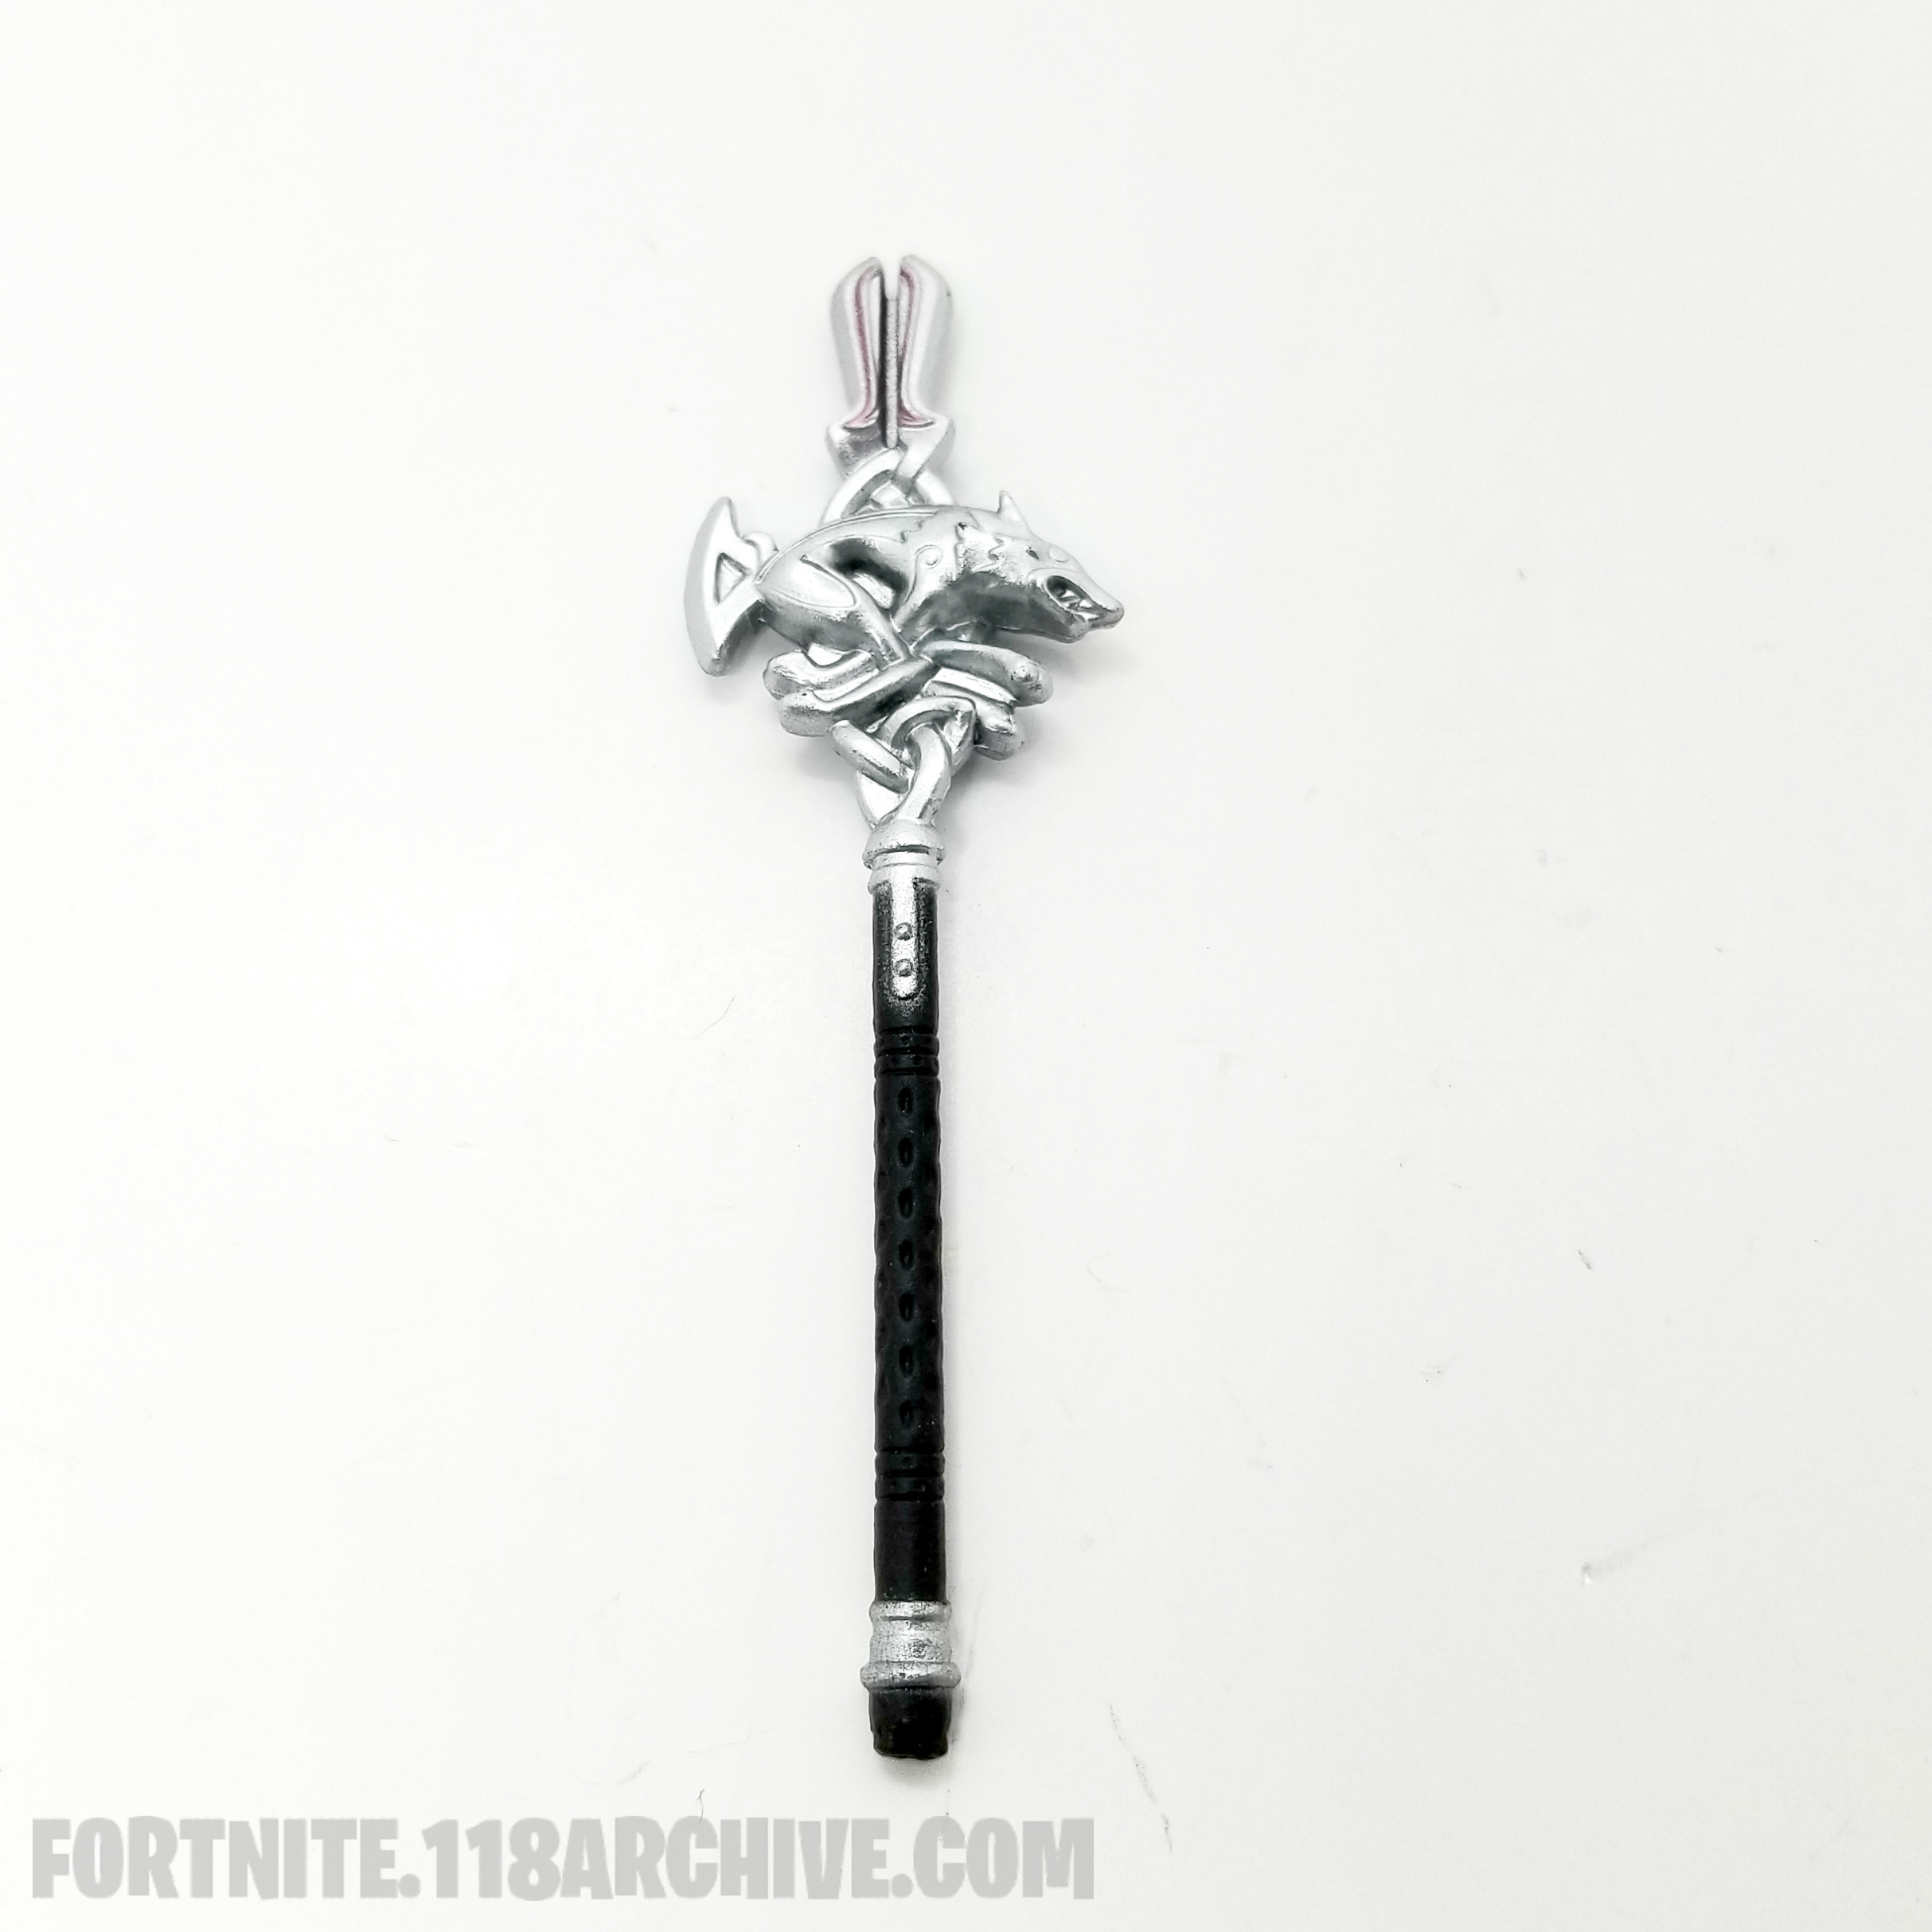
|style="text-align:center;"|[[Harvest_Tools:Silver Fang|Silver Fang]] [[Category:Silver Fang]] | |style="text-align:center;"|[[Harvest_Tools:Silver Fang|Silver Fang]] [[Category:Silver Fang]] | ||
|- | |- | ||
[[Category:Laoch]] | |style="text-align:center;"|[[Game Sets:Laoch|Laoch]][[Category:Laoch]] | ||
|} | |} | ||
| Line 427: | Line 636: | ||
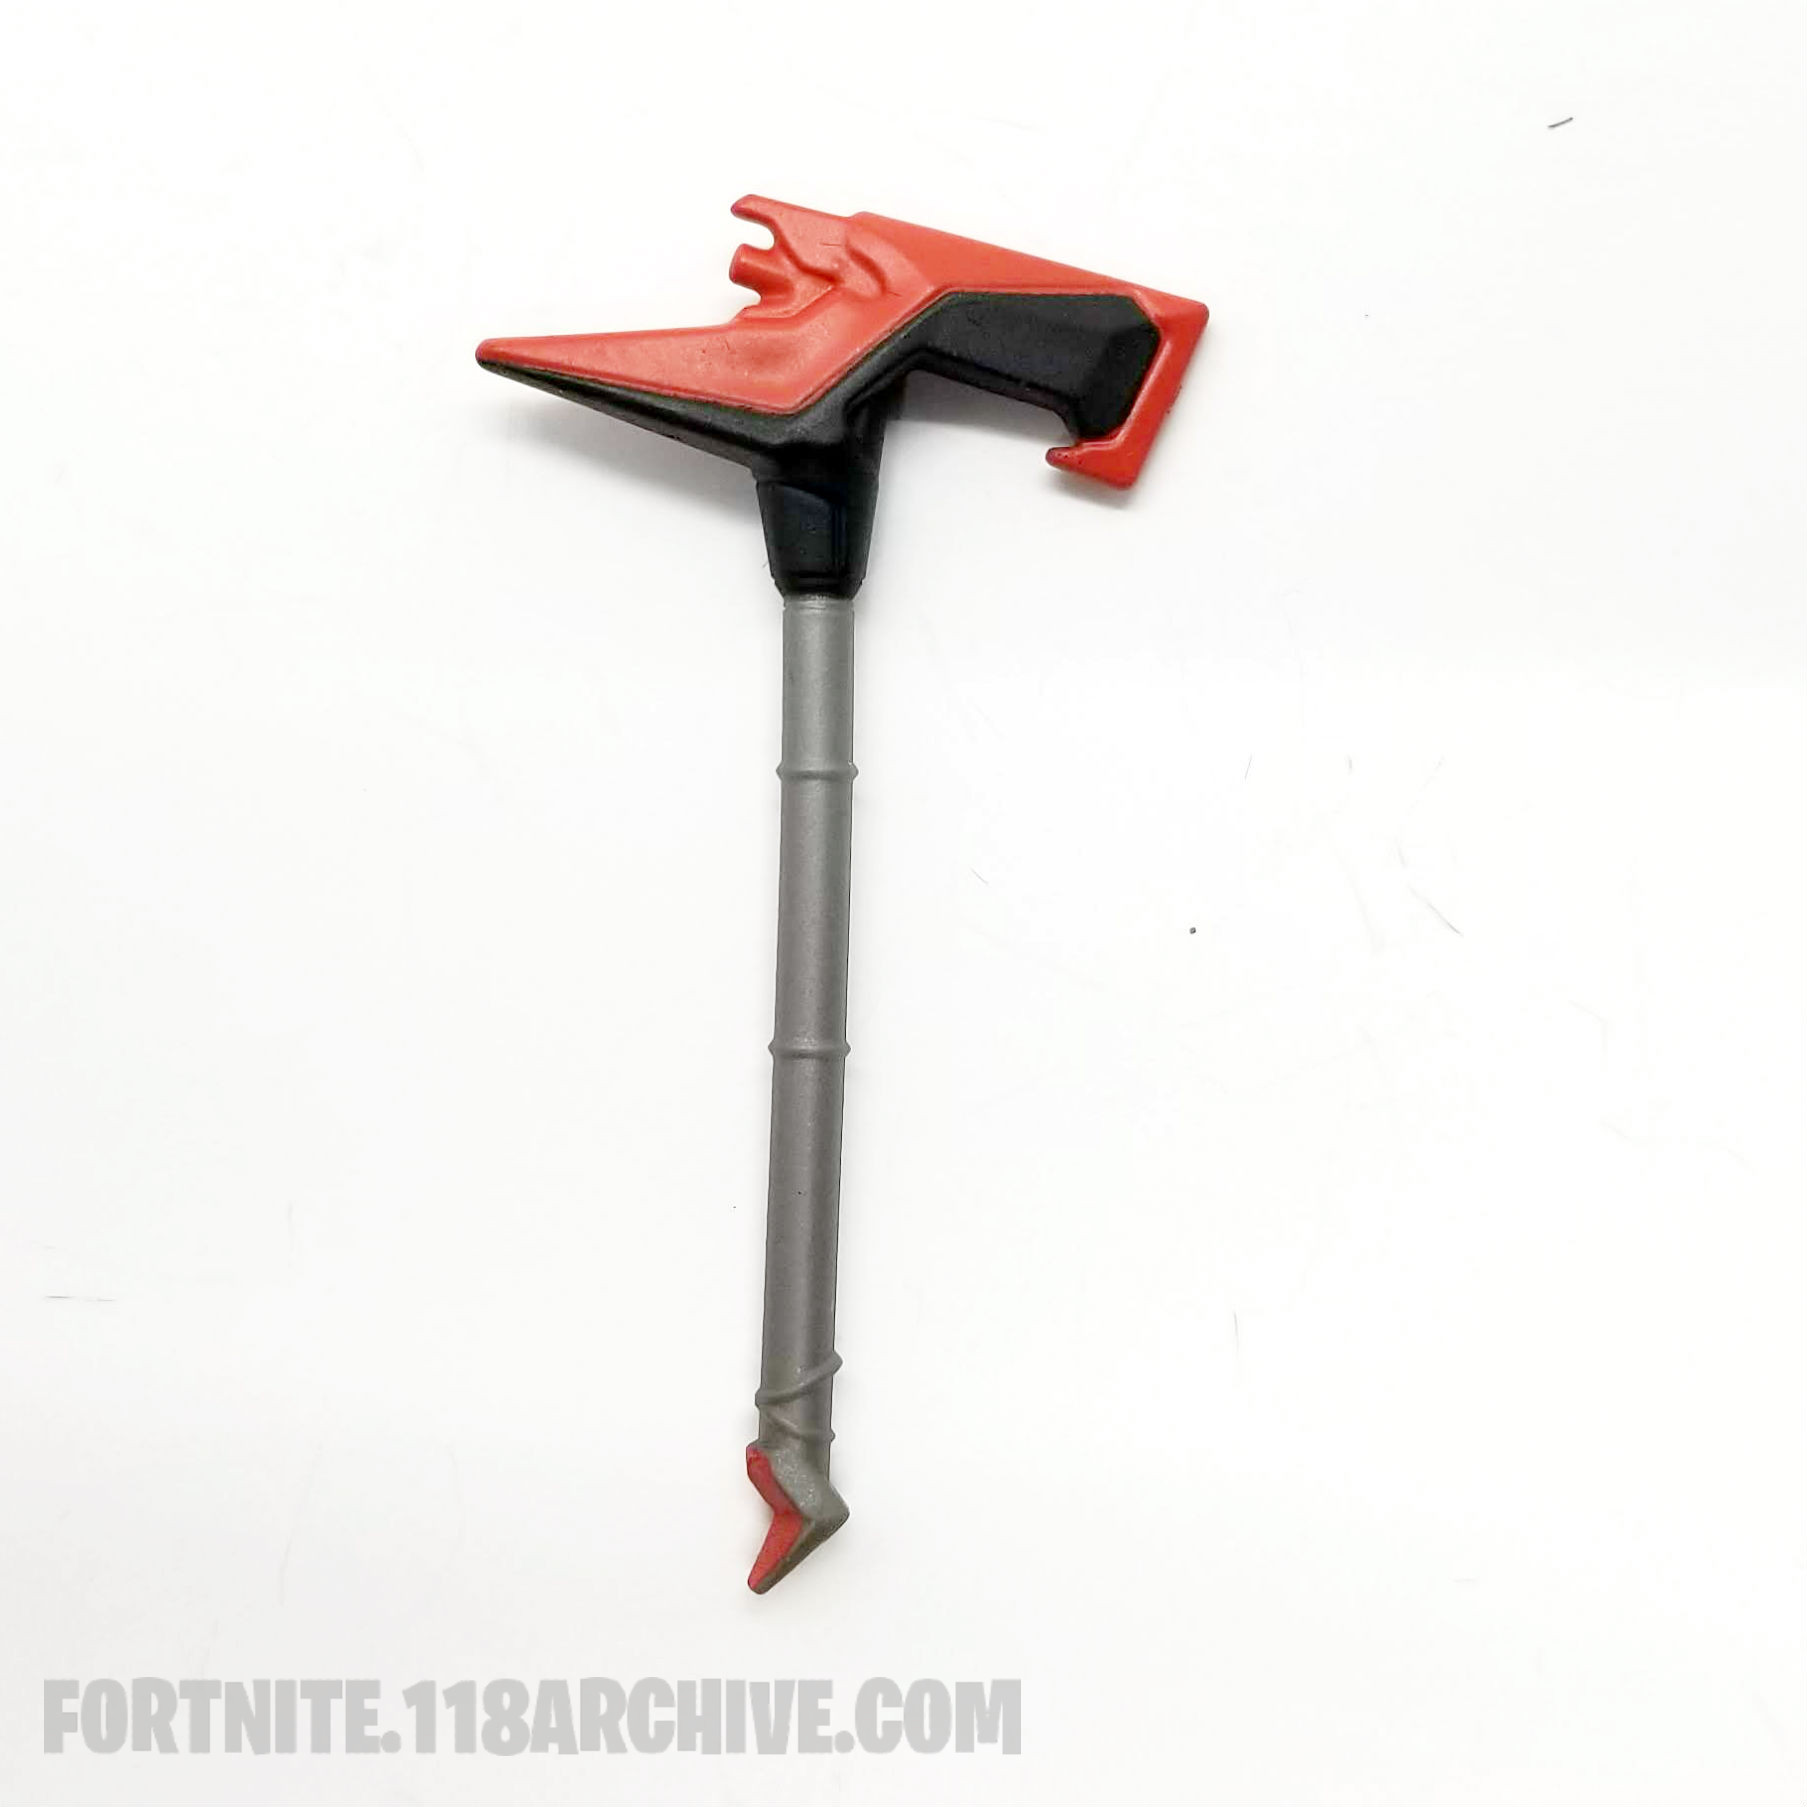
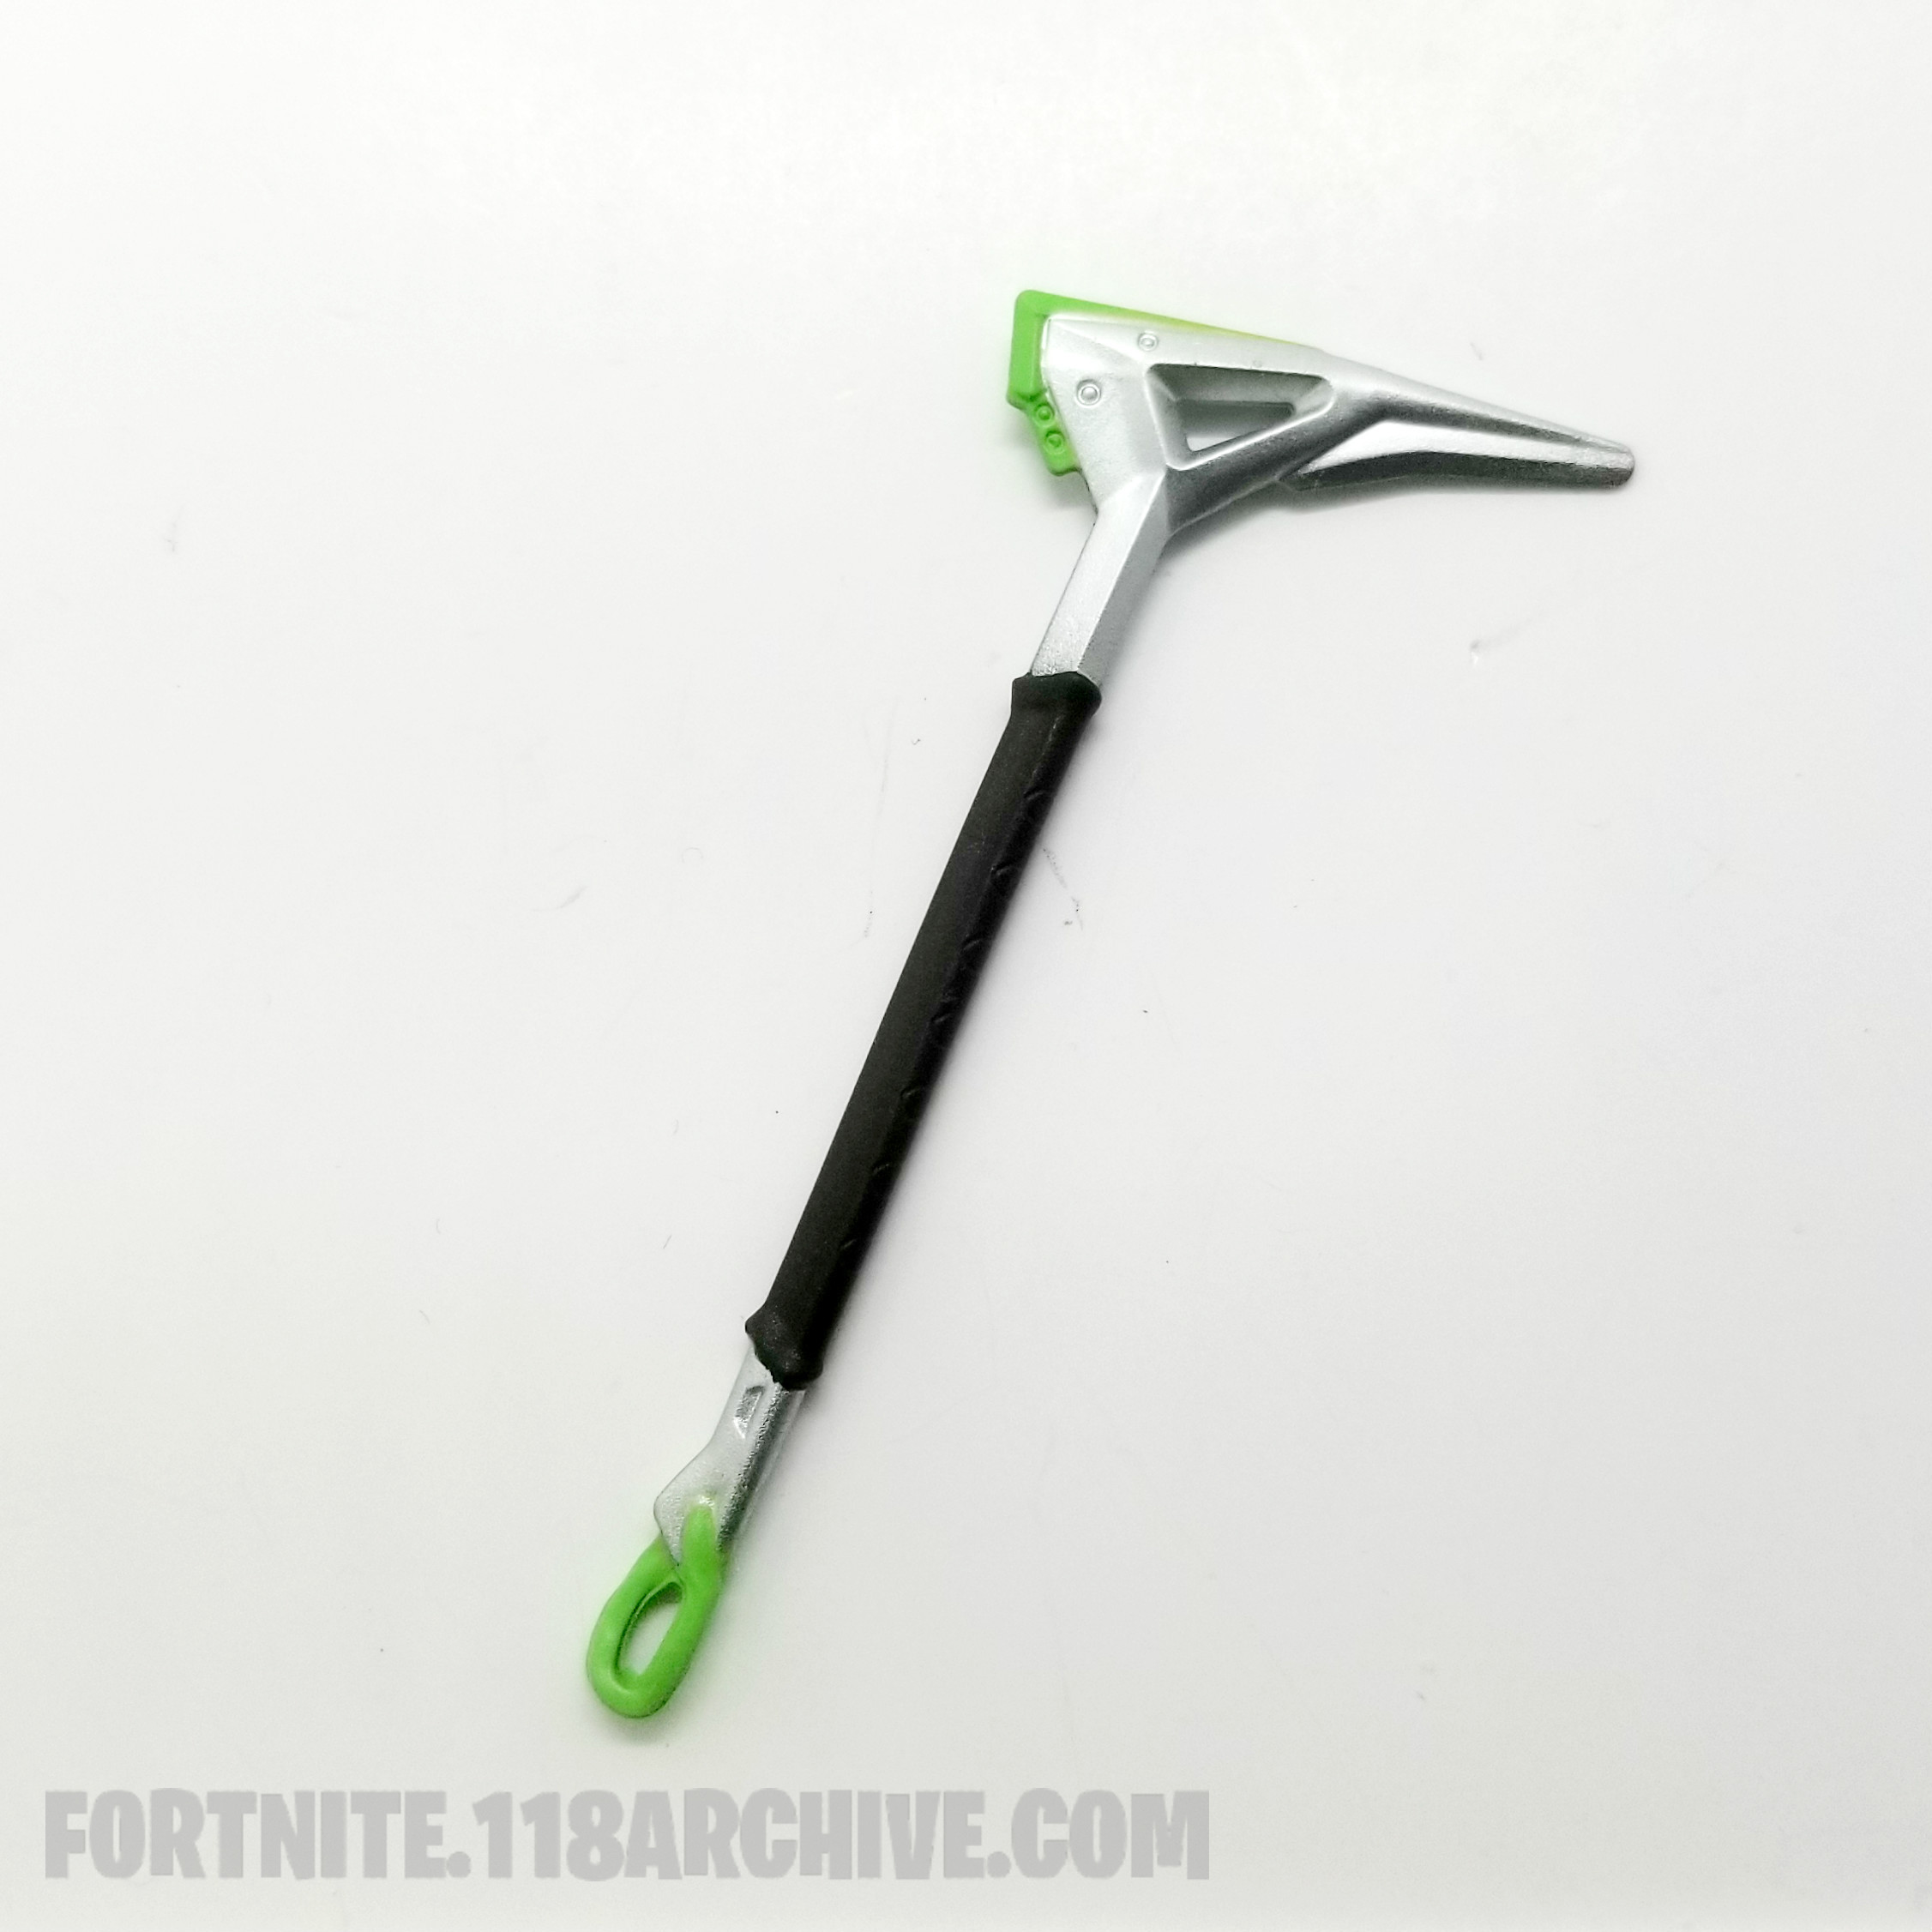
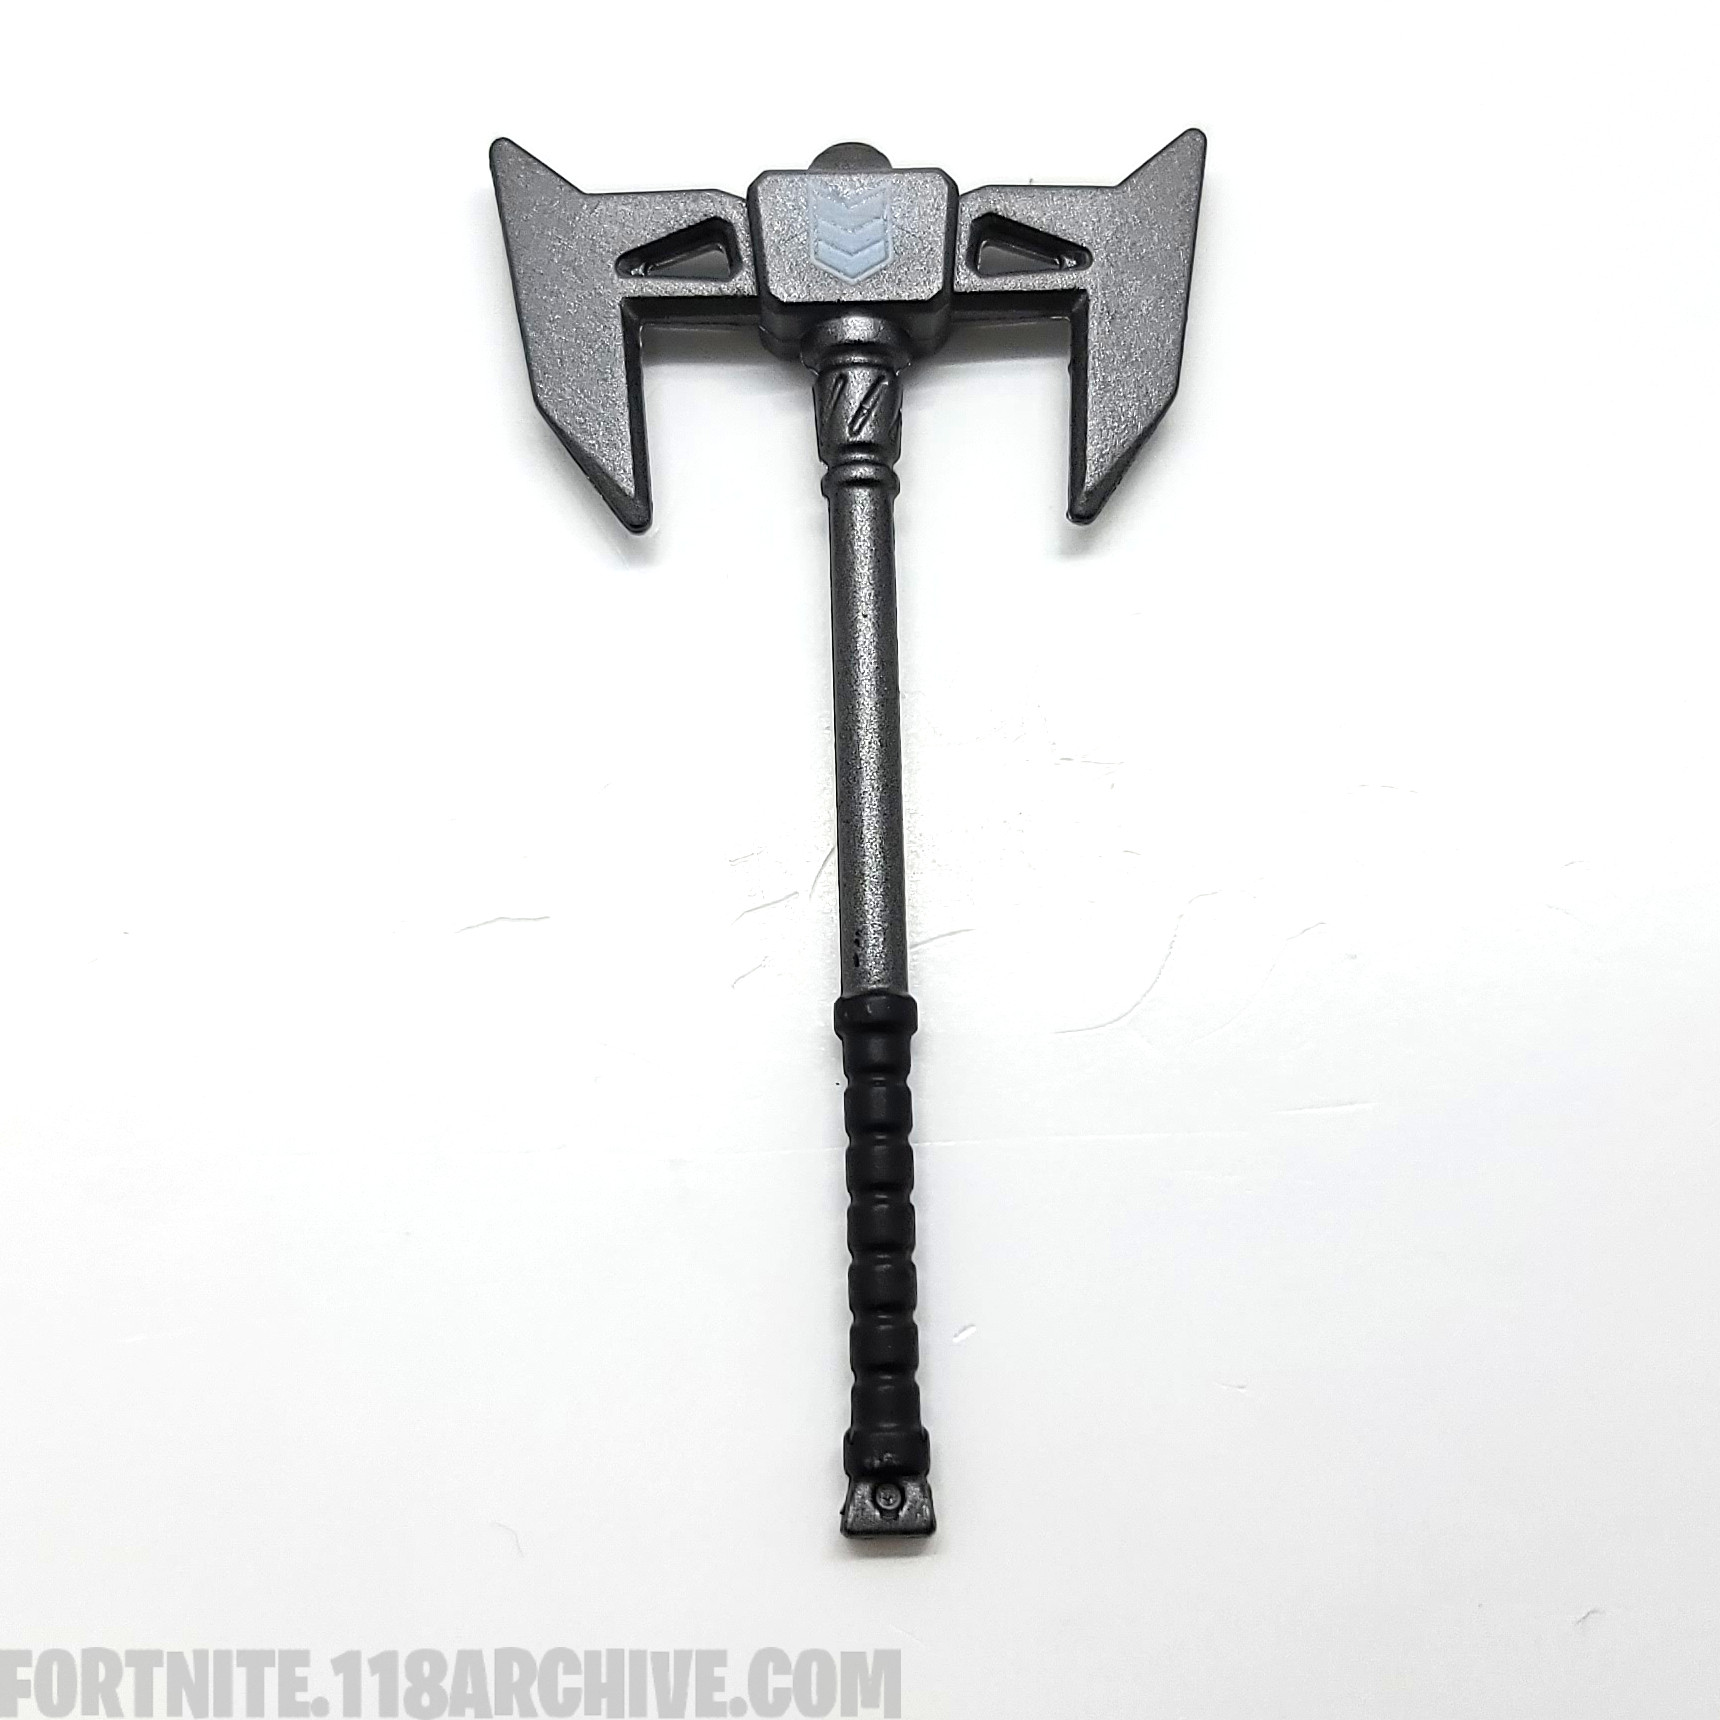
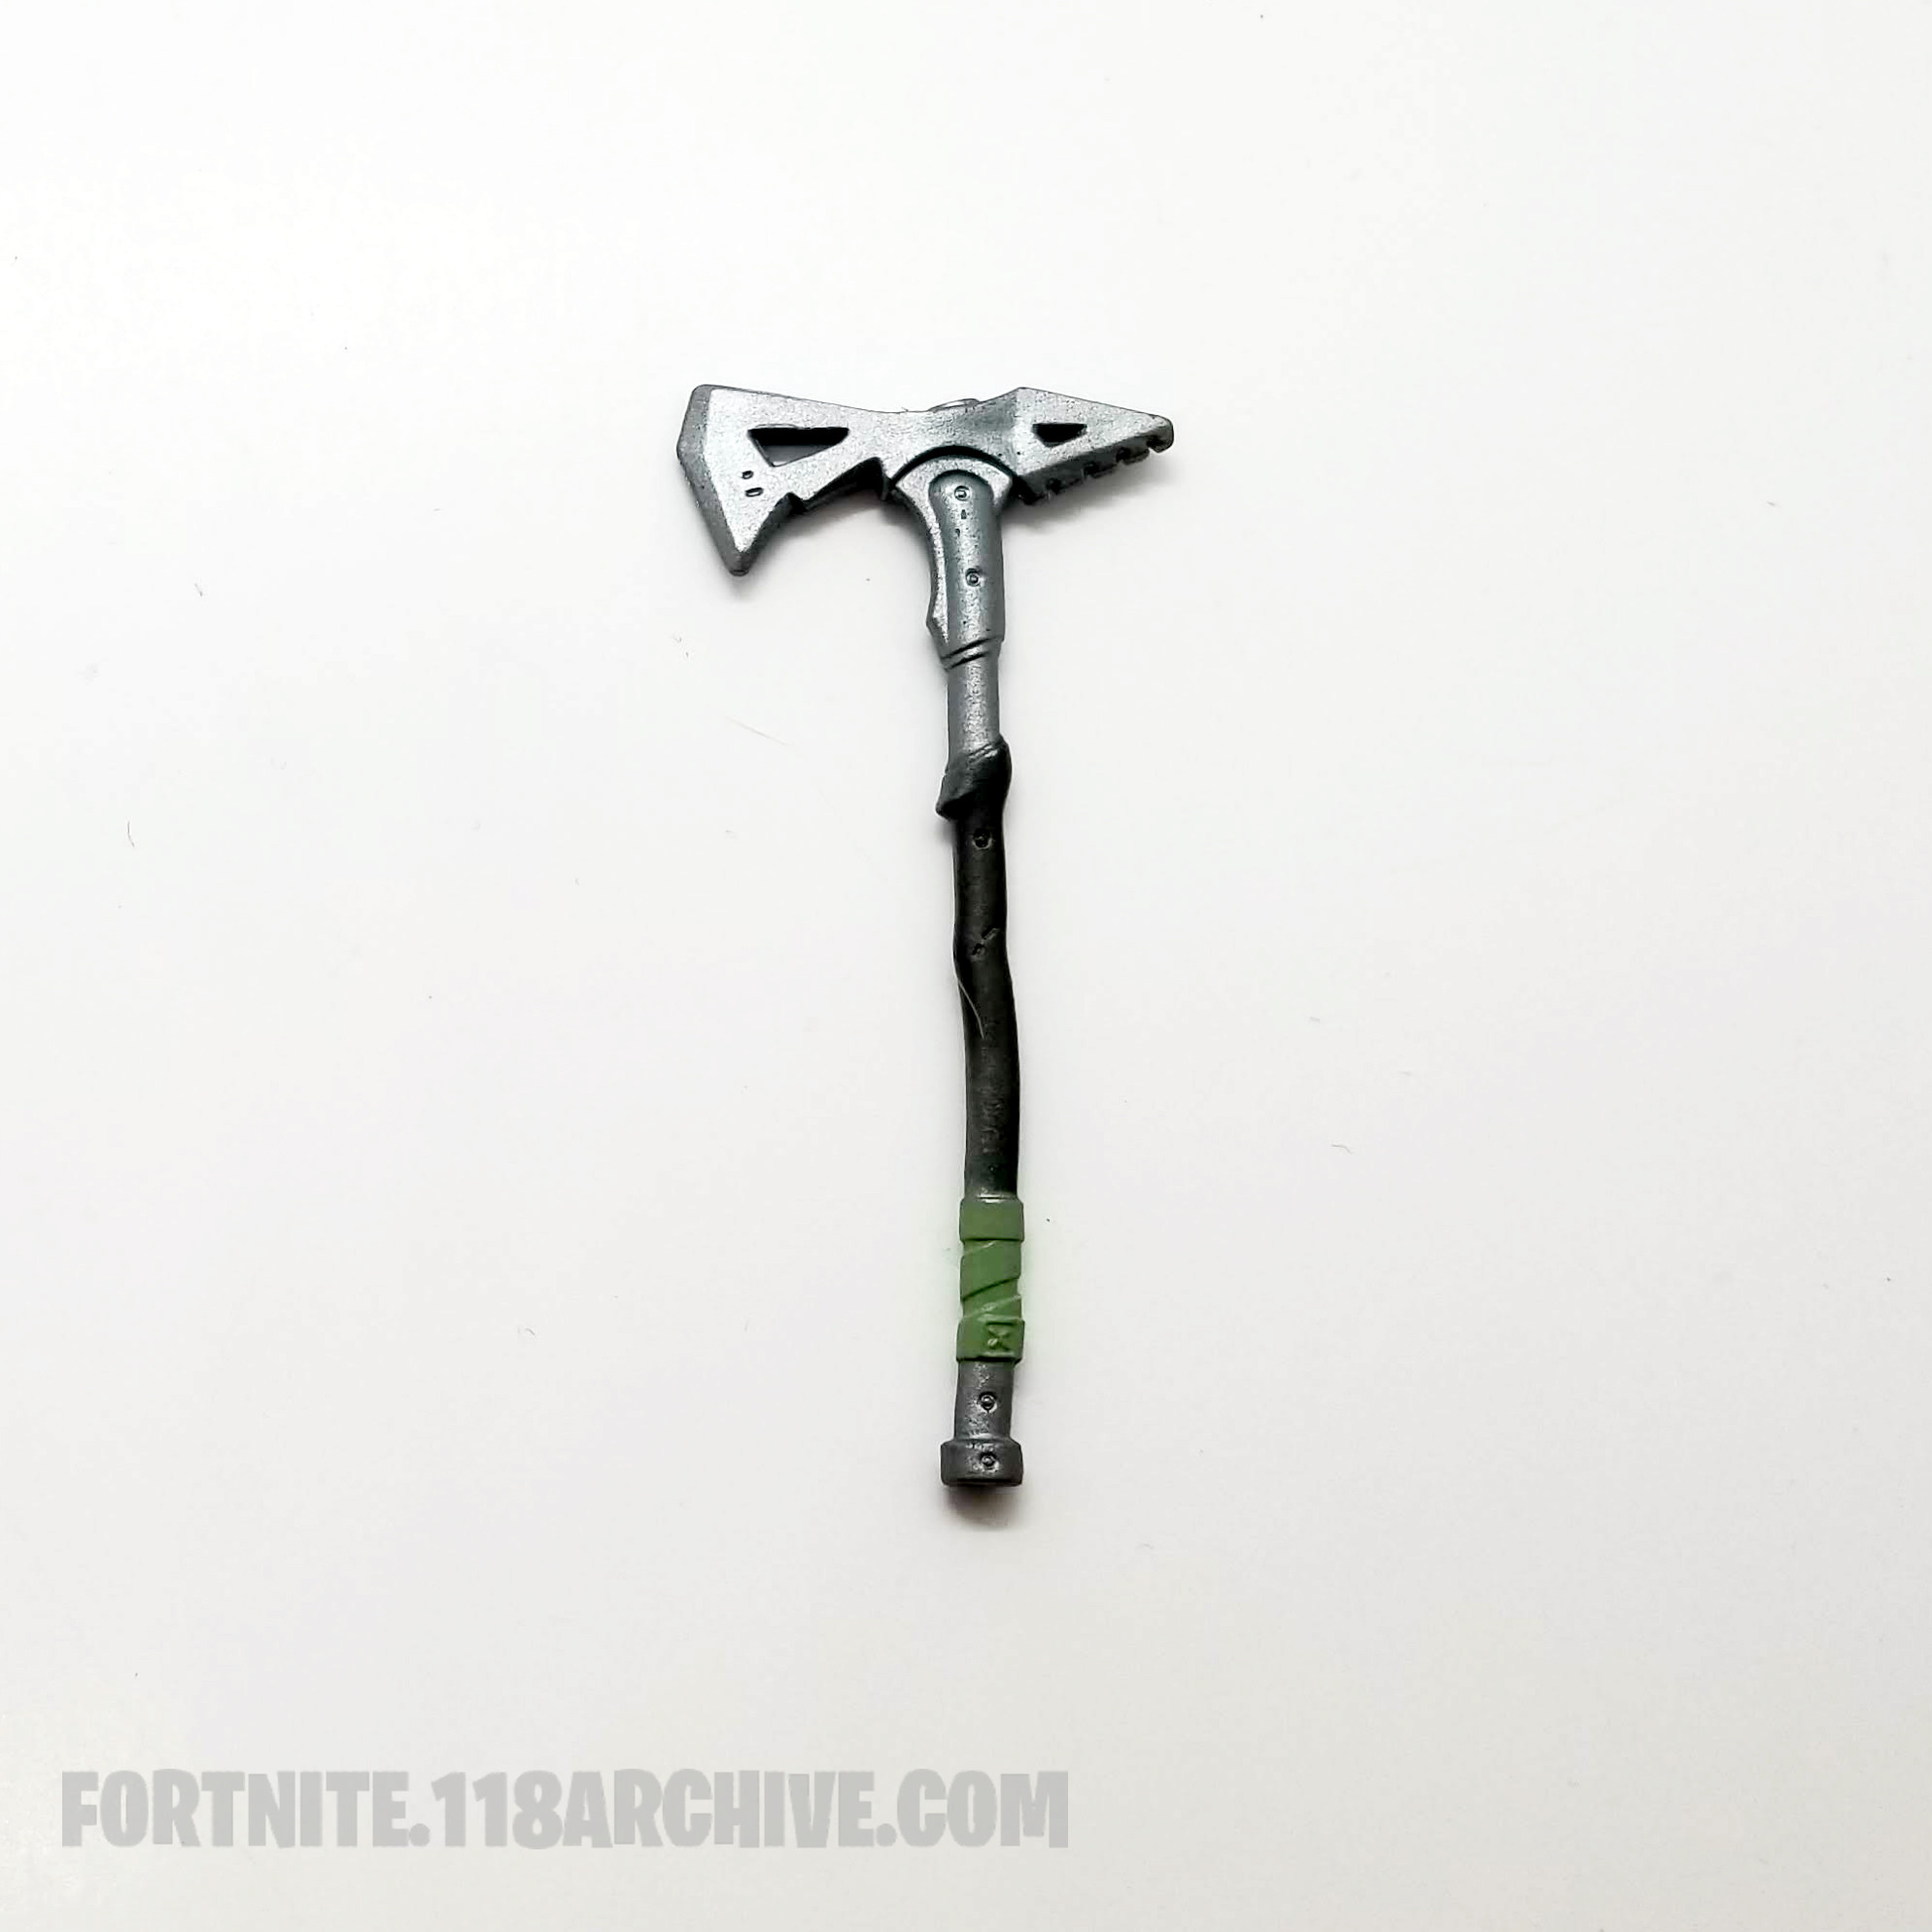
|style="text-align:center;"|[[Harvest_Tools:Razor Smash|Razor Smash]] [[Category:Razor Smash]] | |style="text-align:center;"|[[Harvest_Tools:Razor Smash|Razor Smash]] [[Category:Razor Smash]] | ||
|- | |- | ||
[[Category:Leftovers]] | |style="text-align:center;"|[[Game Sets:Leftovers|Leftovers]][[Category:Leftovers]] | ||
|} | |||
{| class="wikitable" style="display: inline-table;" | |||
|- | |||
|style="text-align:center;"|<html><a href="https://118archive.com/images/118/.Jazwares_Fortnite/_accessories/harvest_tools/Razor_Smash_Dark_Leftovers_Fortnite_Action_Figure_Checklist.jpg" target="_blank" ><img src="https://118archive.com/images/118/.Jazwares_Fortnite/_accessories/harvest_tools/Razor_Smash_Dark_Leftovers_Fortnite_Action_Figure_Checklist.jpg" alt="Razor Smash Harvest Tool Jazwares Fortnite Action Figure" height="150"> </html> | |||
|- | |||
|style="text-align:center;"|[[Harvest_Tools:Razor Smash Dark|Razor Smash (Dark)]] [[Category:Razor Smash]] | |||
|- | |||
|style="text-align:center;"|[[Game Sets:Leftovers|Leftovers]][[Category:Leftovers]] | |||
|} | |||
{| class="wikitable" style="display: inline-table;" | |||
|- | |||
|style="text-align:center;"|<html><a href="https://118archive.com/images/118/.Jazwares_Fortnite/_accessories/harvest_tools/Snack_Attackers_Leftovers_Fortnite_Action_Figure_Checklist.jpg" target="_blank" ><img src="https://118archive.com/images/118/.Jazwares_Fortnite/_accessories/harvest_tools/Snack_Attackers_Leftovers_Fortnite_Action_Figure_Checklist.jpg" alt="Snack Attackers Harvest Tool Jazwares Fortnite Action Figure" height="150"> </html> | |||
|- | |||
|style="text-align:center;"|[[Harvest_Tools:Snack Attackers|Snack Attackers]] [[Category:Snack Attackers]] | |||
|- | |||
|style="text-align:center;"|[[Game Sets:Leftovers|Leftovers]][[Category:Leftovers]] | |||
|} | |} | ||
| Line 436: | Line 663: | ||
|style="text-align:center;"|[[Harvest_Tools:Thunder Crash|Thunder Crash]] [[Category:Thunder Crash]] | |style="text-align:center;"|[[Harvest_Tools:Thunder Crash|Thunder Crash]] [[Category:Thunder Crash]] | ||
|- | |- | ||
[[Category:Lightning & Thunderstorms]] | |style="text-align:center;"|[[Game Sets:Lightning & Thunderstorms|Lightning & Thunderstorms]][[Category:Lightning & Thunderstorms]] | ||
|} | |} | ||
| Line 445: | Line 672: | ||
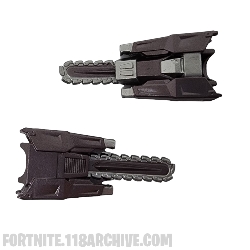
|style="text-align:center;"|[[Harvest_Tools:Steel Shadow|Steel Shadow]] [[Category:Steel Shadow]] | |style="text-align:center;"|[[Harvest_Tools:Steel Shadow|Steel Shadow]] [[Category:Steel Shadow]] | ||
|- | |- | ||
[[Category:Lone Shadow]] | |style="text-align:center;"|[[Game Sets:Lone Shadow|Lone Shadow]][[Category:Lone Shadow]] | ||
|} | |||
{| class="wikitable" style="display: inline-table;" | |||
|- | |||
|style="text-align:center;"|<html><a href="https://118archive.com/images/118/.Jazwares_Fortnite/_accessories/harvest_tools/Reality_Render_Long_Live_the_Queen_Fortnite_Action_Figure_Checklist.jpg" target="_blank" ><img src="https://118archive.com/images/118/.Jazwares_Fortnite/_accessories/harvest_tools/Reality_Render_Long_Live_the_Queen_Fortnite_Action_Figure_Checklist.jpg" alt="Reality Render Harvest Tool Jazwares Fortnite Action Figure" height="150"> </html> | |||
|- | |||
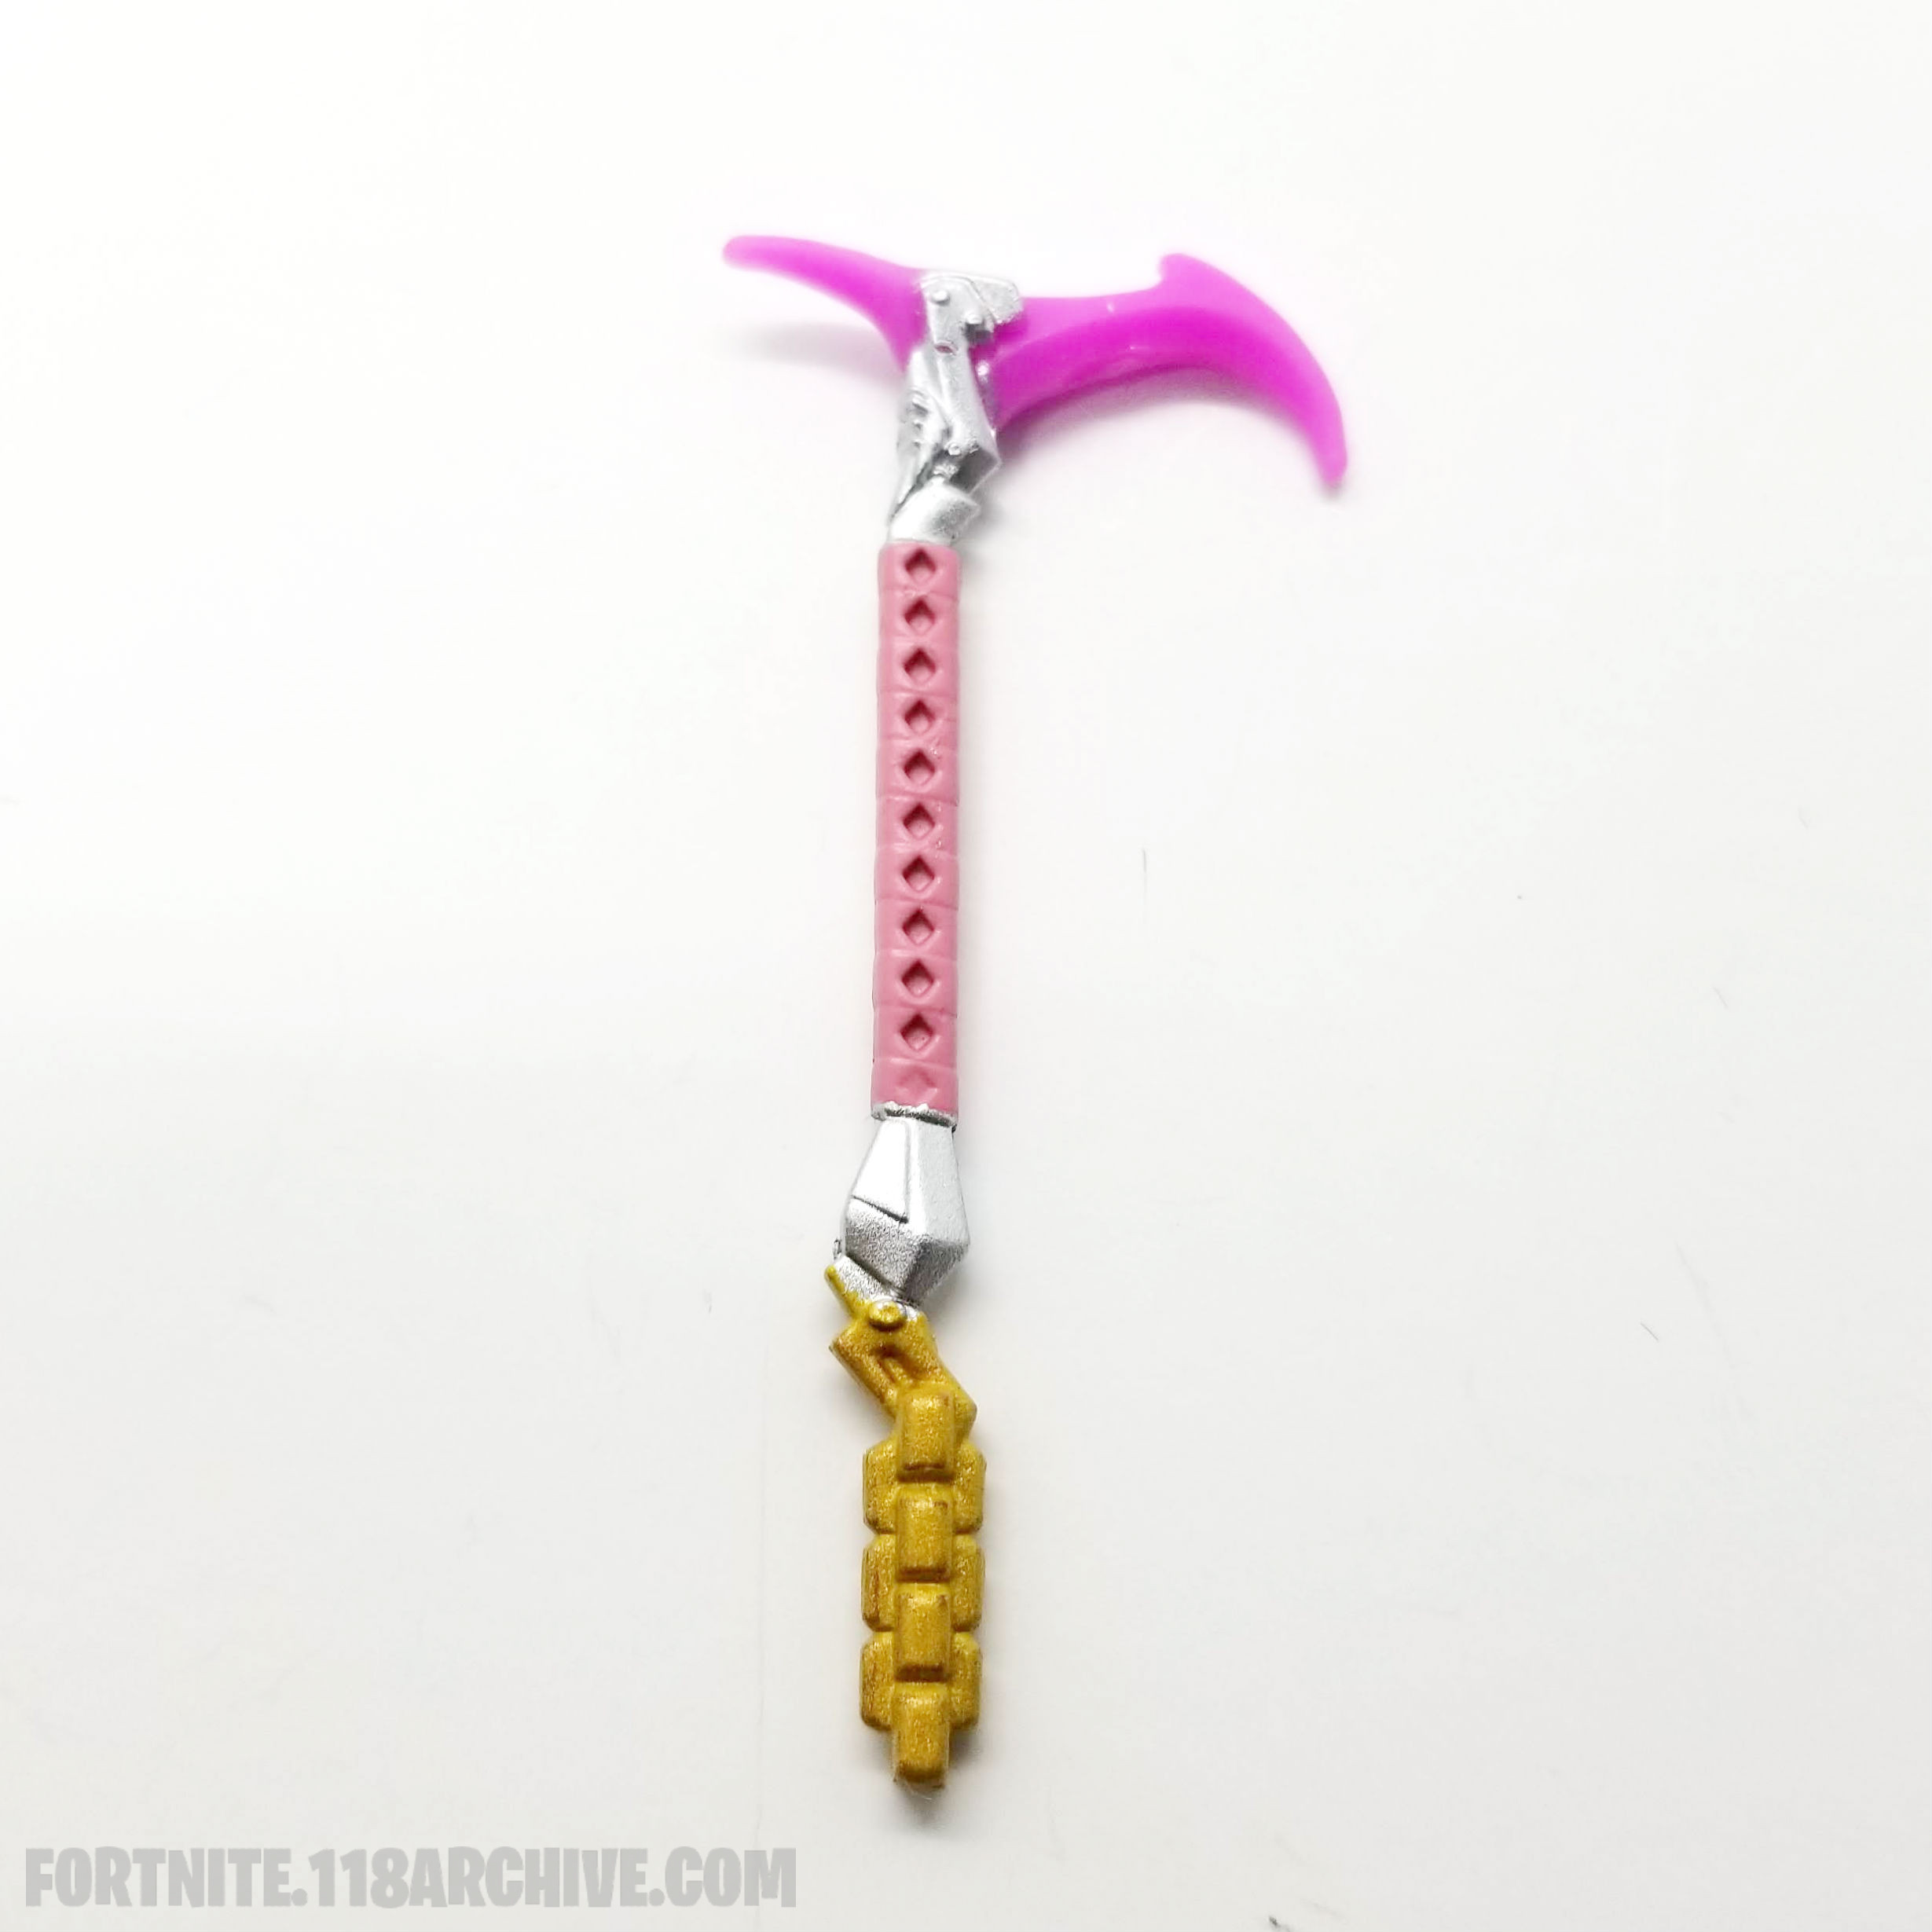
|style="text-align:center;"|[[Harvest_Tools:Reality Render|Reality Render]] [[Category:Reality Render]] | |||
|- | |||
|style="text-align:center;"|[[Game Sets:Long Live the Queen|Long Live the Queen]][[Category:Long Live the Queen]] | |||
|} | |} | ||
| Line 454: | Line 690: | ||
|style="text-align:center;"|[[Harvest_Tools:Scratchmark|Scratchmark]] [[Category:Scratchmark]] | |style="text-align:center;"|[[Harvest_Tools:Scratchmark|Scratchmark]] [[Category:Scratchmark]] | ||
|- | |- | ||
[[Category:Lynx]] | |style="text-align:center;"|[[Game Sets:Lynx|Lynx]][[Category:Lynx]] | ||
|} | |||
{| class="wikitable" style="display: inline-table;" | |||
|- | |||
|style="text-align:center;"|<html><a href="https://118archive.com/images/118/.Jazwares_Fortnite/_accessories/harvest_tools/Grafitaxe_Marked_Man_Fortnite_Action_Figure_Checklist.jpg" target="_blank" ><img src="https://118archive.com/images/118/.Jazwares_Fortnite/_accessories/harvest_tools/Grafitaxe_Marked_Man_Fortnite_Action_Figure_Checklist.jpg" alt="Grafitaxe Harvest Tool Jazwares Fortnite Action Figure" height="150"> </html> | |||
|- | |||
|style="text-align:center;"|[[Harvest_Tools:Grafitaxe|Grafitaxe]] [[Category:Grafitaxe]] | |||
|- | |||
|style="text-align:center;"|[[Game Sets:Marked Man|Marked Man]][[Category:Marked Man]] | |||
|} | |} | ||
| Line 463: | Line 708: | ||
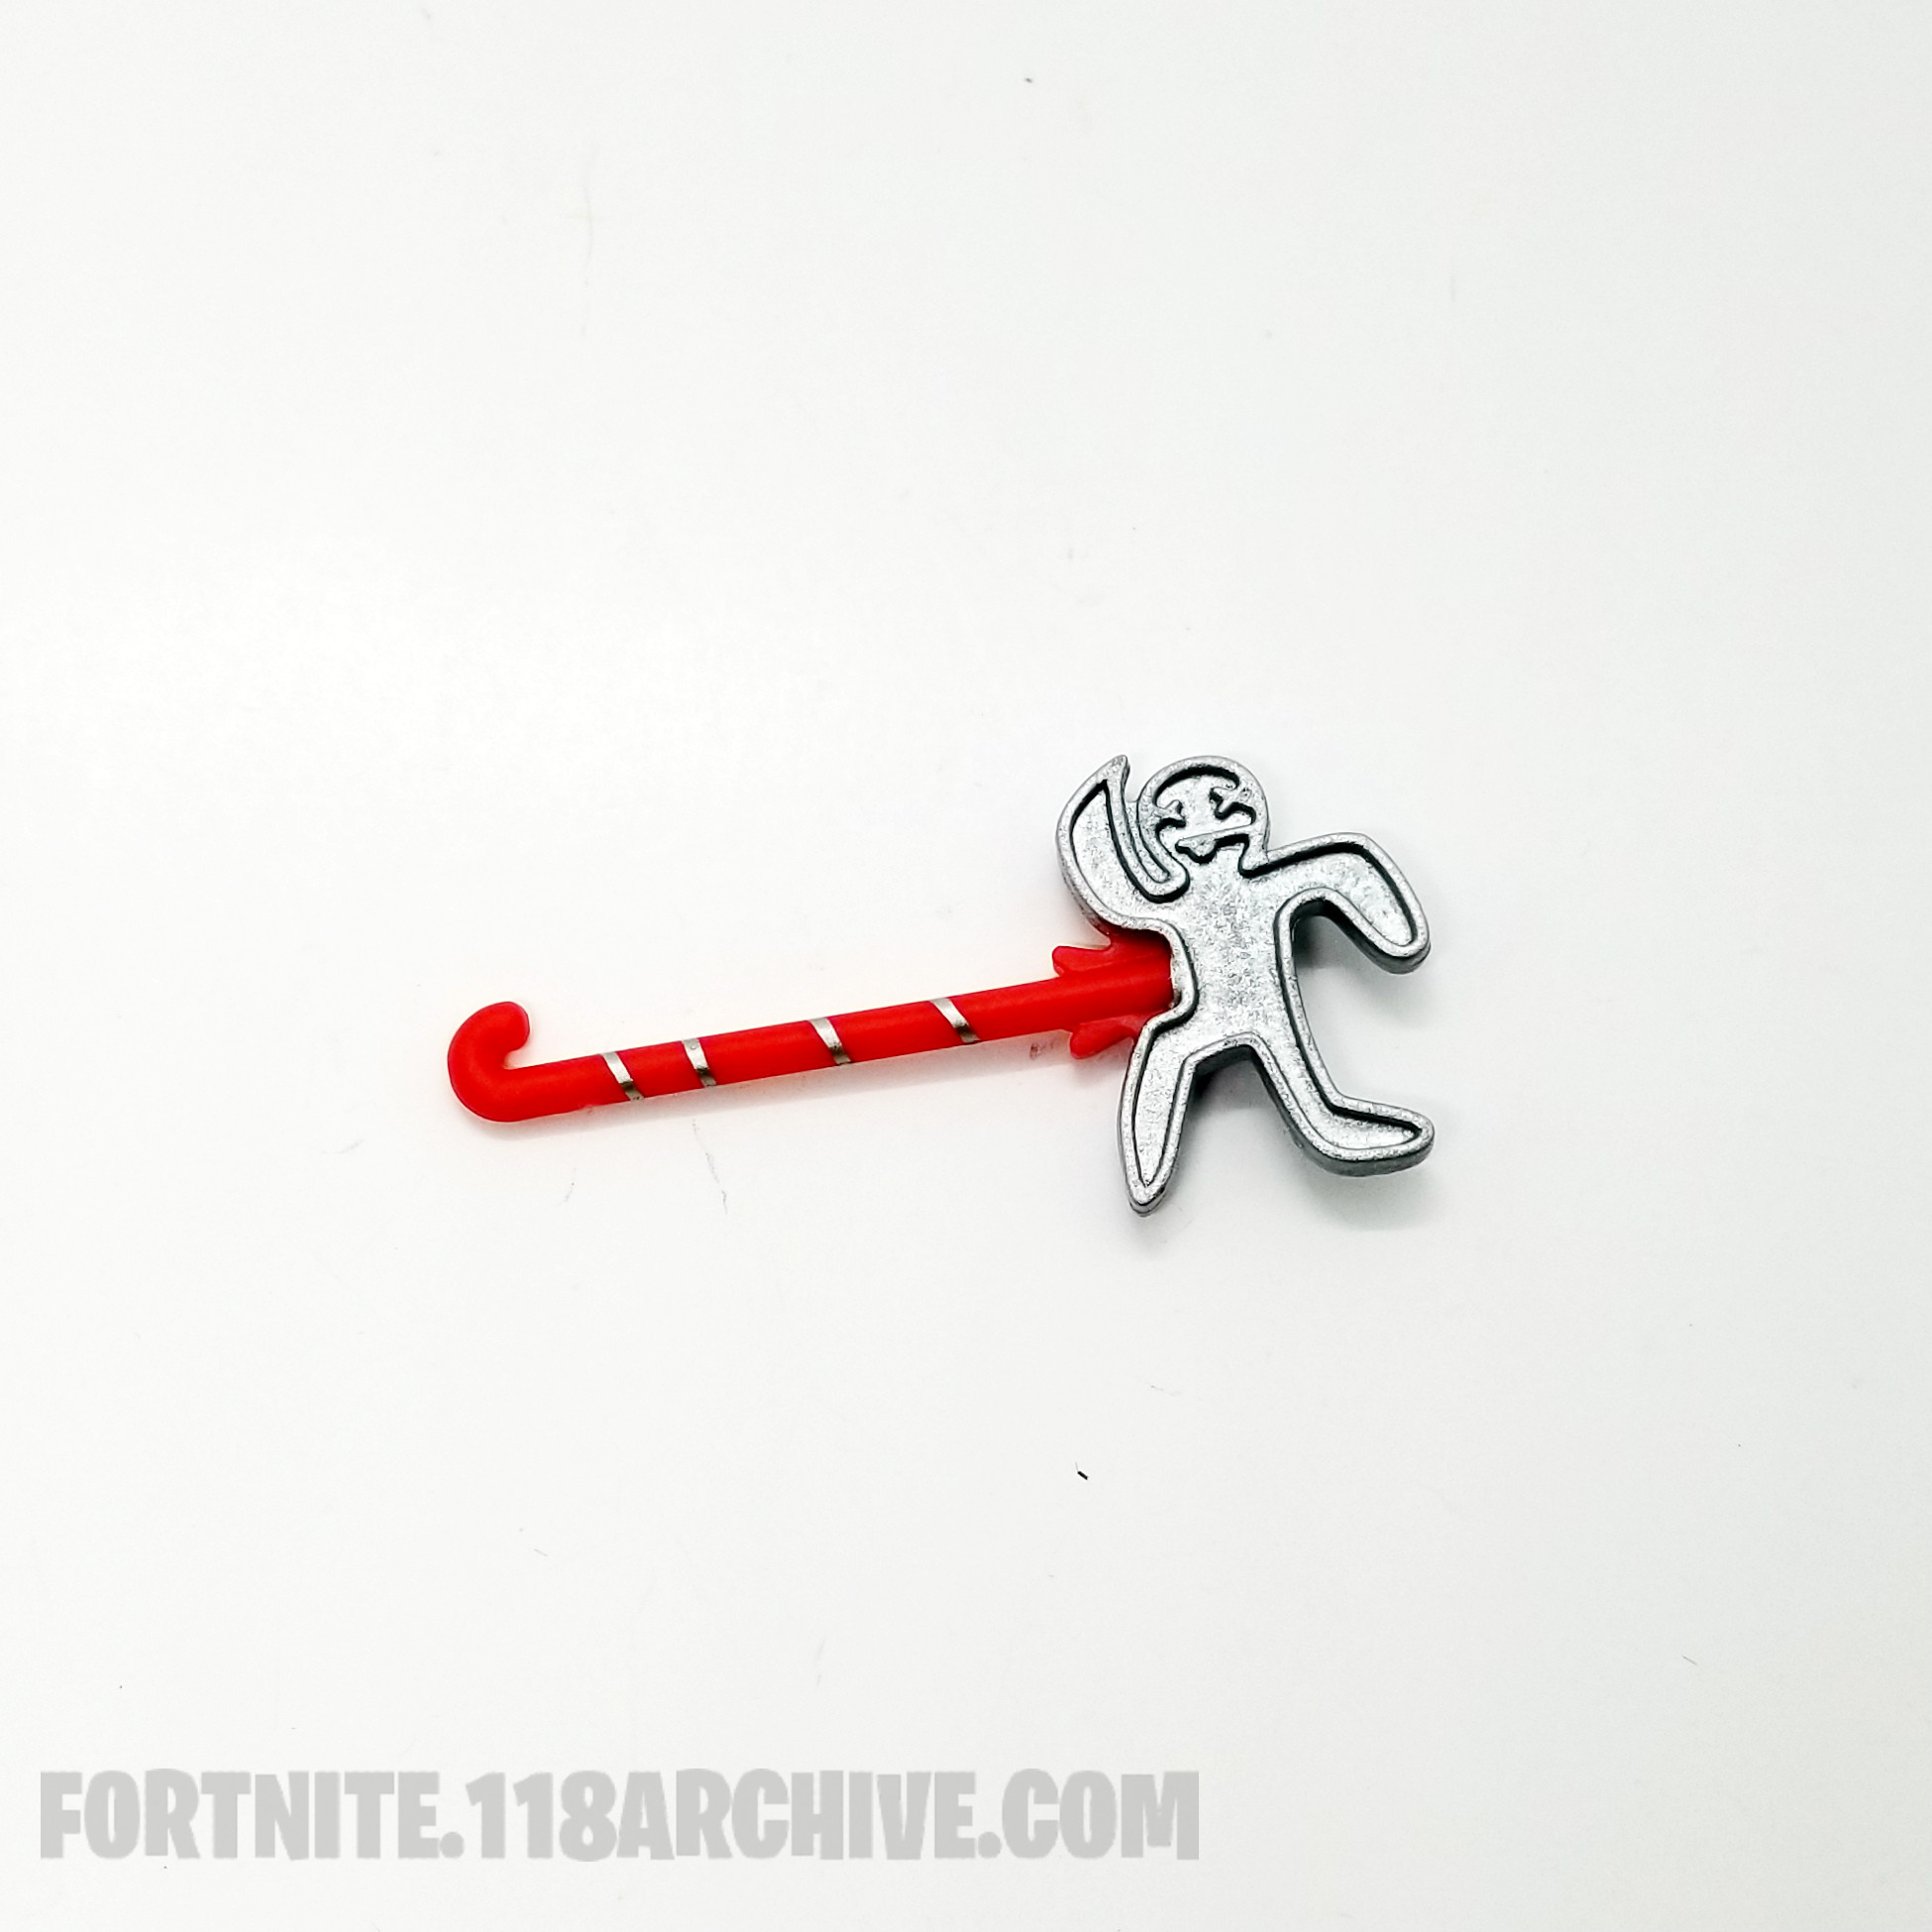
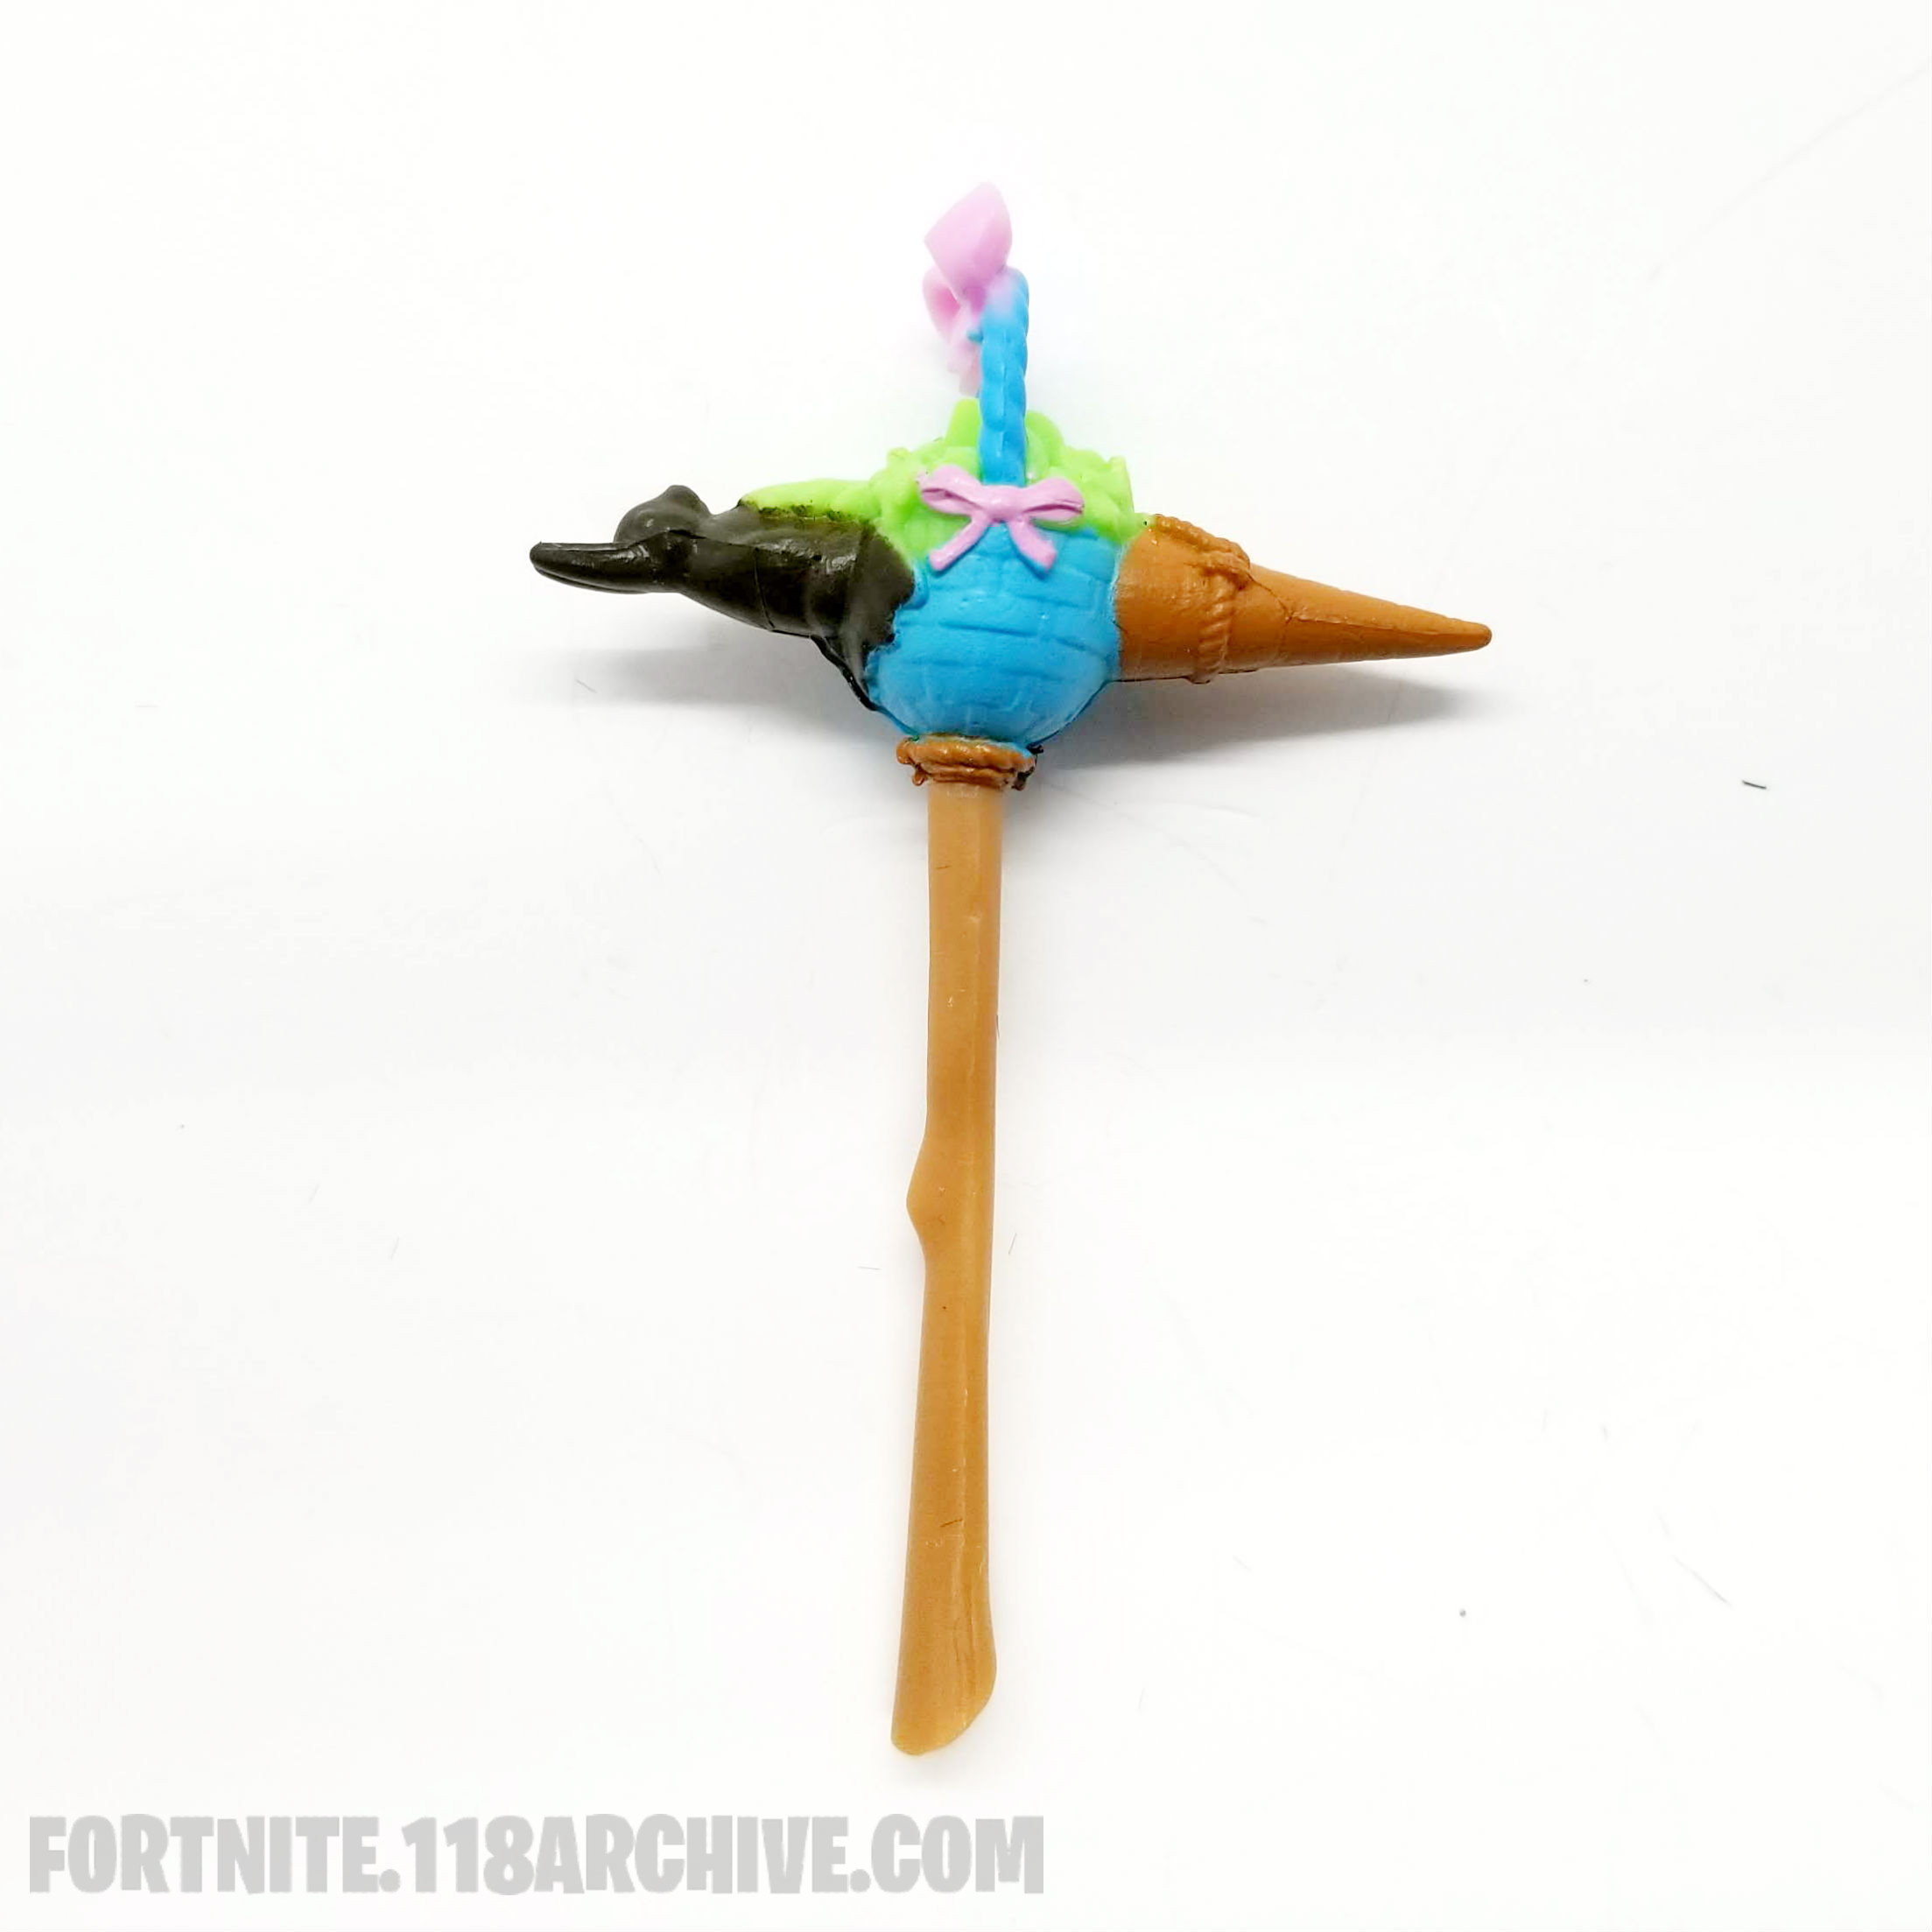
|style="text-align:center;"|[[Harvest_Tools:You Shouldnt Have|You Shouldnt Have]] [[Category:You Shouldnt Have]] | |style="text-align:center;"|[[Harvest_Tools:You Shouldnt Have|You Shouldnt Have]] [[Category:You Shouldnt Have]] | ||
|- | |- | ||
[[Category:Merry Christmas]] | |style="text-align:center;"|[[Game Sets:Merry Christmas|Merry Christmas]][[Category:Merry Christmas]] | ||
|} | |||
{| class="wikitable" style="display: inline-table;" | |||
|- | |||
|style="text-align:center;"|<html><a href="https://fortnite.118archive.com/index.php?title=Harvest_Tools:Triple Mint Scepter" target="_blank" ><img src="https://118archive.com/images/118/.Jazwares_Fortnite/_accessories/harvest_tools/Triple_Mint_Scepter_Minty_Legends_Jazwares_Fortnite_Action_Figure_Checklist.jpg" alt="Triple Mint Scepter Harvest Tool Jazwares Fortnite Action Figure" height="150"> </html> | |||
|- | |||
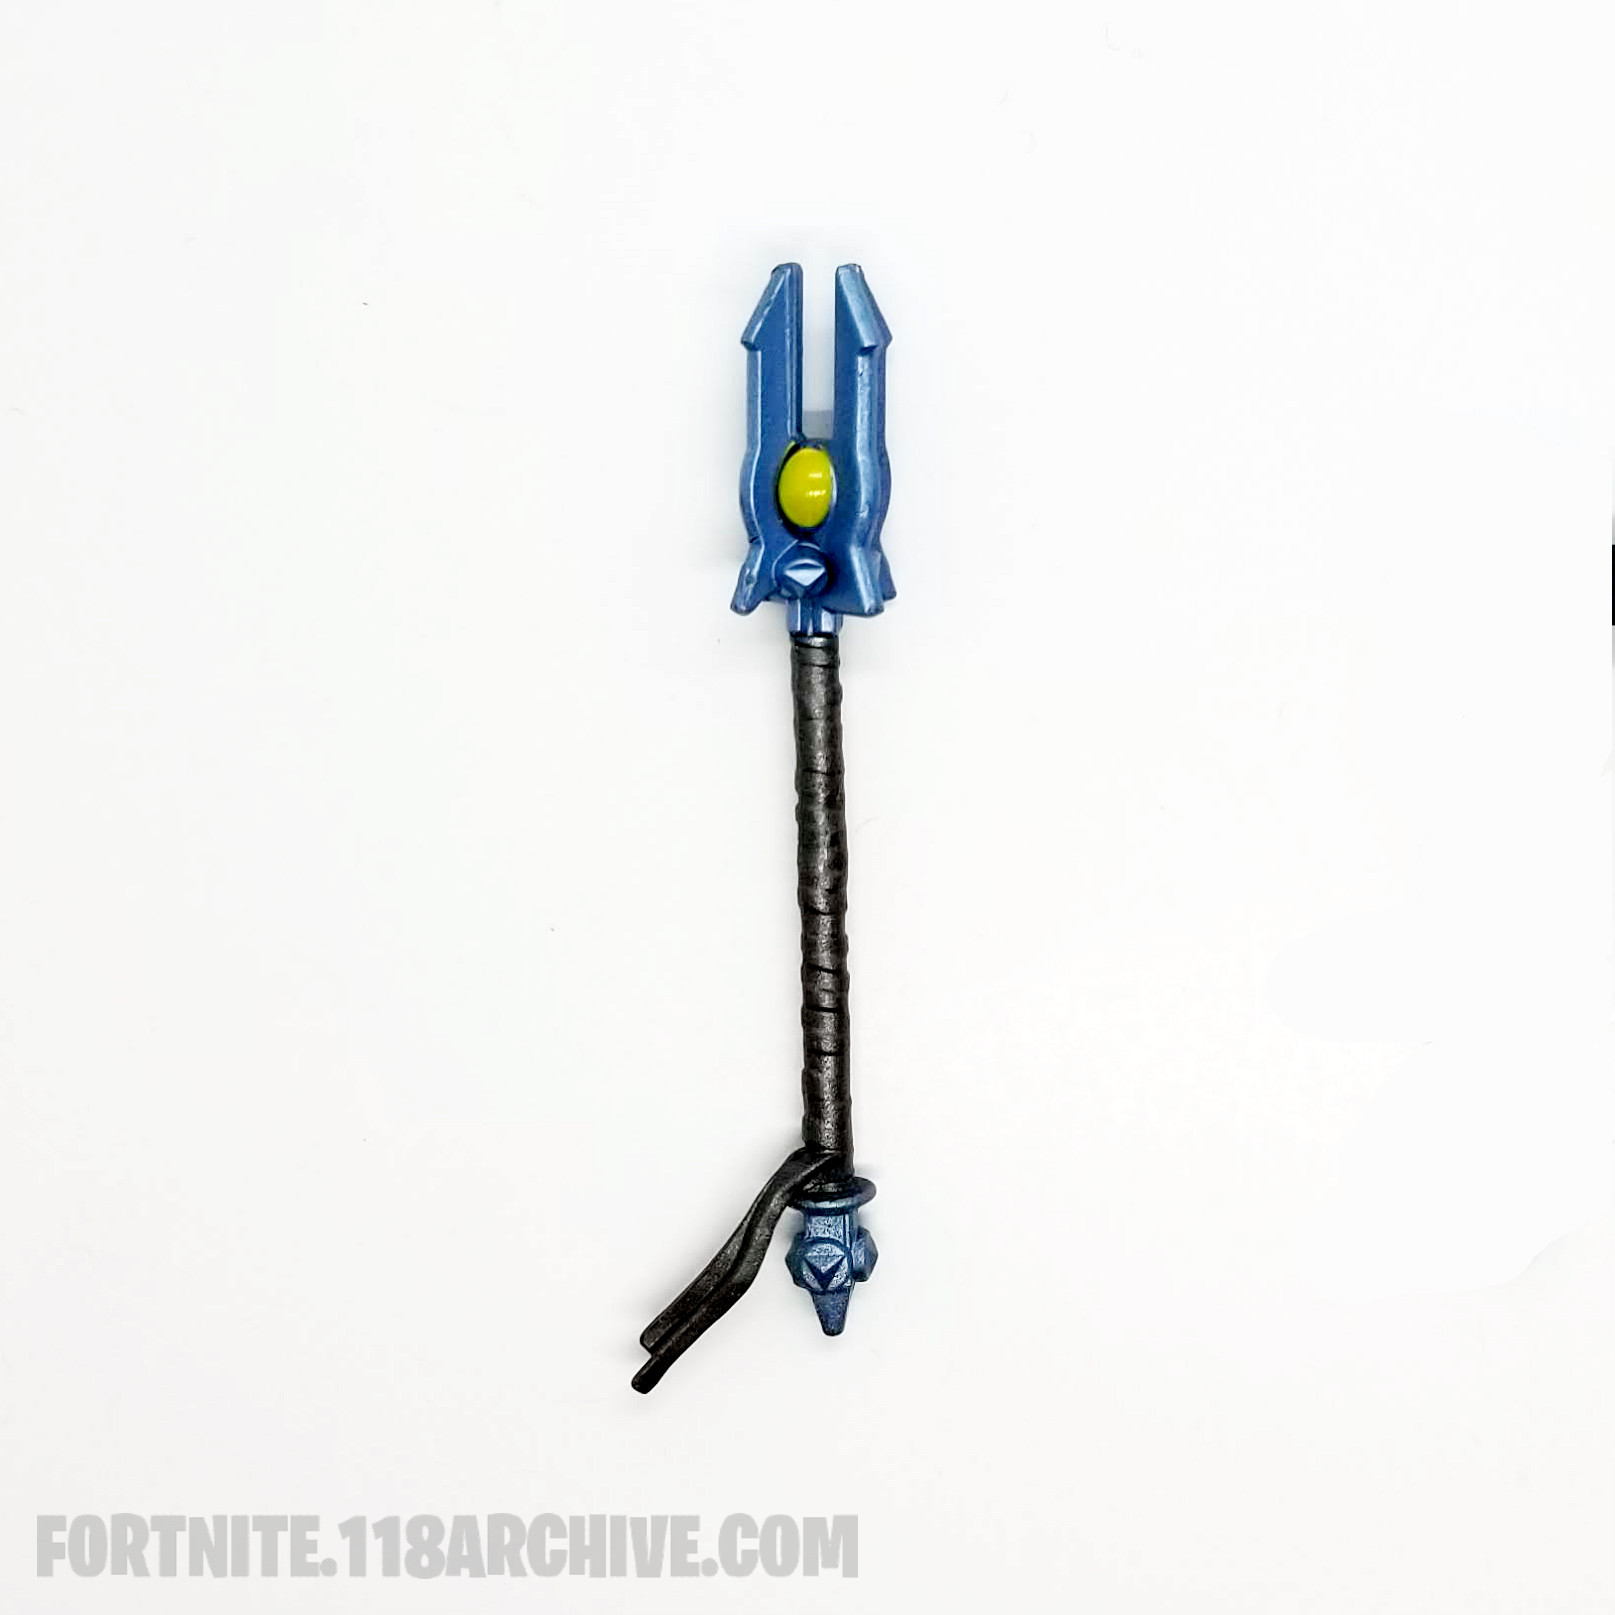
|style="text-align:center;"|[[Harvest_Tools:Triple Mint Scepter|Triple Mint Scepter]] [[Category:Triple Mint Scepter]] | |||
|- | |||
|style="text-align:center;"|[[Game_sets:Minty Legends|Minty Legends Set]][[Category:Minty Legends]] | |||
|} | |} | ||
| Line 472: | Line 726: | ||
|style="text-align:center;"|[[Harvest_Tools:Clean Cut|Clean Cut]] [[Category:Clean Cut]] | |style="text-align:center;"|[[Harvest_Tools:Clean Cut|Clean Cut]] [[Category:Clean Cut]] | ||
|- | |- | ||
[[Category:Modern Mercenary]] | |style="text-align:center;"|[[Game Sets:Modern Mercenary|Modern Mercenary]][[Category:Modern Mercenary]] | ||
|} | |||
{| class="wikitable" style="display: inline-table;" | |||
|- | |||
|style="text-align:center;"|<html><a href="https://fortnite.118archive.com/index.php?title=Harvest_Tools:Lamp" target="_blank" ><img src="https://118archive.com/images/118/.Jazwares_Fortnite/_accessories/harvest_tools/Lamp_Fortnite_Action_Figure_Checklist.jpg" alt="Lamp Harvest Tool Jazwares Fortnite Action Figure" height="150"> </html> | |||
|- | |||
|style="text-align:center;"|[[Harvest_Tools:Lamp|Lamp]] [[Category:Lamp]] | |||
|- | |||
|style="text-align:center;"|[[Game_sets:Moth Command|Moth Command Set]][[Category:Moth Command]] | |||
|} | |} | ||
| Line 481: | Line 744: | ||
|style="text-align:center;"|[[Harvest_Tools:Abominable Axe|Abominable Axe]] [[Category:Abominable Axe]] | |style="text-align:center;"|[[Harvest_Tools:Abominable Axe|Abominable Axe]] [[Category:Abominable Axe]] | ||
|- | |- | ||
[[Category:Mountain Myths]] | |style="text-align:center;"|[[Game Sets:Mountain Myths|Mountain Myths]][[Category:Mountain Myths]] | ||
|} | |||
{| class="wikitable" style="display: inline-table;" | |||
|- | |||
|style="text-align:center;"|<html><a href="https://fortnite.118archive.com/index.php?title=Harvest_Tools:Sorrows Reach" target="_blank" ><img src="https://118archive.com/images/118/.Jazwares_Fortnite/_accessories/harvest_tools/Sorrows_Reach_Fortnite_Action_Figure_Checklist.jpg" alt="Sorrows Reach Harvest Tool Jazwares Fortnite Action Figure" height="150"> </html> | |||
|- | |||
|style="text-align:center;"|[[Harvest_Tools:Sorrows Reach|Sorrows Reach]] [[Category:Sorrows Reach]] | |||
|- | |||
|style="text-align:center;"|[[Game_sets:Neo Underworld|Neo Underworld Set]][[Category:Neo Underworld]] | |||
|} | |} | ||
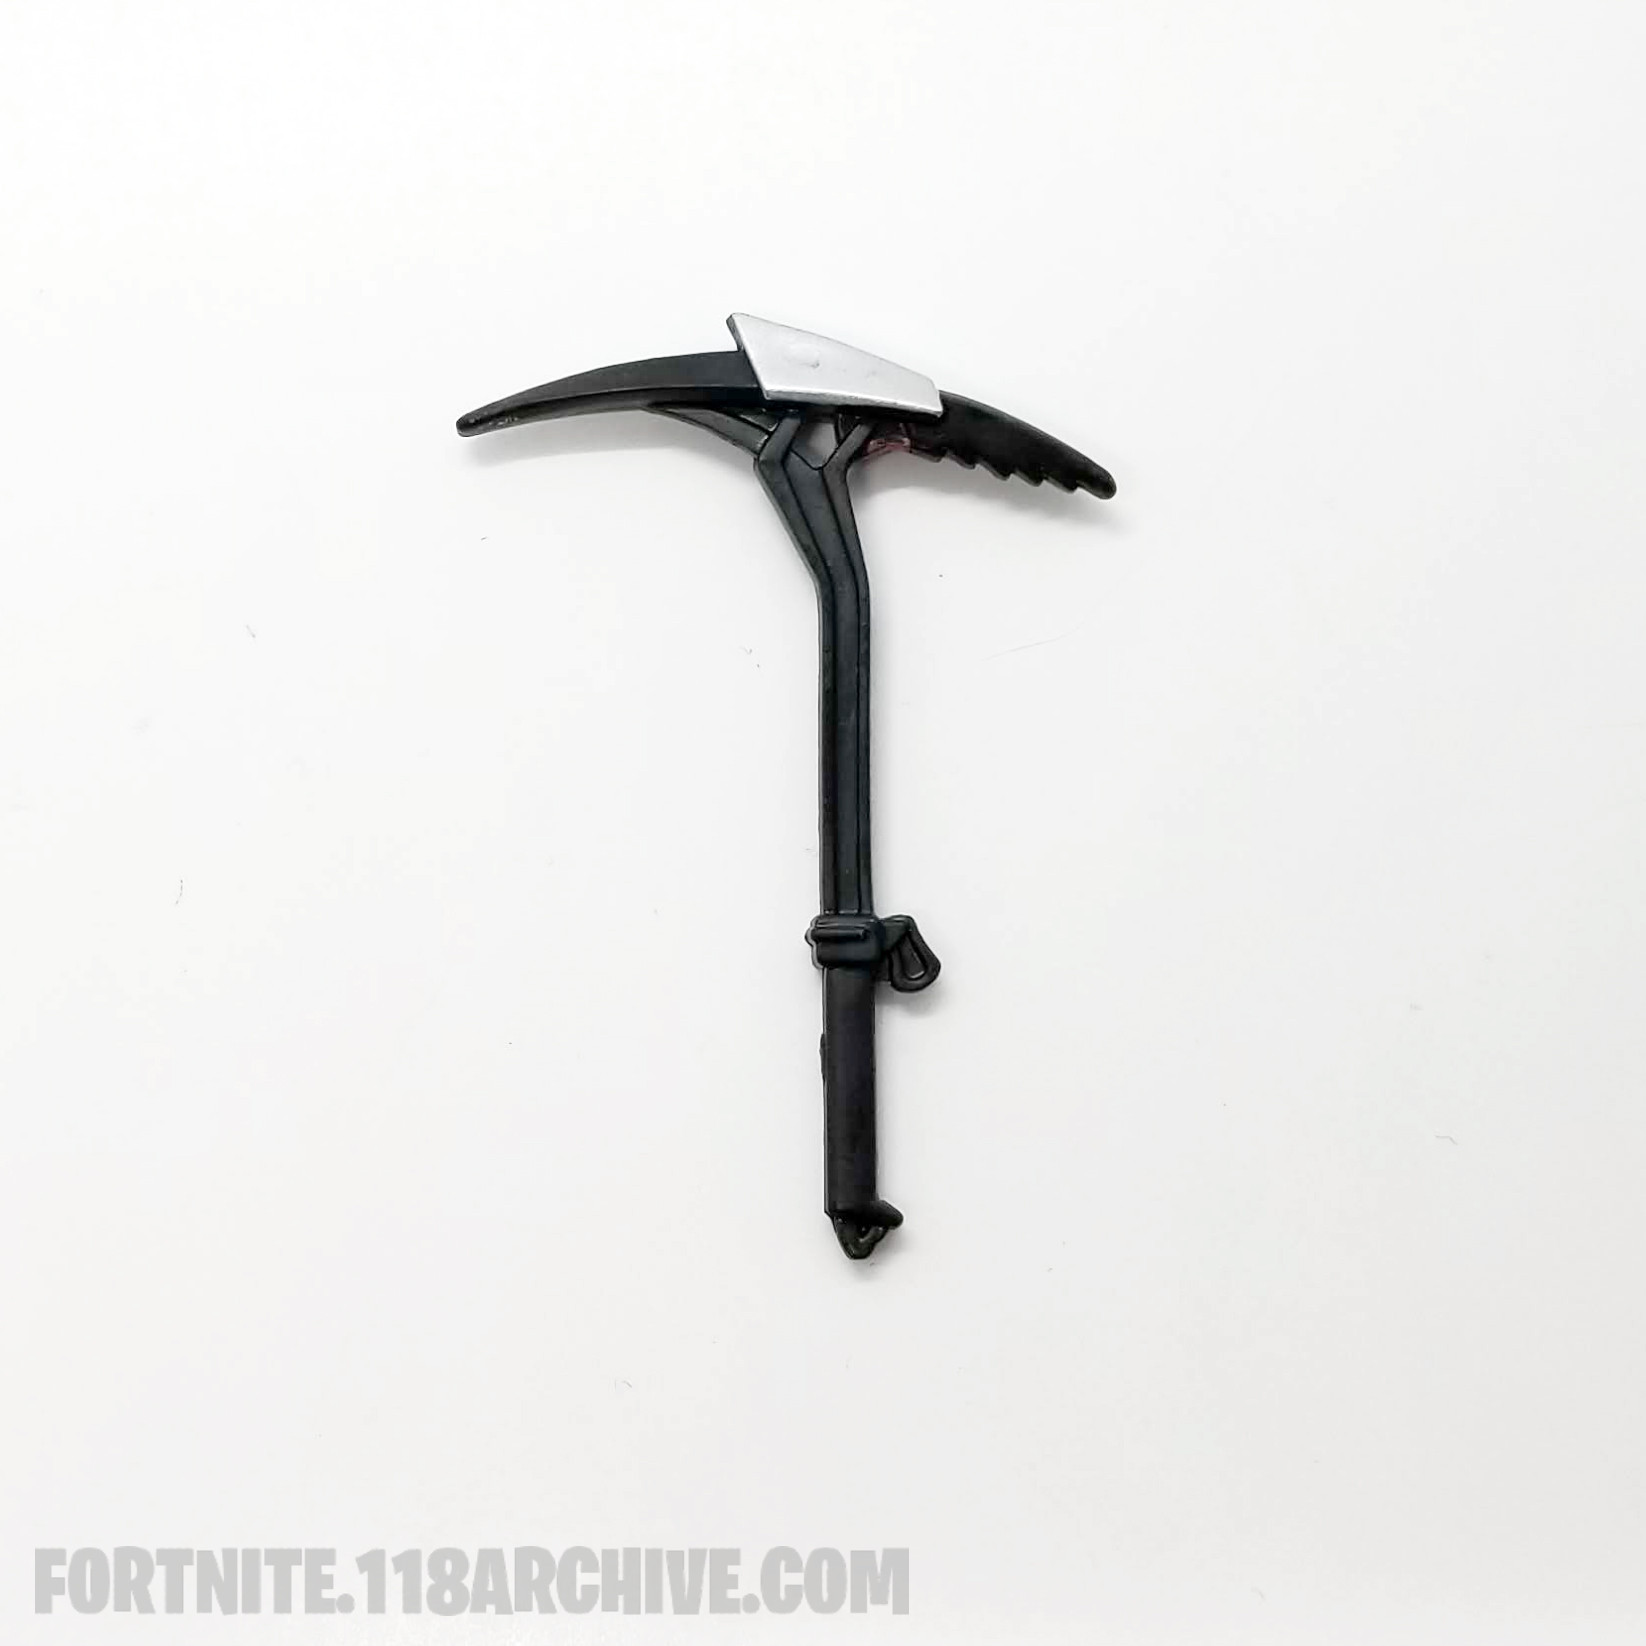
| Line 490: | Line 762: | ||
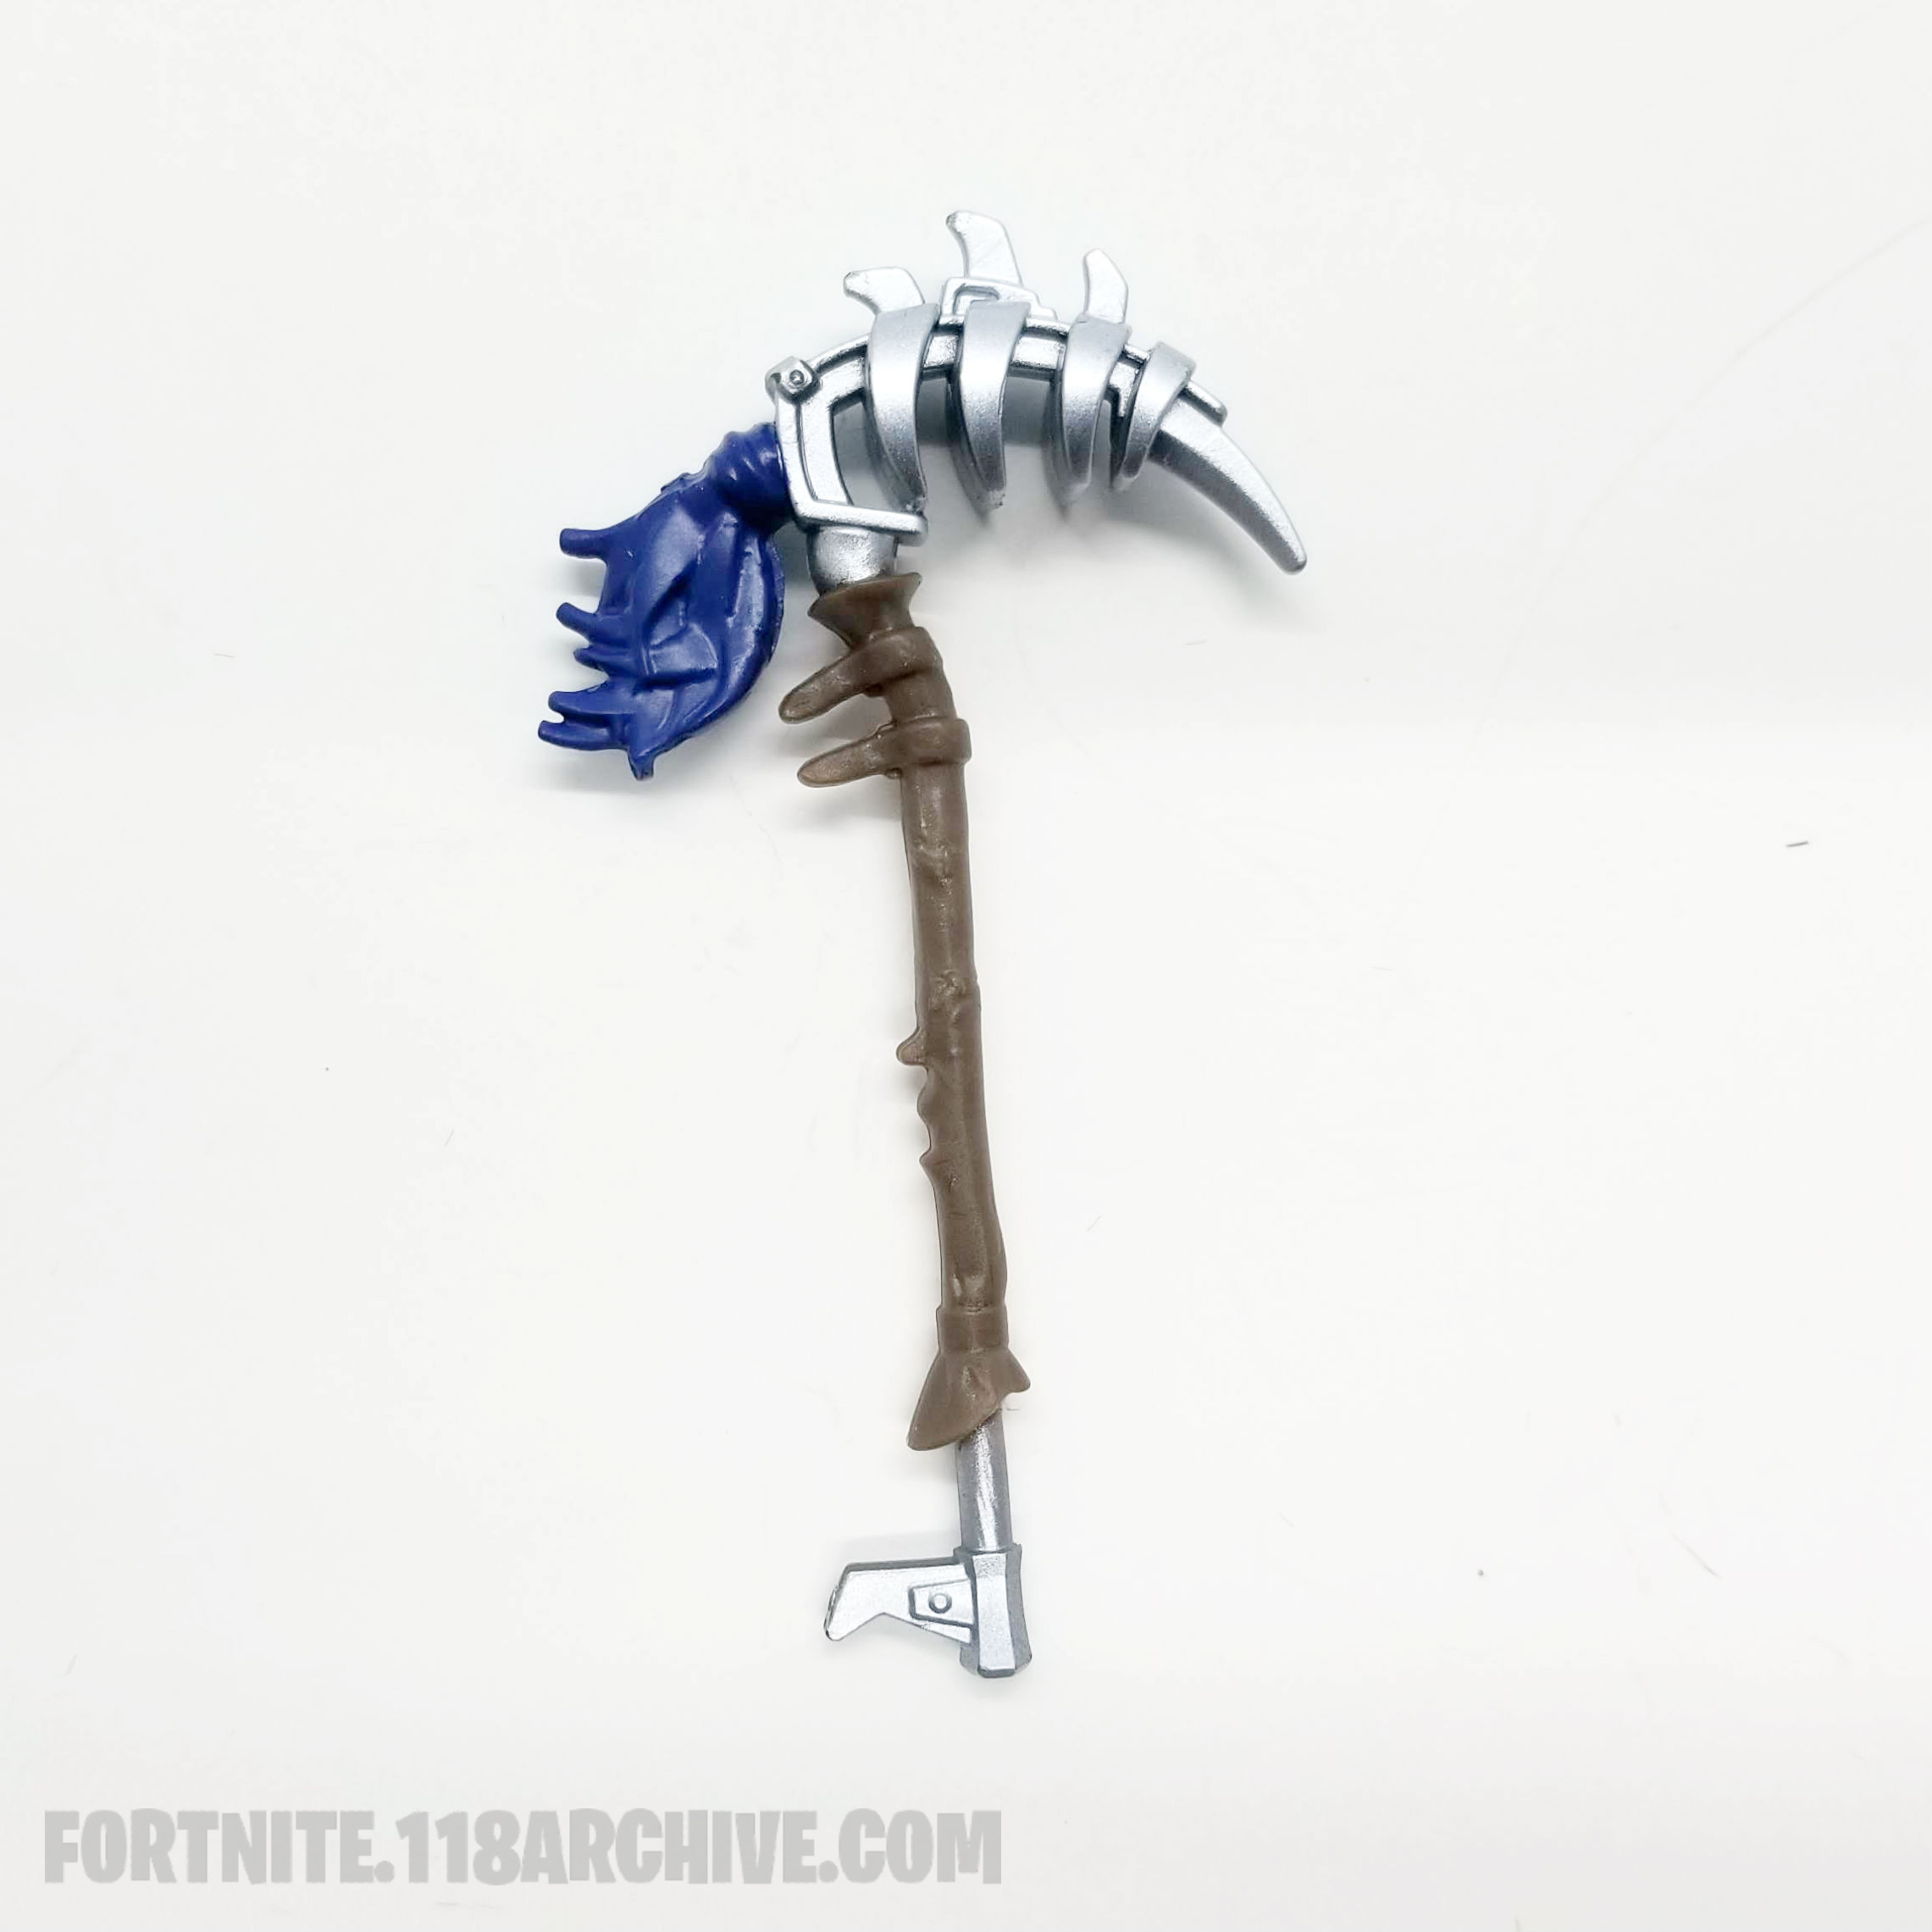
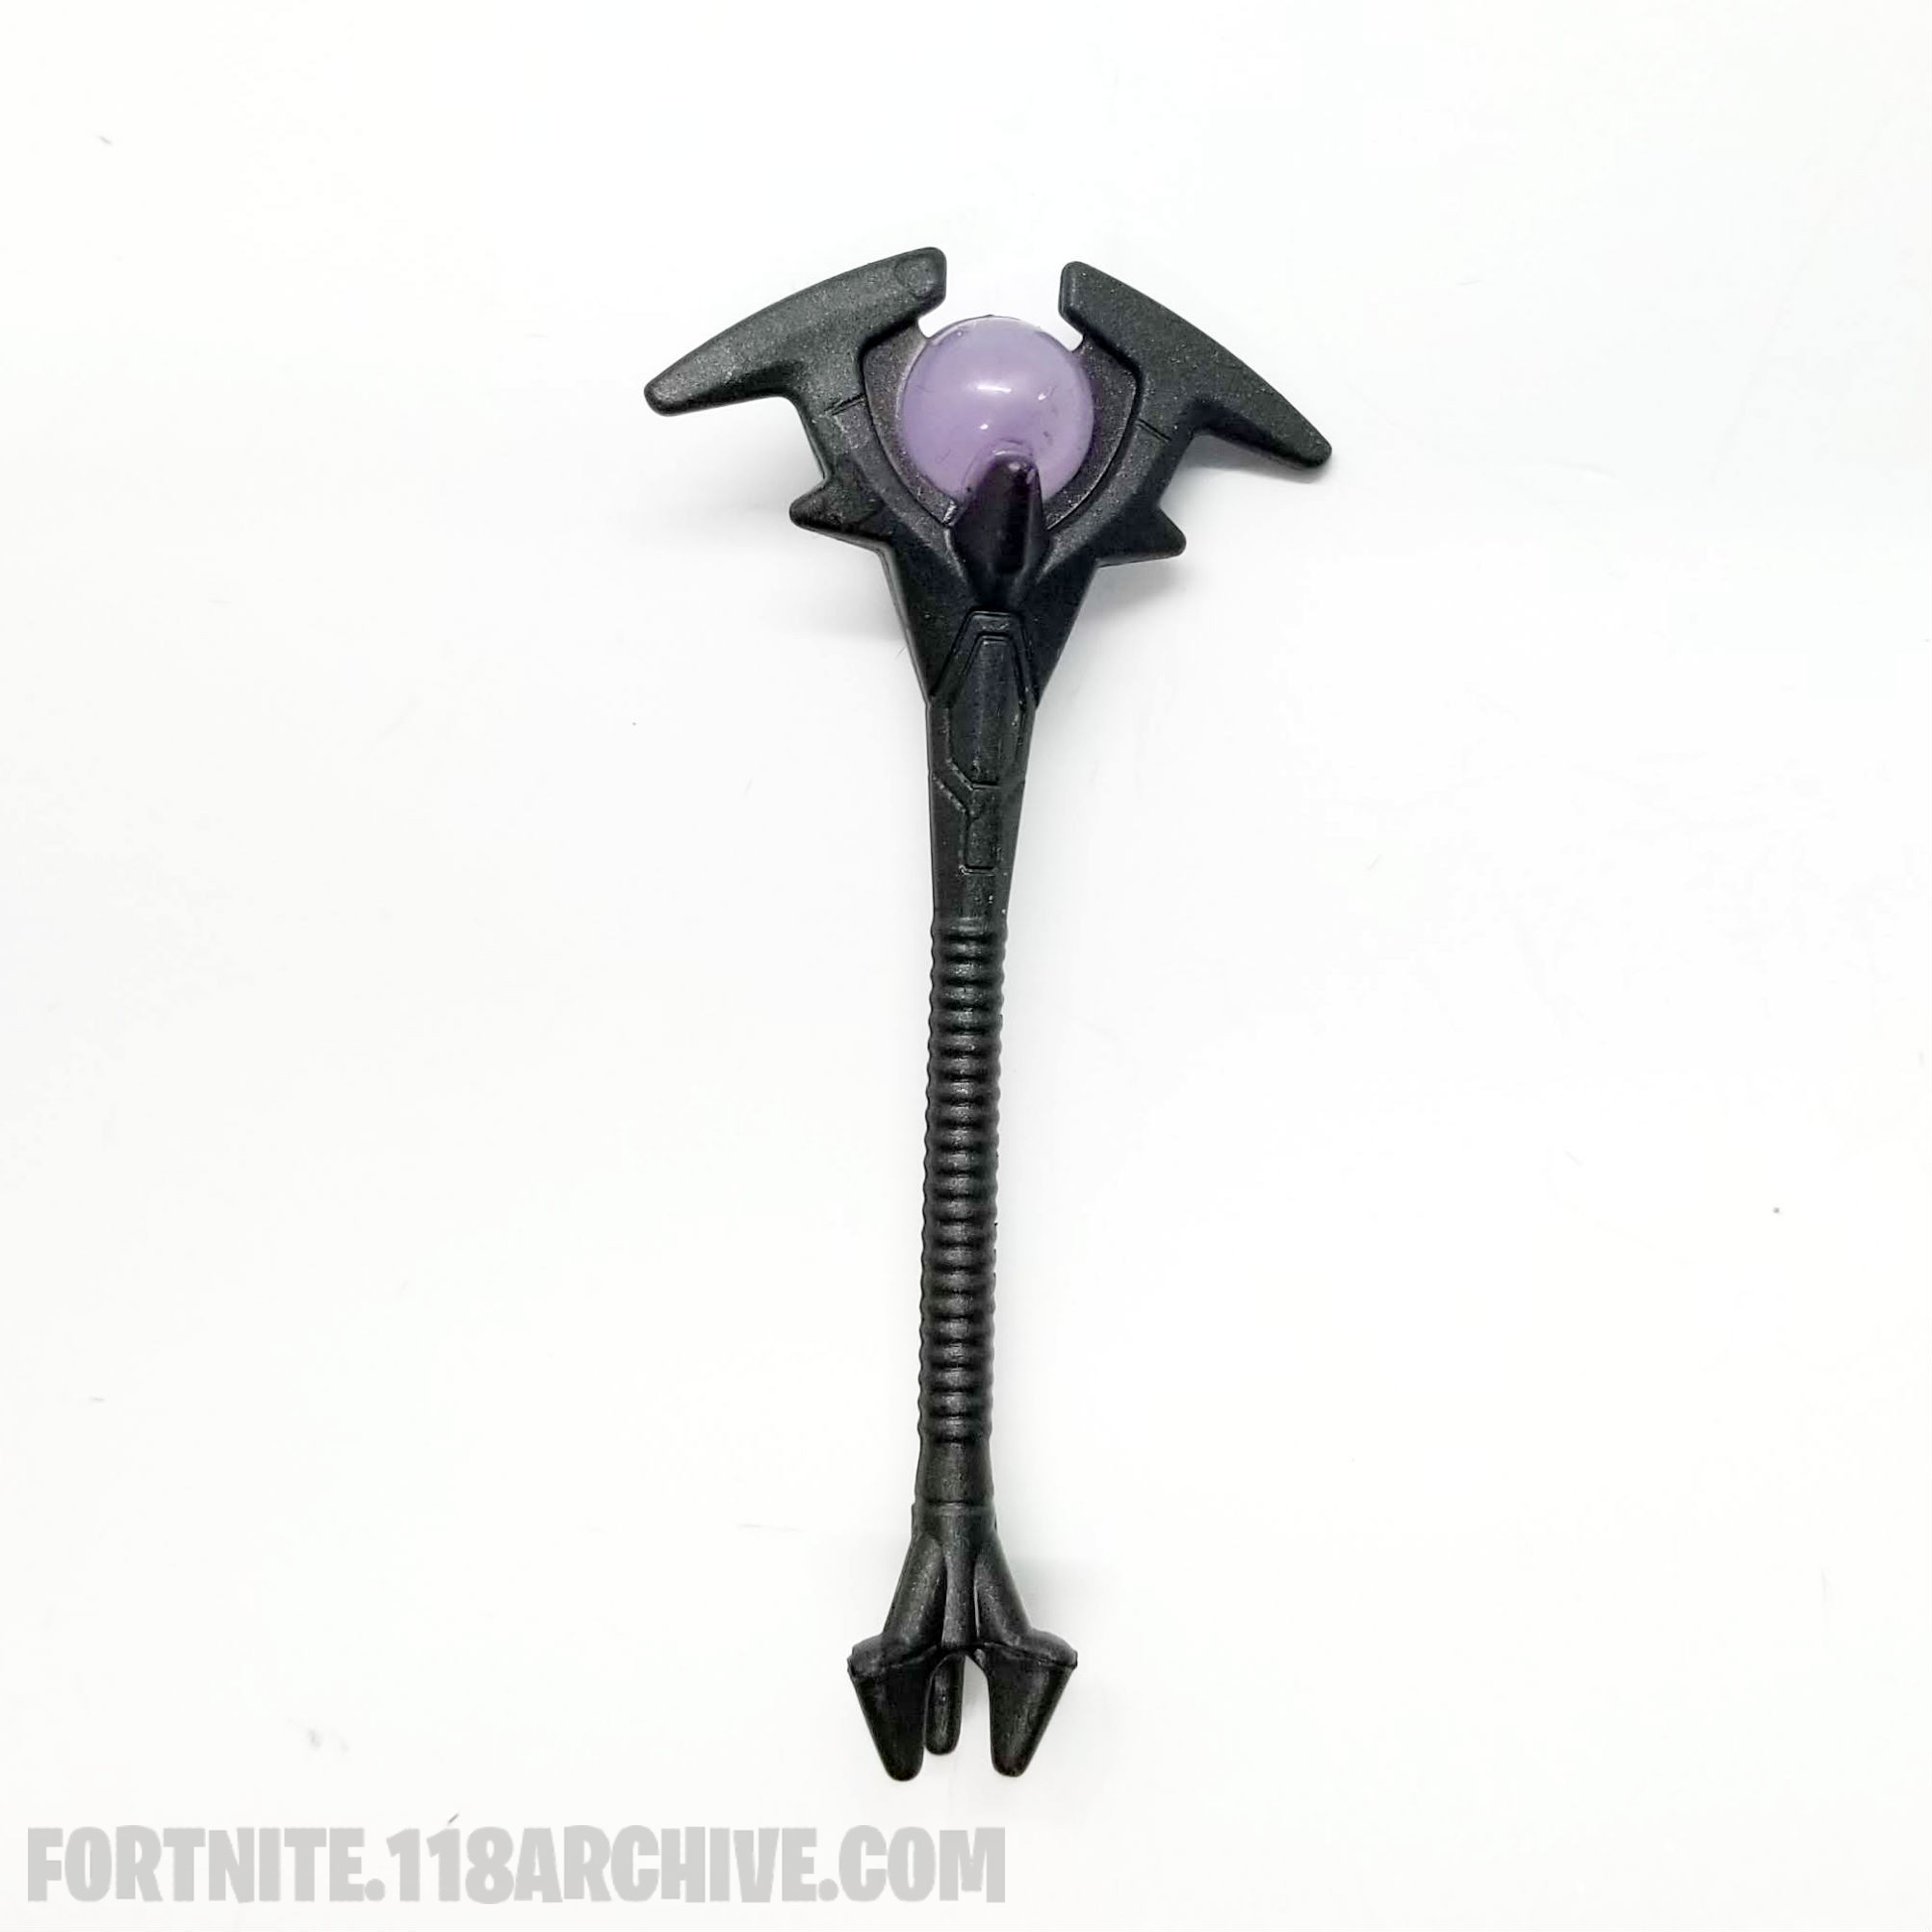
|style="text-align:center;"|[[Harvest_Tools:Iron Beak|Iron Beak]] [[Category:Iron Beak]] | |style="text-align:center;"|[[Harvest_Tools:Iron Beak|Iron Beak]] [[Category:Iron Beak]] | ||
|- | |- | ||
[[Category:Nevermore]] | |style="text-align:center;"|[[Game Sets:Nevermore|Nevermore]][[Category:Nevermore]] | ||
|} | |} | ||
| Line 499: | Line 771: | ||
|style="text-align:center;"|[[Harvest_Tools:Onslaught|Onslaught]] [[Category:Onslaught]] | |style="text-align:center;"|[[Harvest_Tools:Onslaught|Onslaught]] [[Category:Onslaught]] | ||
|- | |- | ||
[[Category:Omega]] | |style="text-align:center;"|[[Game Sets:Omega|Omega]][[Category:Omega]] | ||
|} | |} | ||
| Line 508: | Line 780: | ||
|style="text-align:center;"|[[Harvest_Tools:Autocleave|Autocleave]] [[Category:Autocleave]] | |style="text-align:center;"|[[Harvest_Tools:Autocleave|Autocleave]] [[Category:Autocleave]] | ||
|- | |- | ||
[[Category:Outbreak]] | |style="text-align:center;"|[[Game Sets:Outbreak|Outbreak]][[Category:Outbreak]] | ||
|} | |} | ||
| Line 517: | Line 789: | ||
|style="text-align:center;"|[[Harvest_Tools:Fated Frame|Fated Frame]] [[Category:Fated Frame]] | |style="text-align:center;"|[[Harvest_Tools:Fated Frame|Fated Frame]] [[Category:Fated Frame]] | ||
|- | |- | ||
[[Category:Overseer]] | |style="text-align:center;"|[[Game Sets:Overseer|Overseer]][[Category:Overseer]] | ||
|} | |} | ||
| Line 526: | Line 798: | ||
|style="text-align:center;"|[[Harvest_Tools:Oracle Axe|Oracle Axe]] [[Category:Oracle Axe]] | |style="text-align:center;"|[[Harvest_Tools:Oracle Axe|Oracle Axe]] [[Category:Oracle Axe]] | ||
|- | |- | ||
[[Category:Overseer]] | |style="text-align:center;"|[[Game Sets:Overseer|Overseer]][[Category:Overseer]] | ||
|} | |} | ||
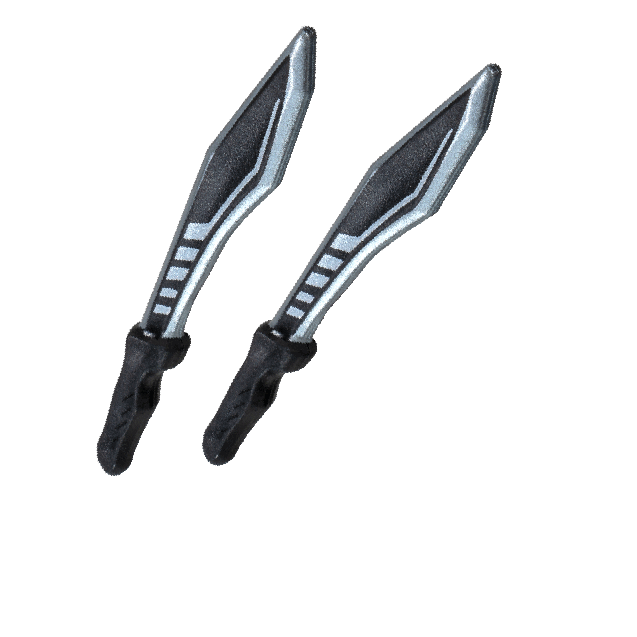
| Line 535: | Line 807: | ||
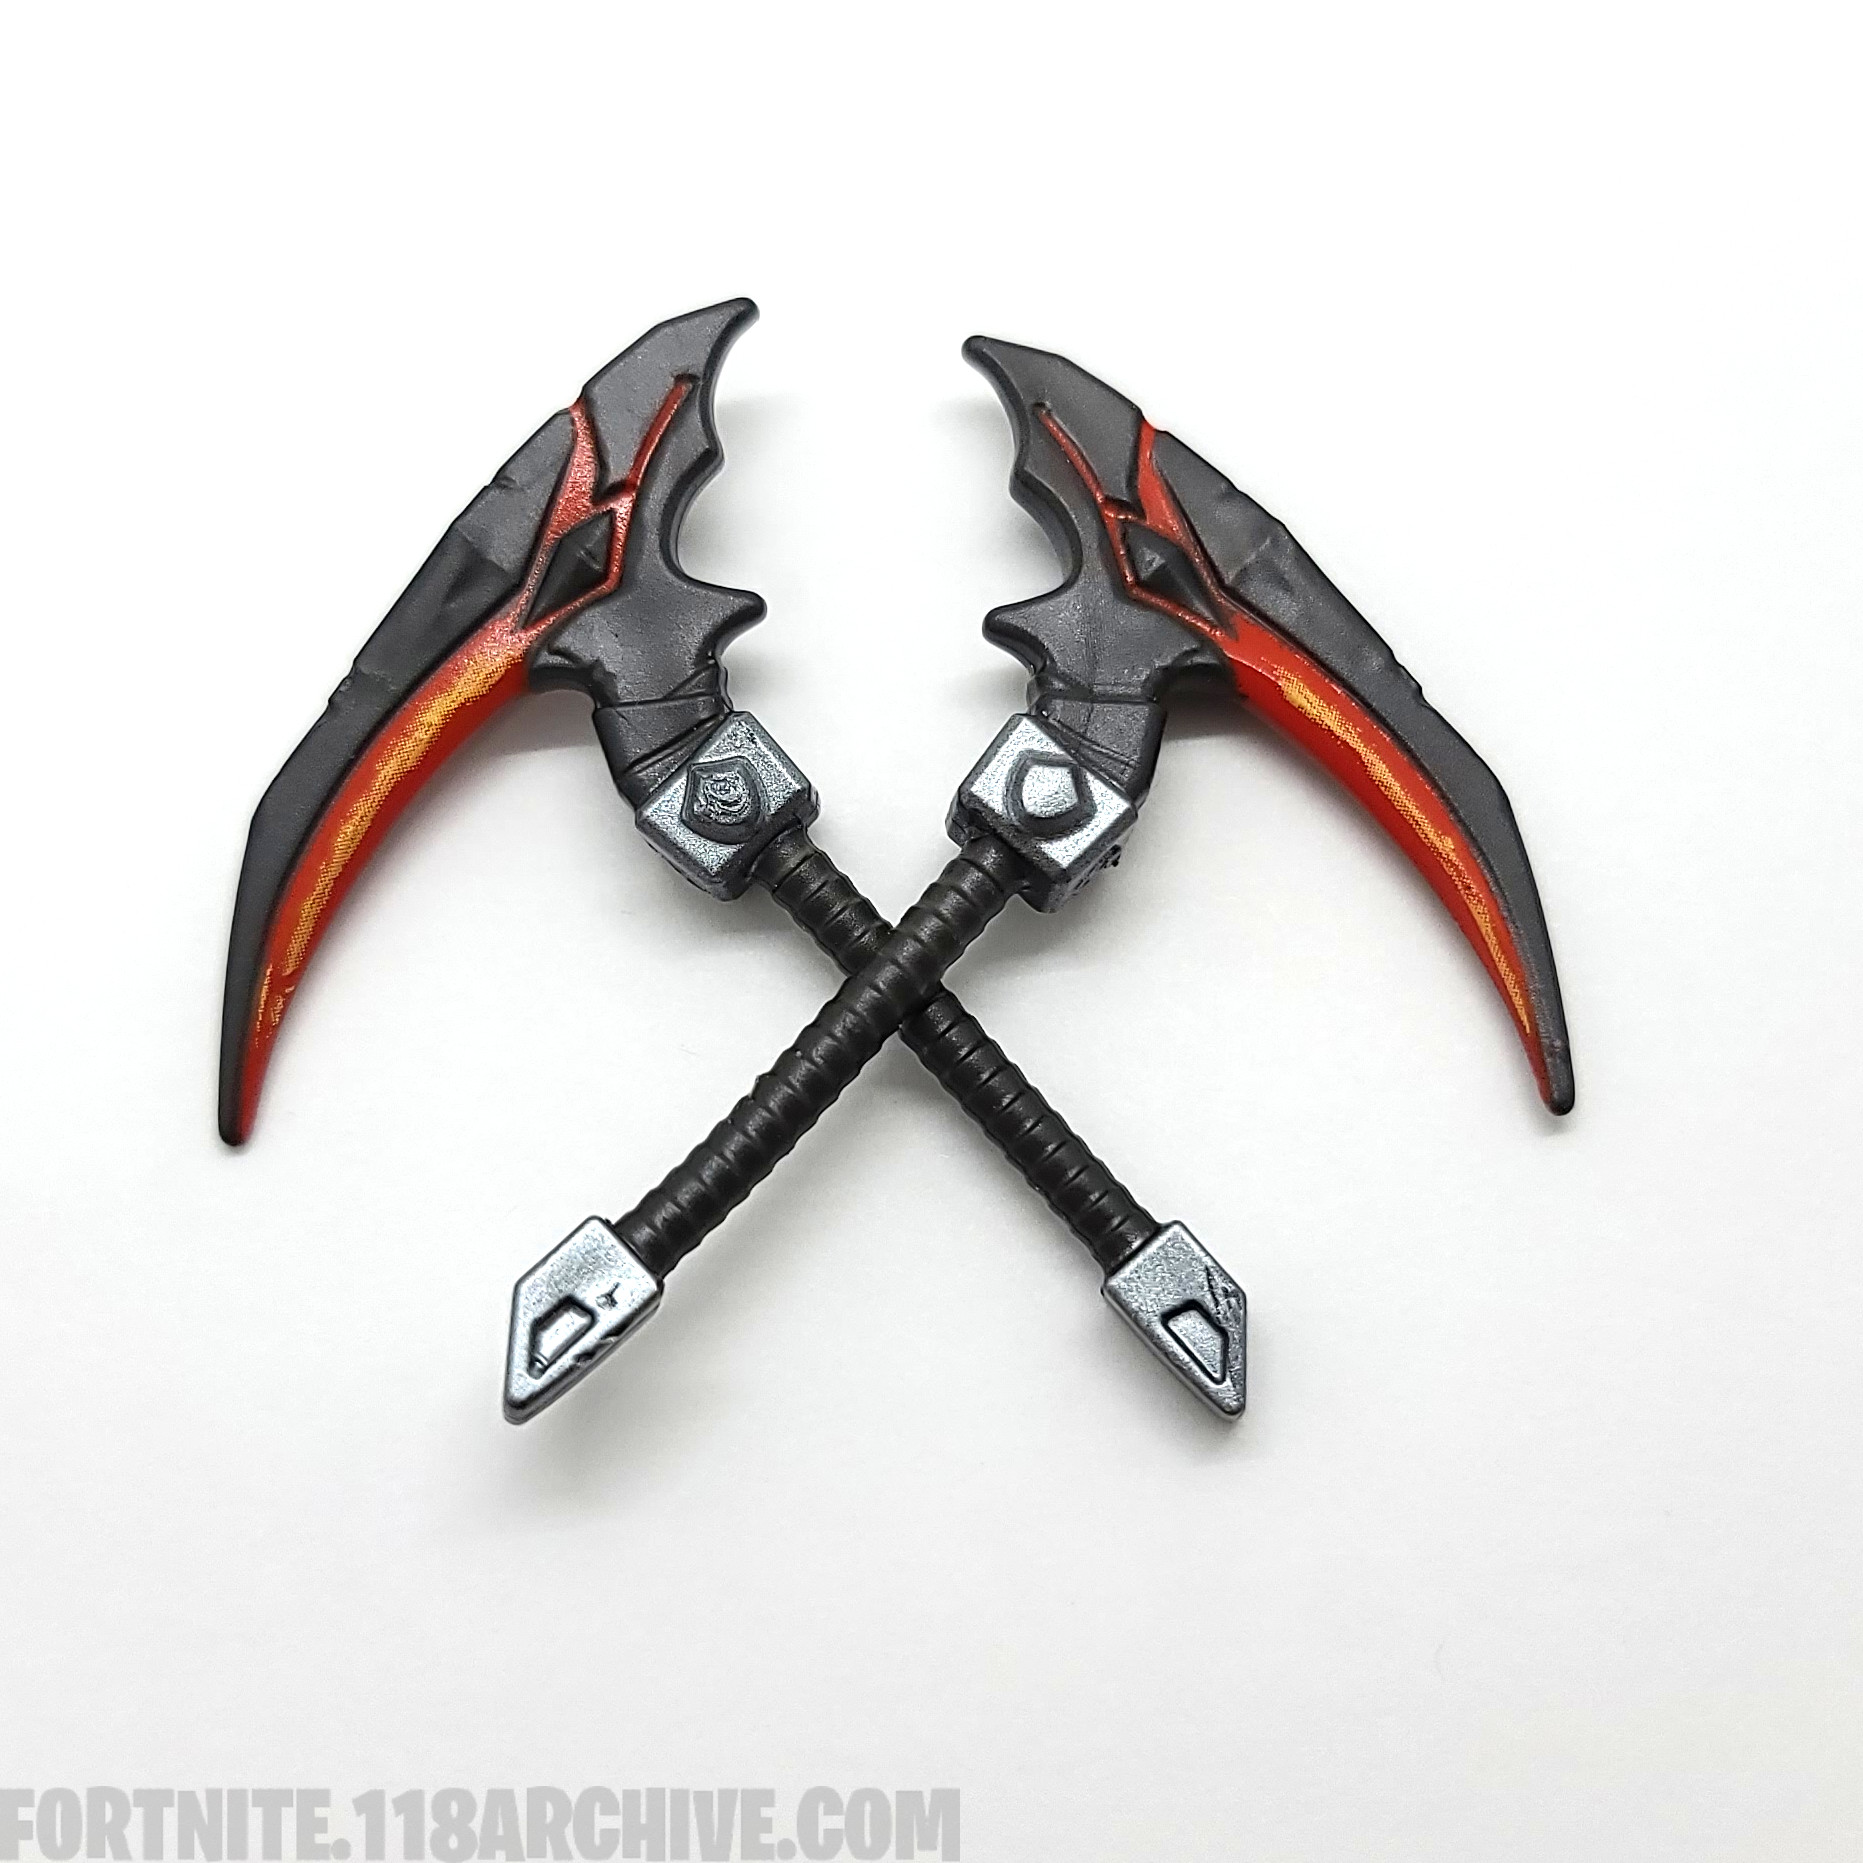
|style="text-align:center;"|[[Harvest_Tools:Molten Strikers|Molten Strikers]] [[Category:Molten Strikers]] | |style="text-align:center;"|[[Harvest_Tools:Molten Strikers|Molten Strikers]] [[Category:Molten Strikers]] | ||
|- | |- | ||
[[Category:Overseer]] | |style="text-align:center;"|[[Game Sets:Overseer|Overseer]][[Category:Overseer]] | ||
|} | |} | ||
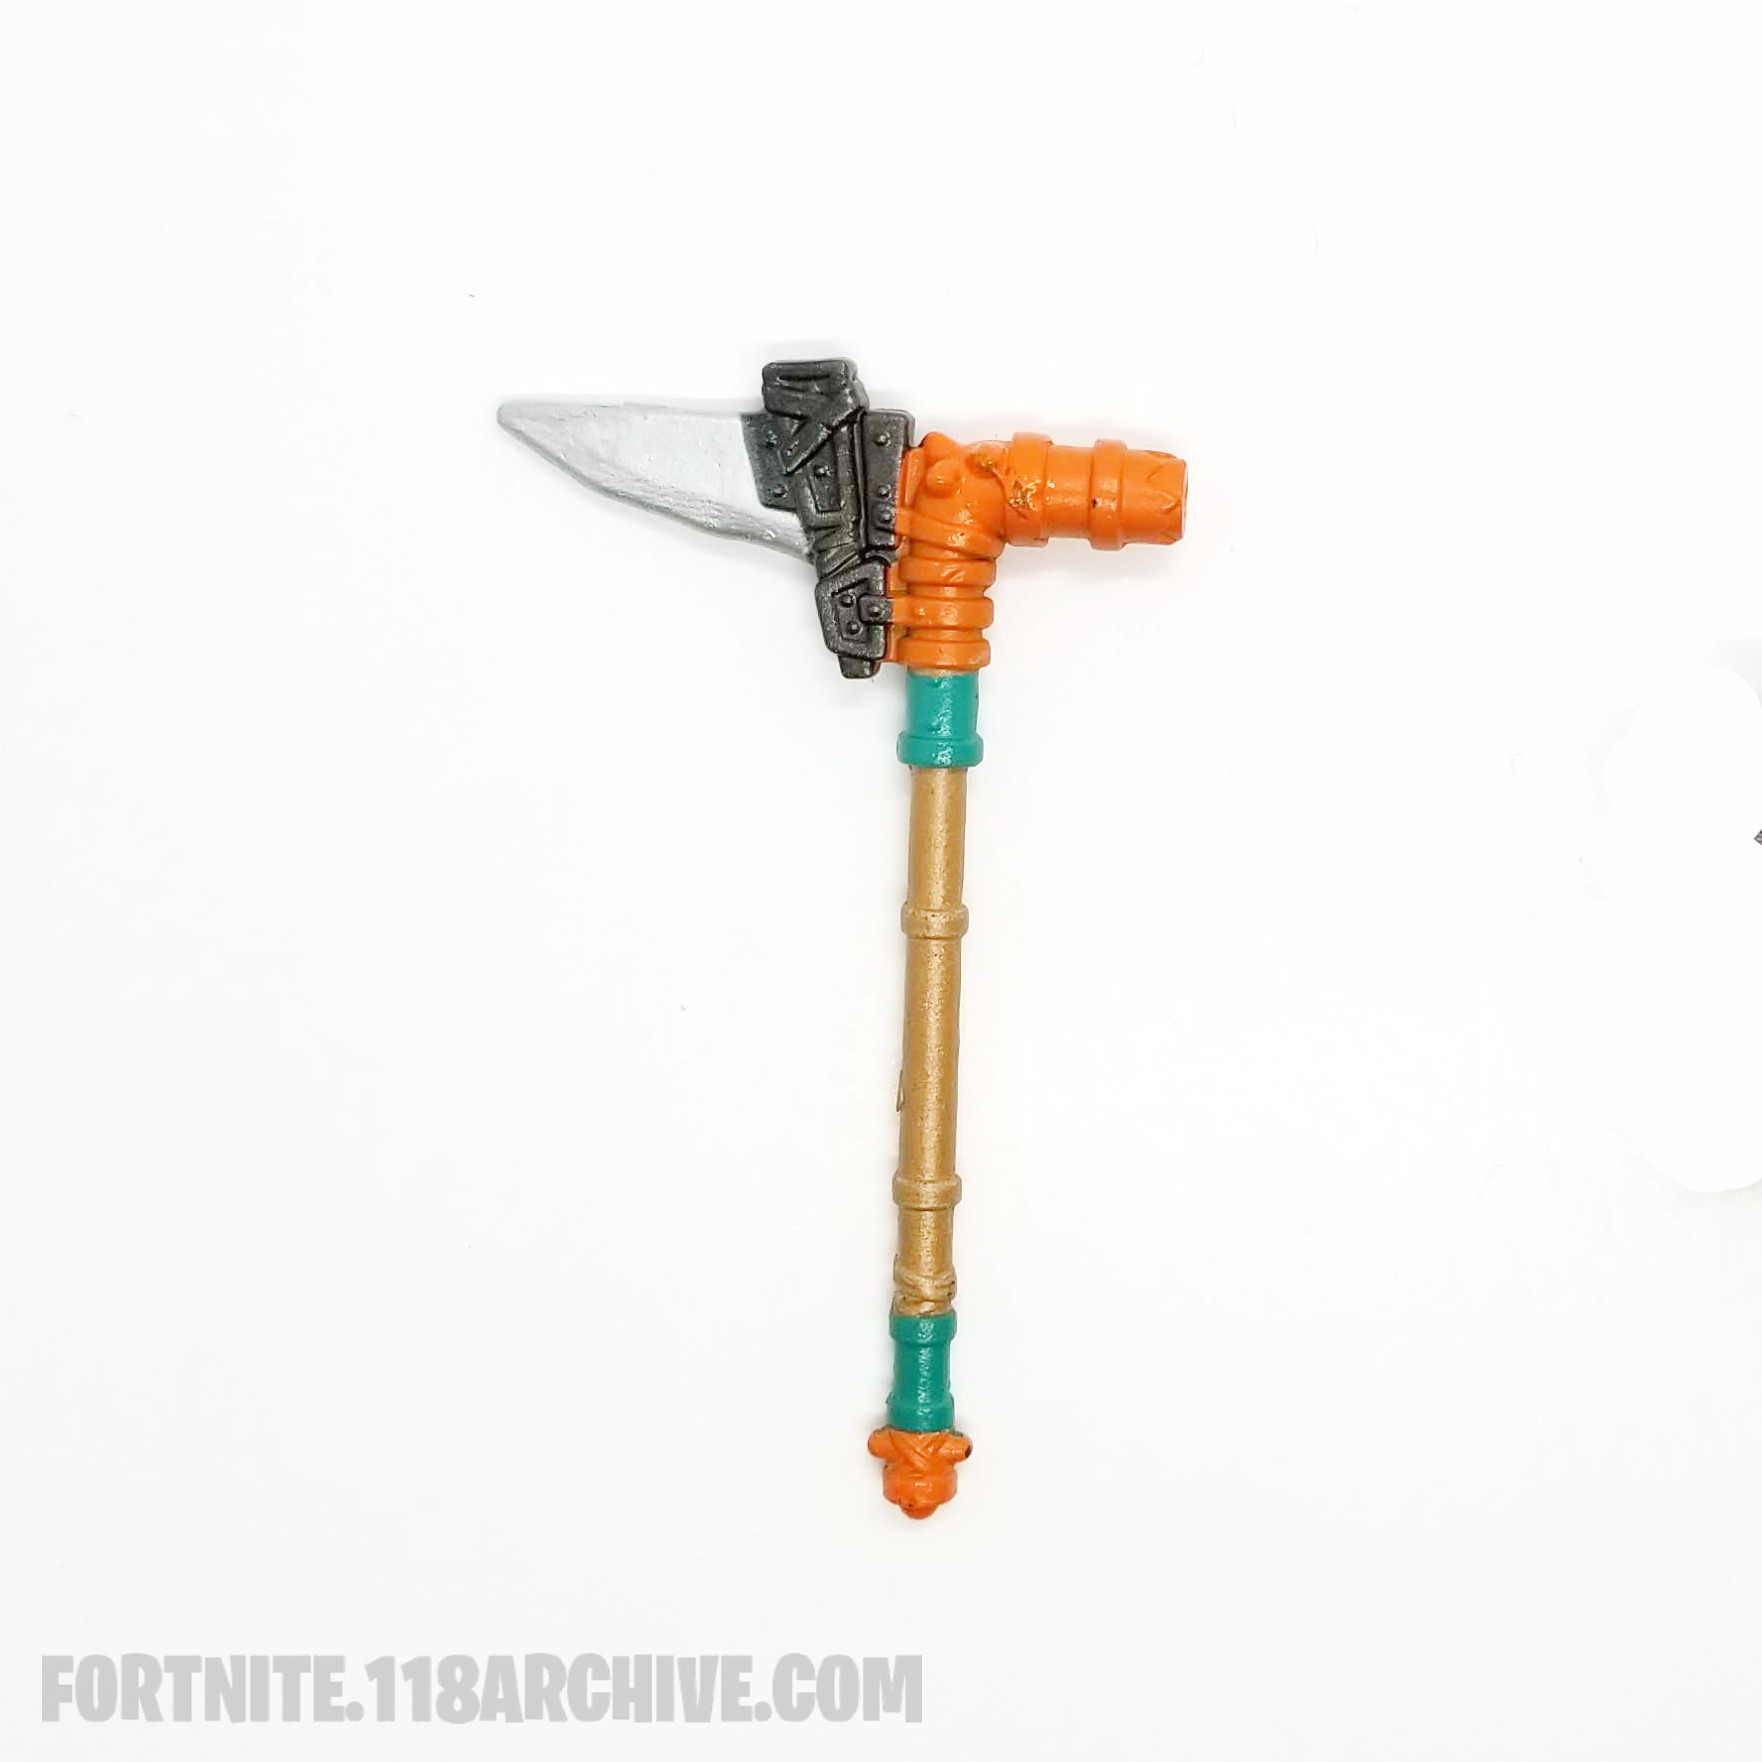
| Line 544: | Line 816: | ||
|style="text-align:center;"|[[Harvest_Tools:Balloon Axe|Balloon Axe]] [[Category:Balloon Axe]] | |style="text-align:center;"|[[Harvest_Tools:Balloon Axe|Balloon Axe]] [[Category:Balloon Axe]] | ||
|- | |- | ||
[[Category:Party Parade]] | |style="text-align:center;"|[[Game Sets:Party Parade|Party Parade]][[Category:Party Parade]] | ||
|} | |} | ||
| Line 553: | Line 825: | ||
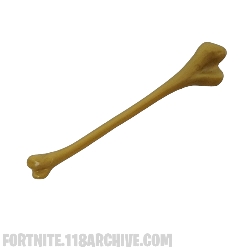
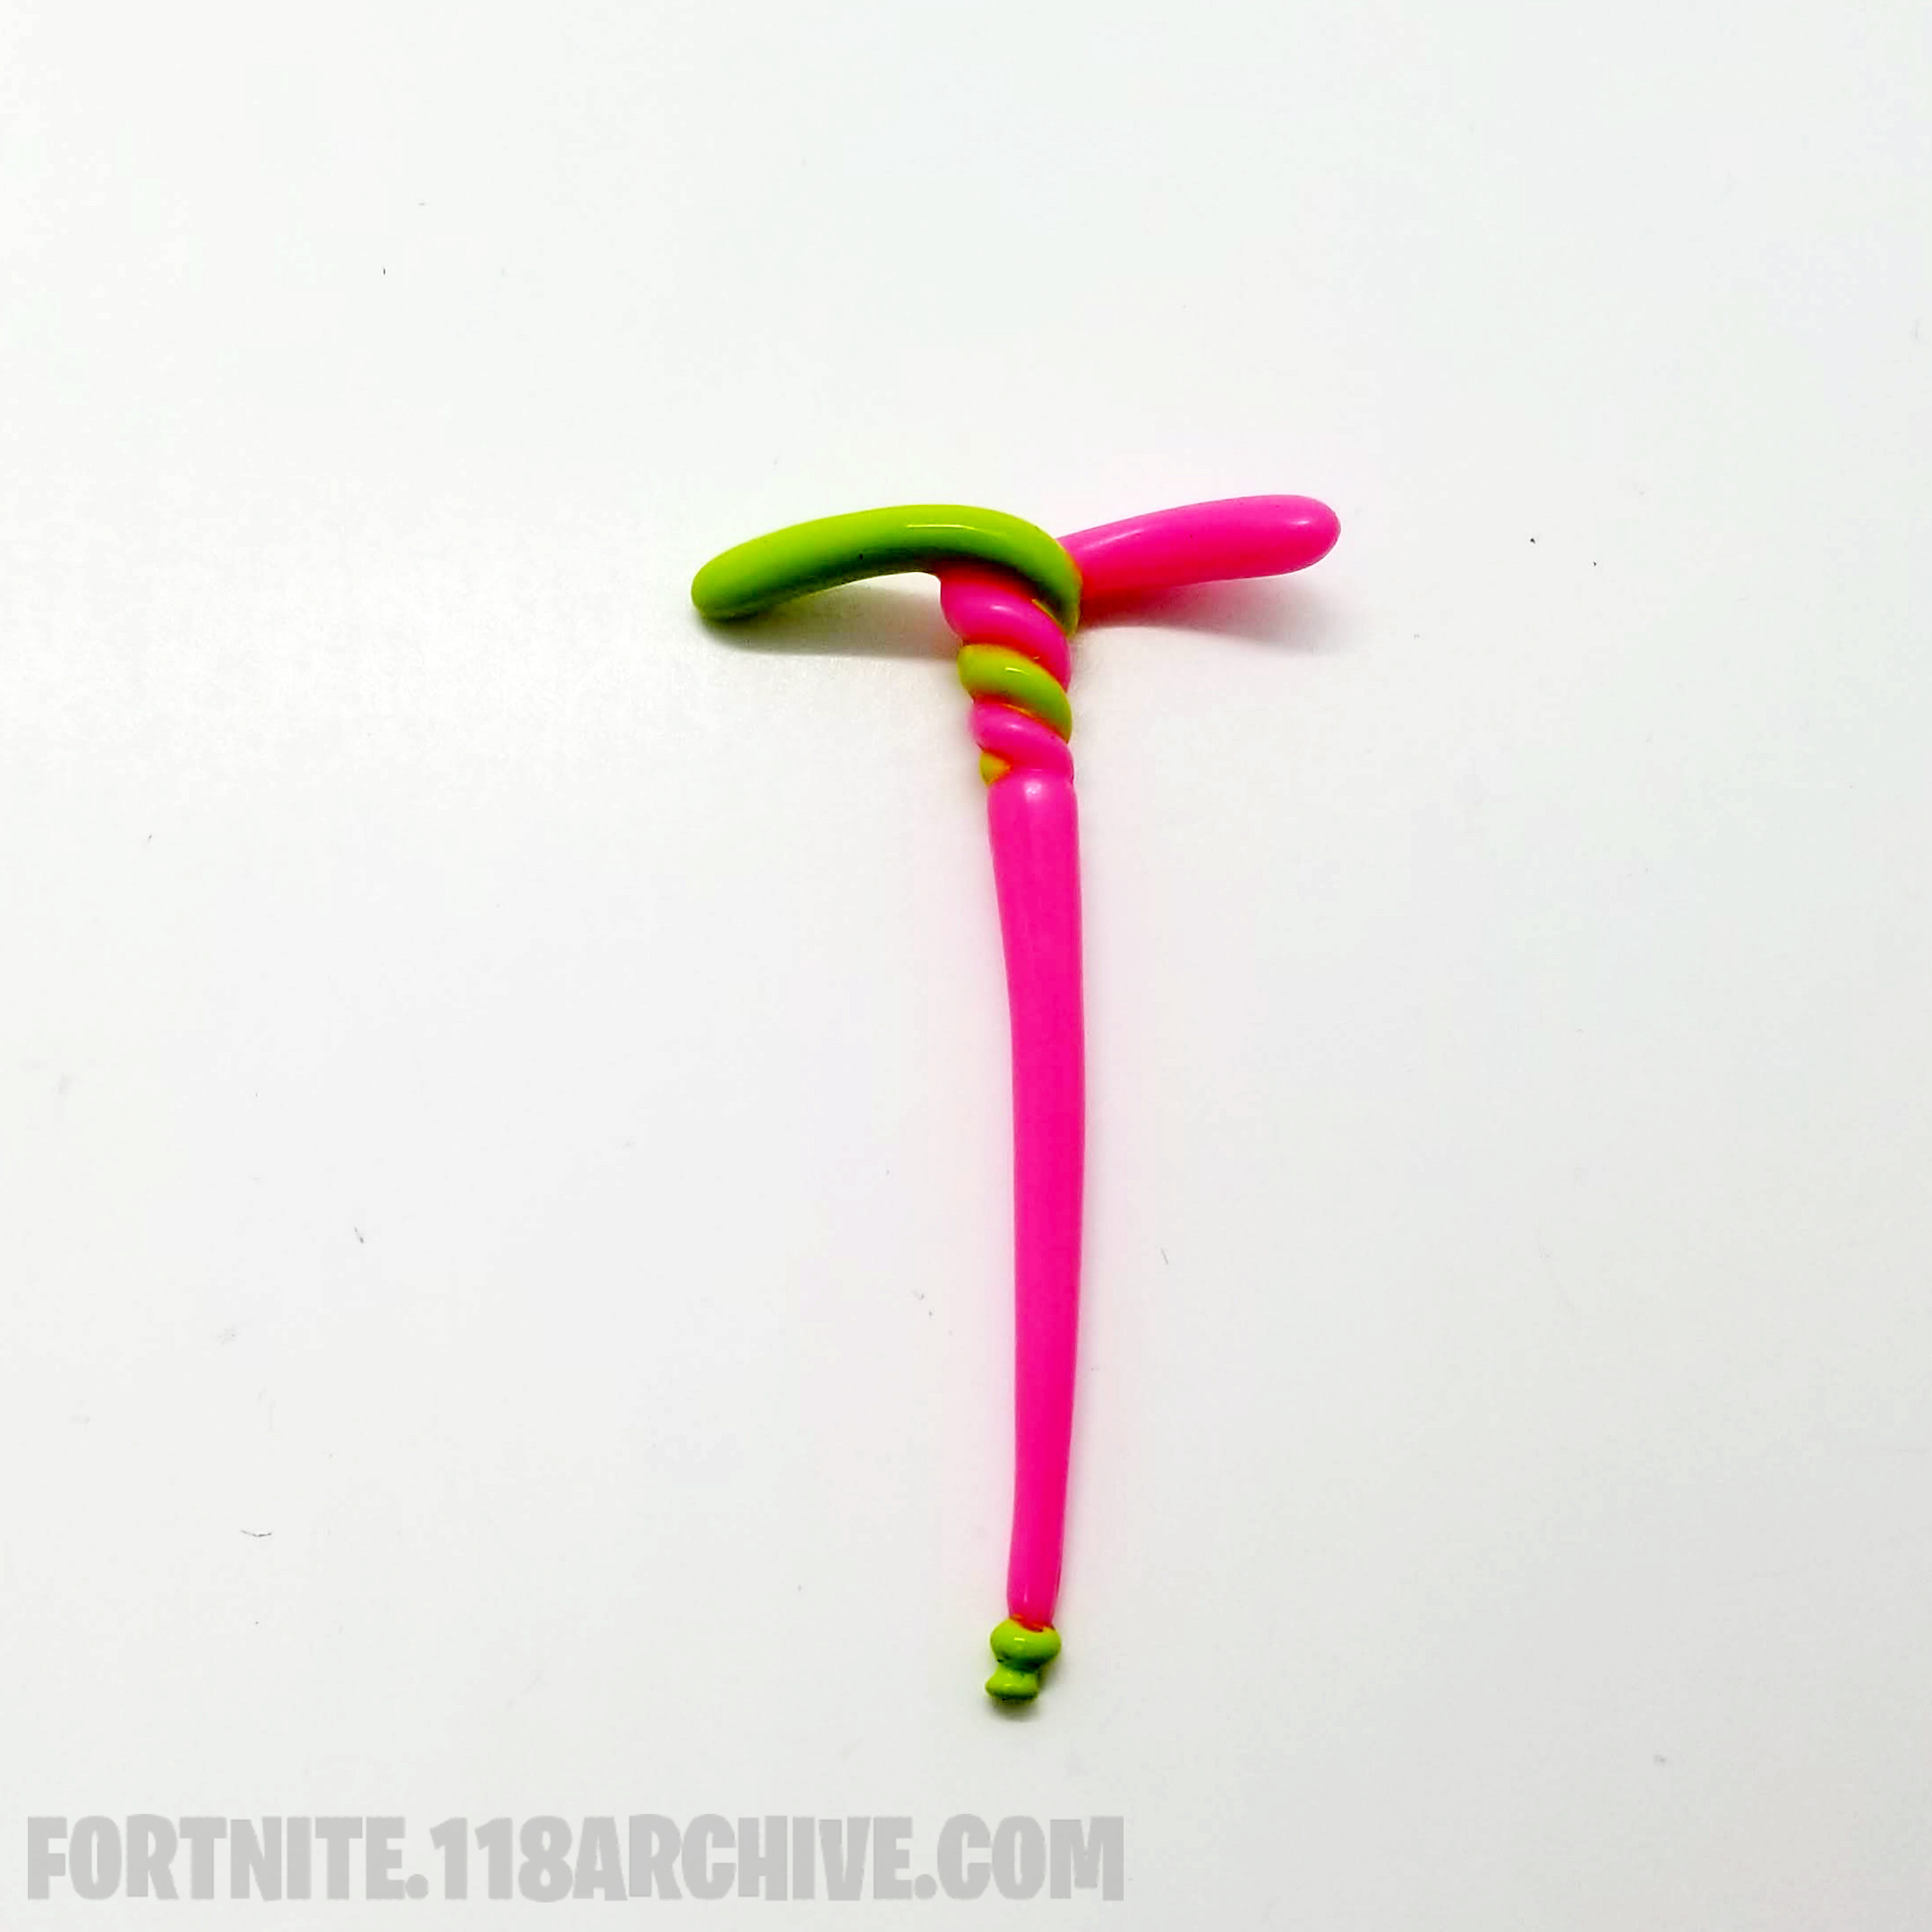
|style="text-align:center;"|[[Harvest_Tools:Carrot Stick|Carrot Stick]] [[Category:Carrot Stick]] | |style="text-align:center;"|[[Harvest_Tools:Carrot Stick|Carrot Stick]] [[Category:Carrot Stick]] | ||
|- | |- | ||
[[Category:Pastel Patrol]] | |style="text-align:center;"|[[Game Sets:Pastel Patrol|Pastel Patrol]][[Category:Pastel Patrol]] | ||
|} | |} | ||
| Line 562: | Line 834: | ||
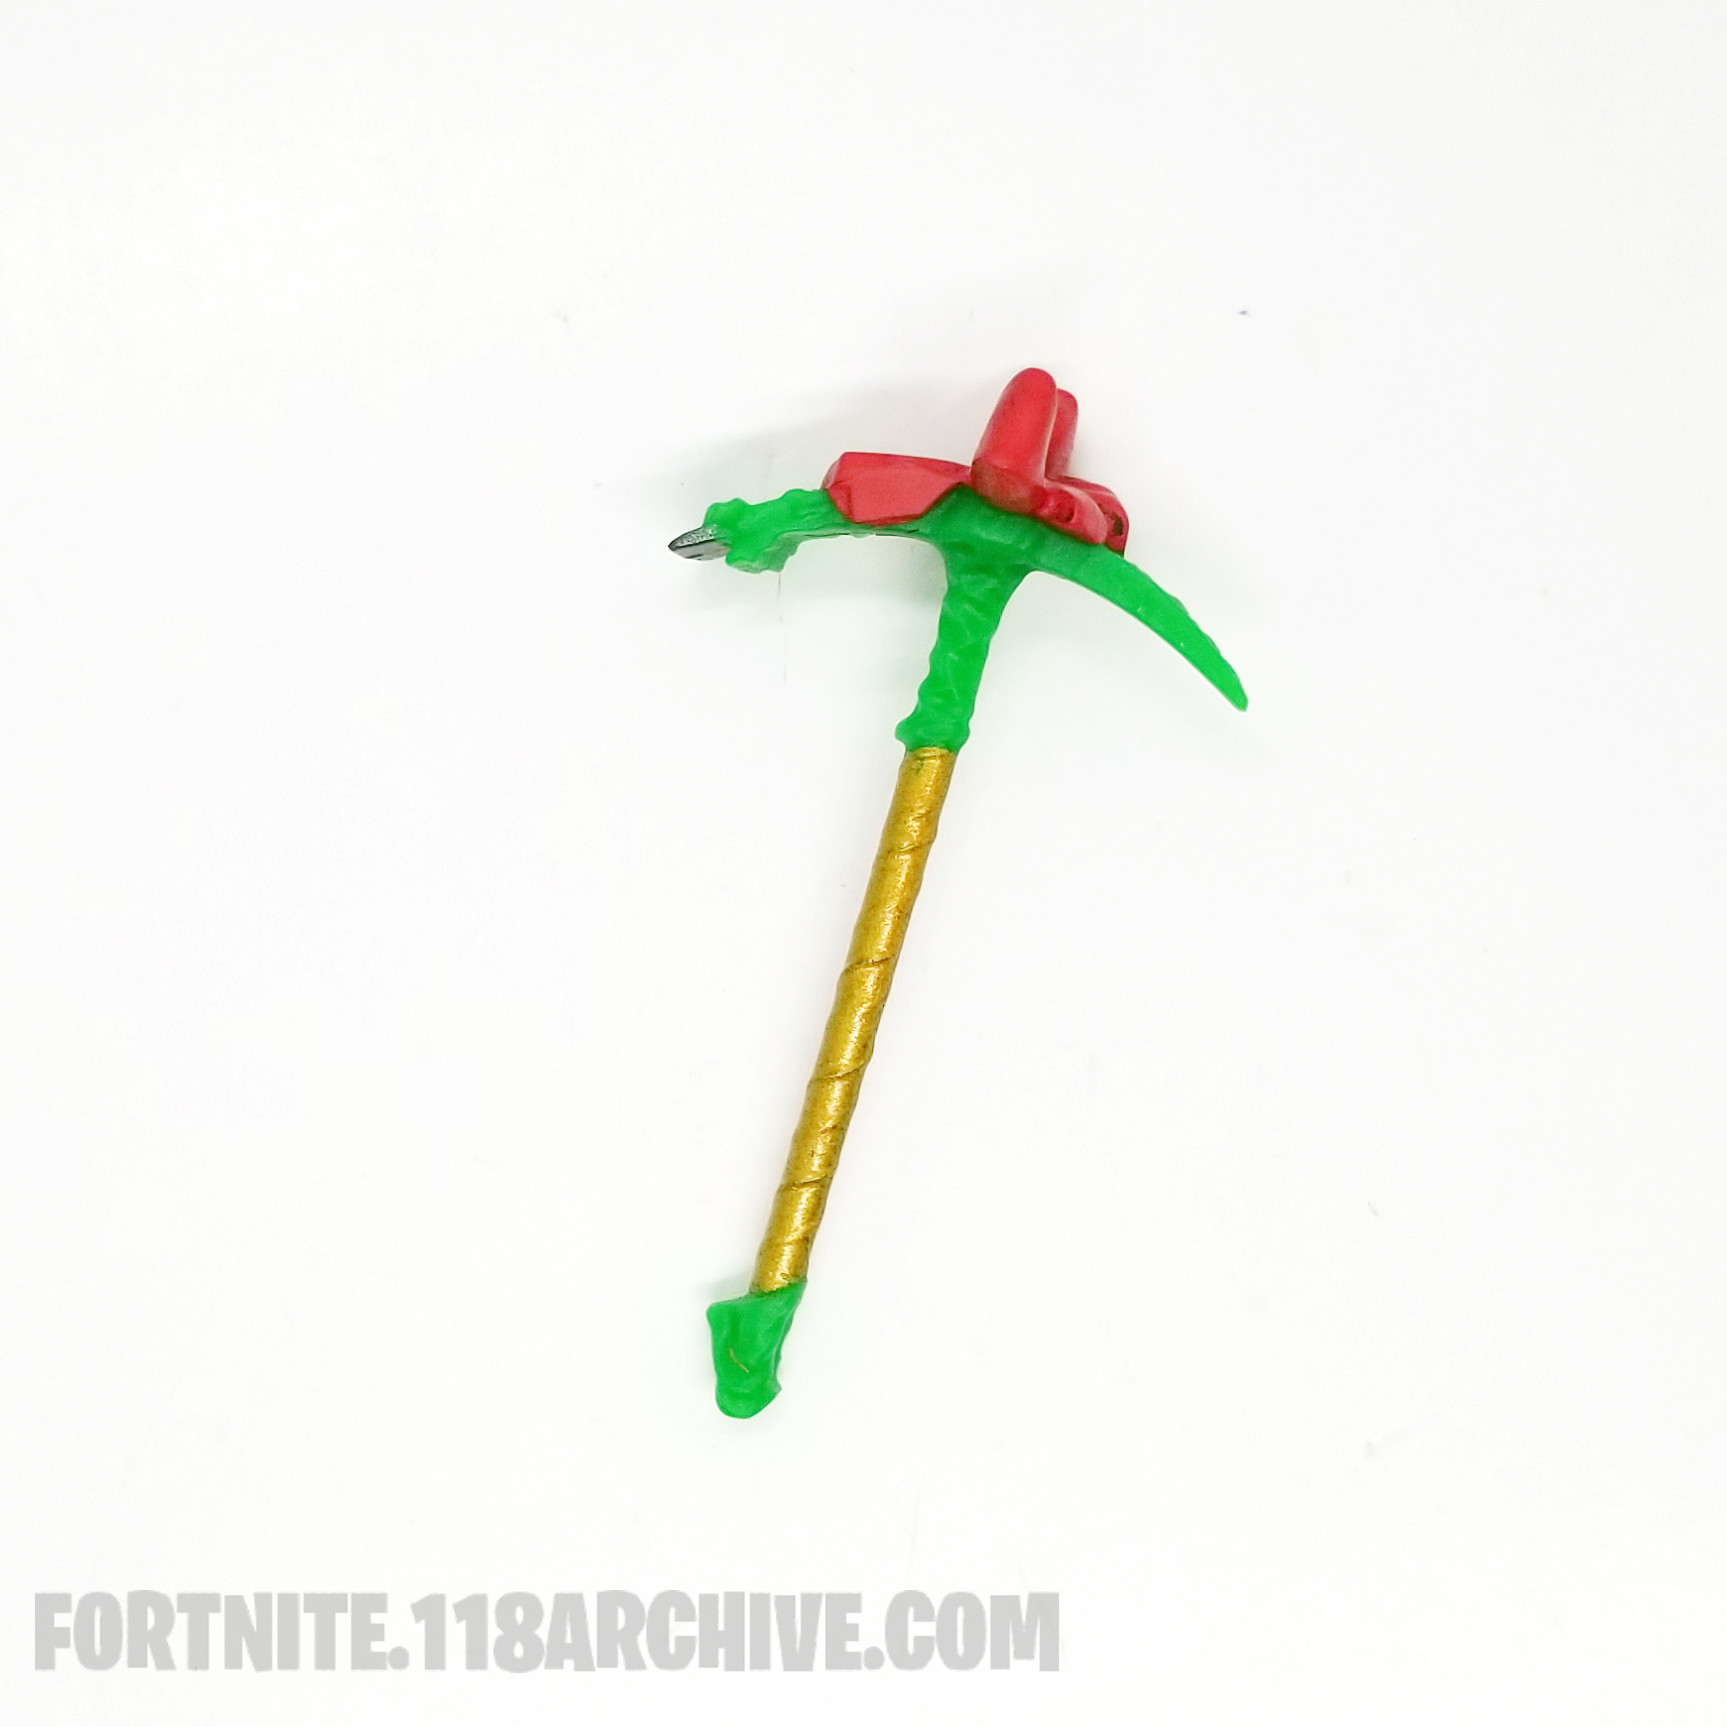
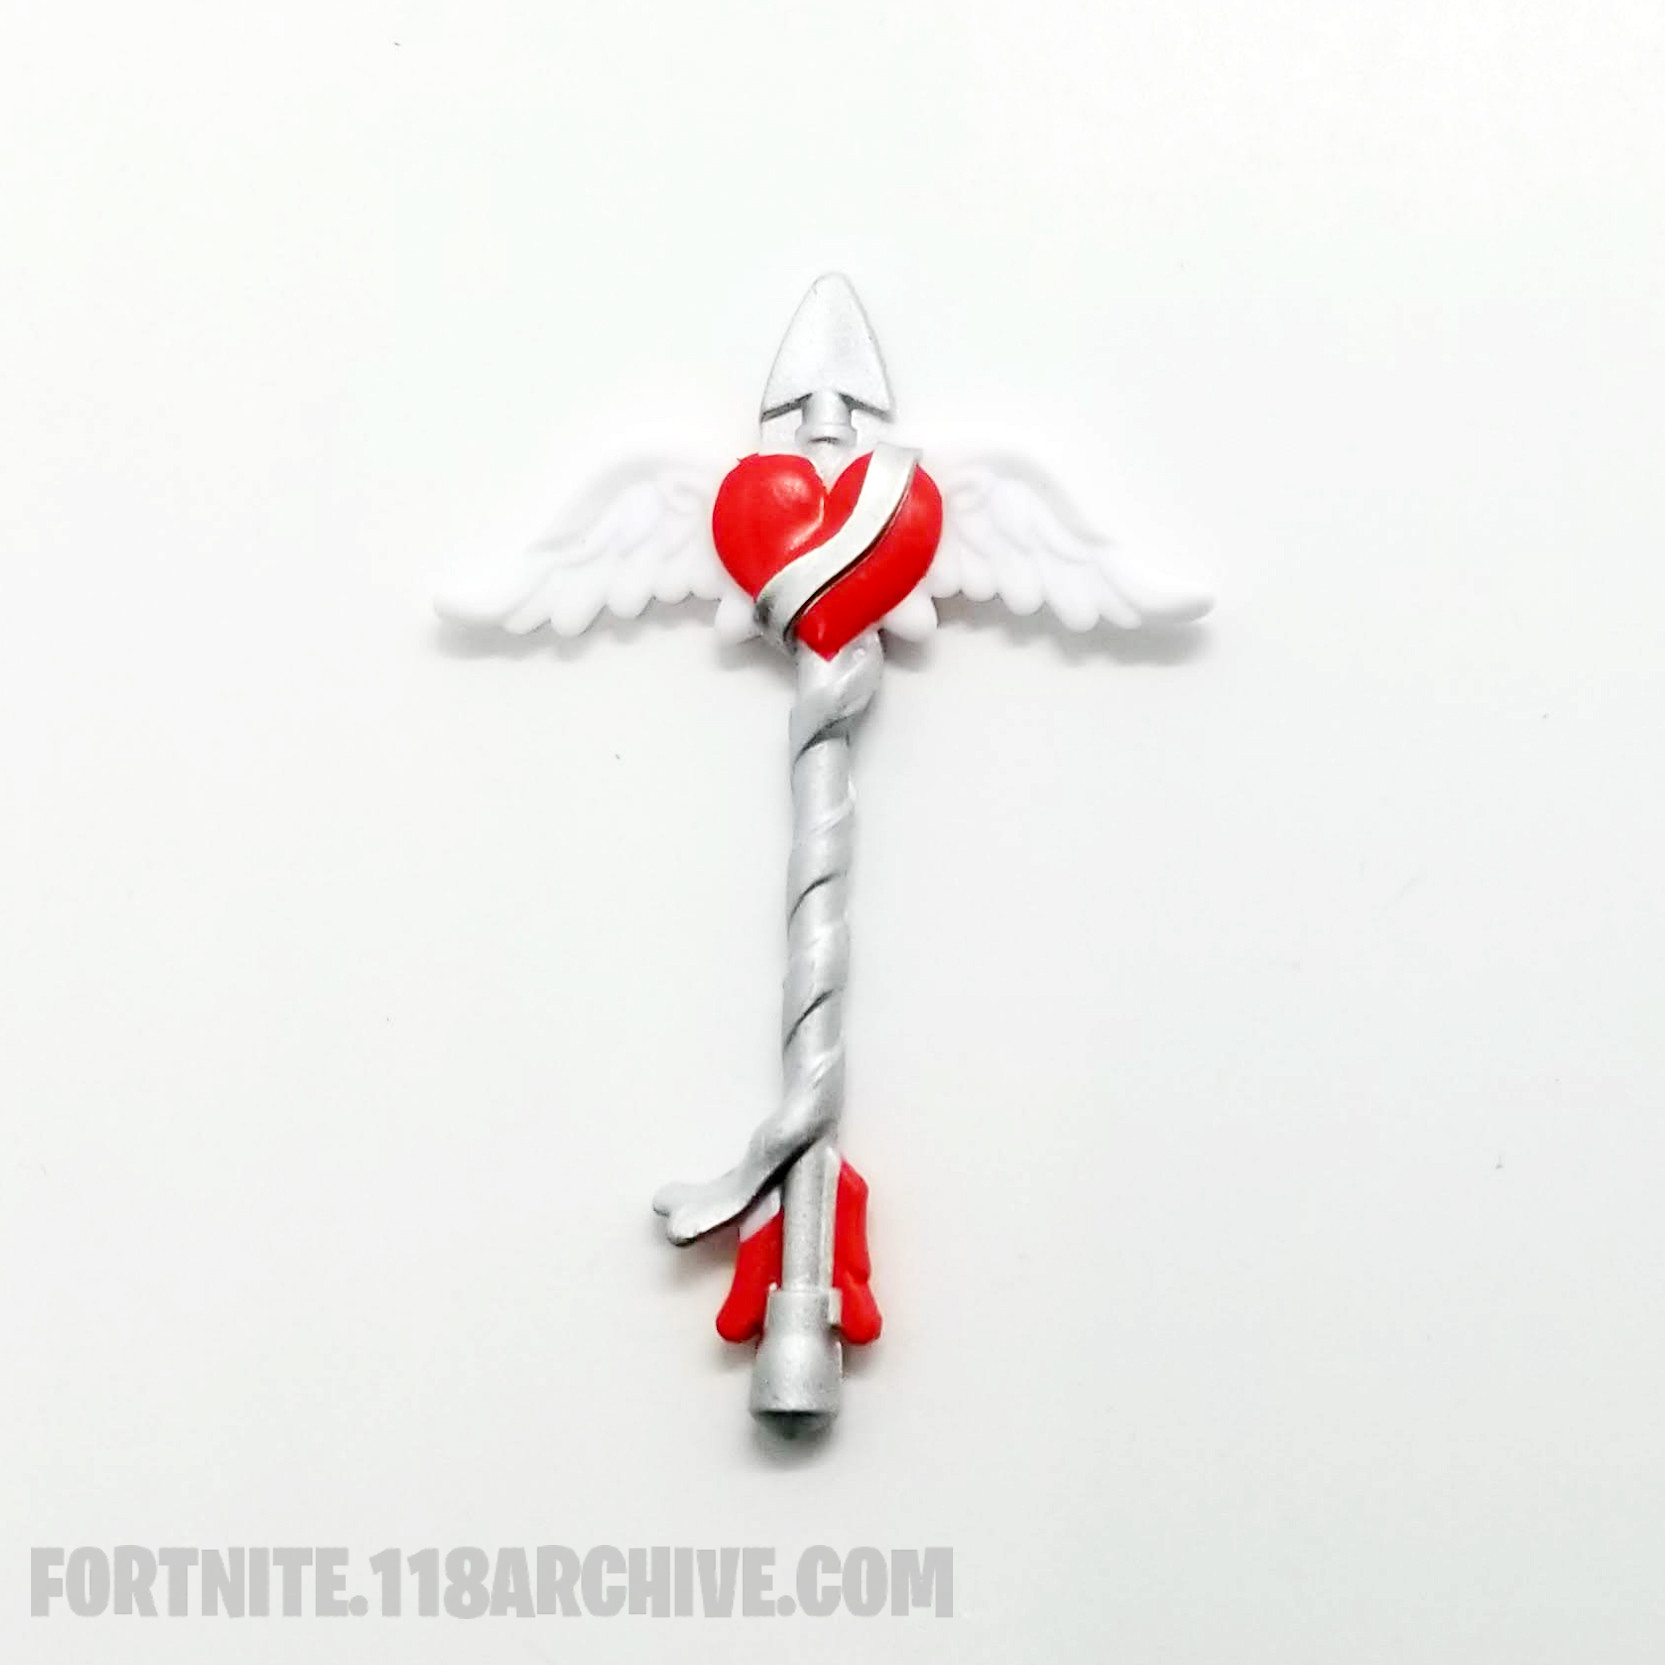
|style="text-align:center;"|[[Harvest_Tools:Rose Glow|Rose Glow]] [[Category:Rose Glow]] | |style="text-align:center;"|[[Harvest_Tools:Rose Glow|Rose Glow]] [[Category:Rose Glow]] | ||
|- | |- | ||
[[Category:Rose Team]] | |style="text-align:center;"|[[Game Sets:Rose Team|Rose Team]][[Category:Rose Team]] | ||
|} | |} | ||
| Line 571: | Line 843: | ||
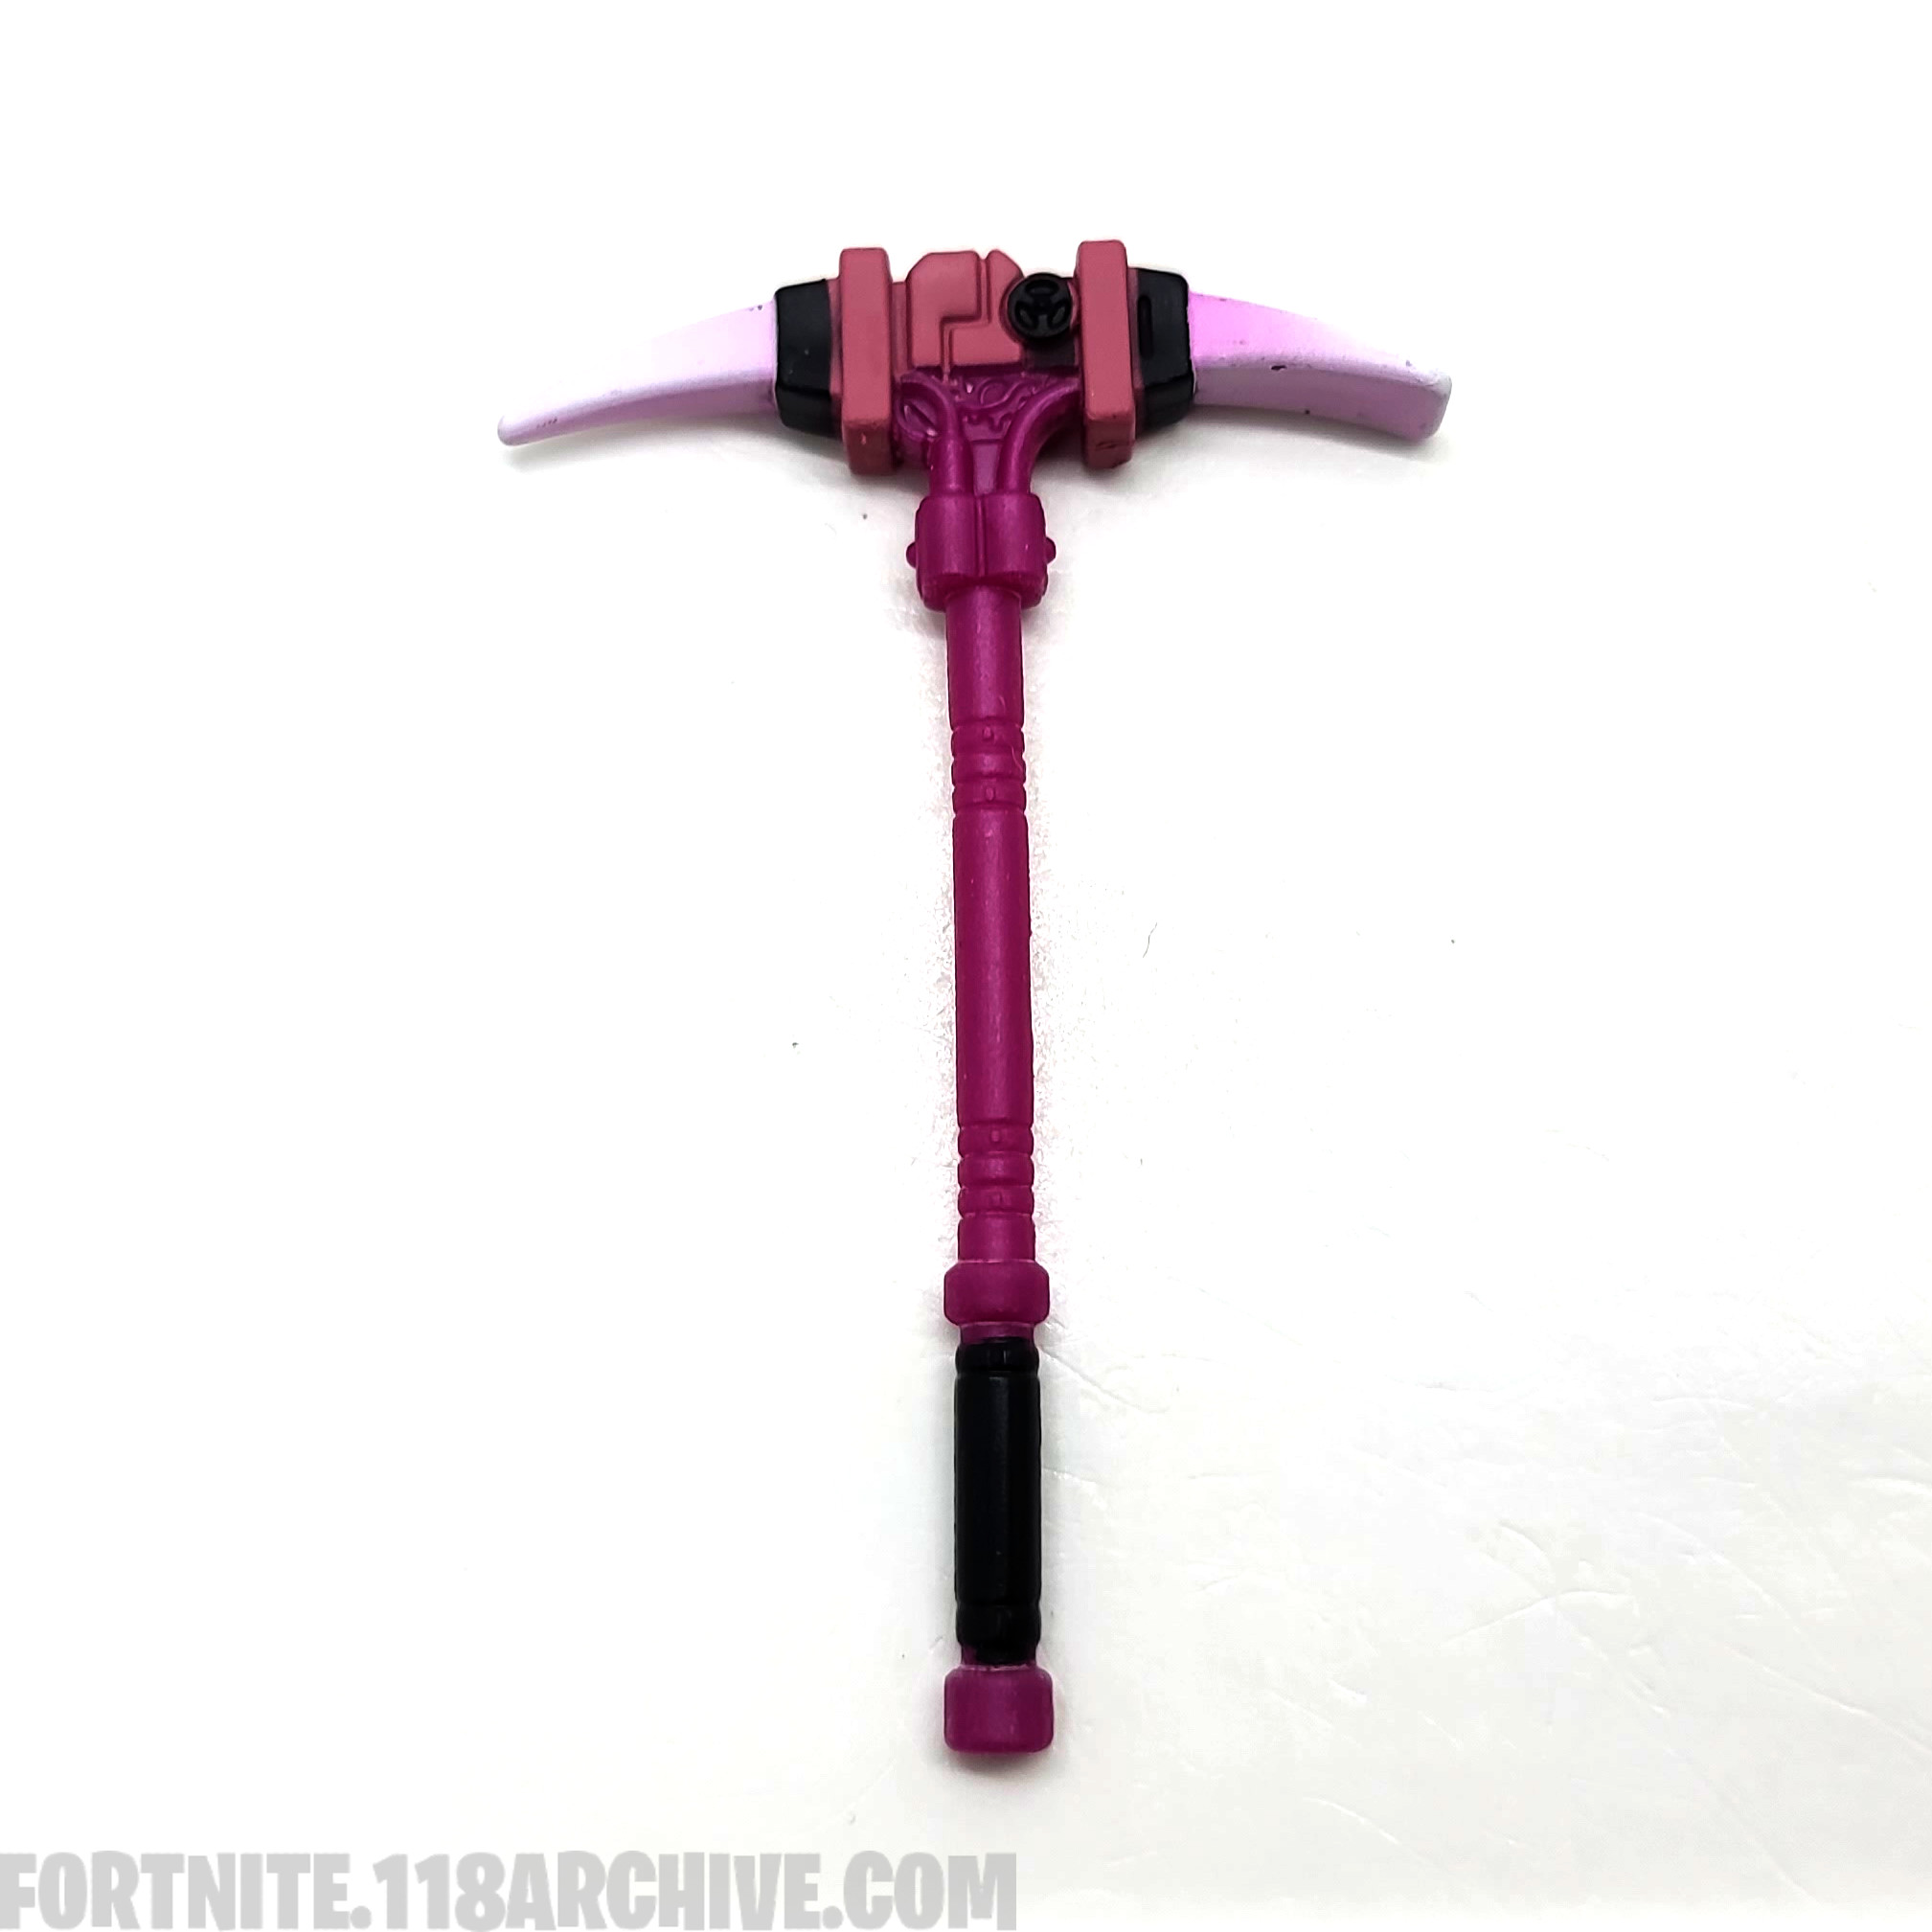
|style="text-align:center;"|[[Harvest_Tools:Tat Axe|Tat Axe]] [[Category:Tat Axe]] | |style="text-align:center;"|[[Harvest_Tools:Tat Axe|Tat Axe]] [[Category:Tat Axe]] | ||
|- | |- | ||
[[Category:Royale Hearts]] | |style="text-align:center;"|[[Game Sets:Royale Hearts|Royale Hearts]][[Category:Royale Hearts]] | ||
|} | |} | ||
| Line 580: | Line 852: | ||
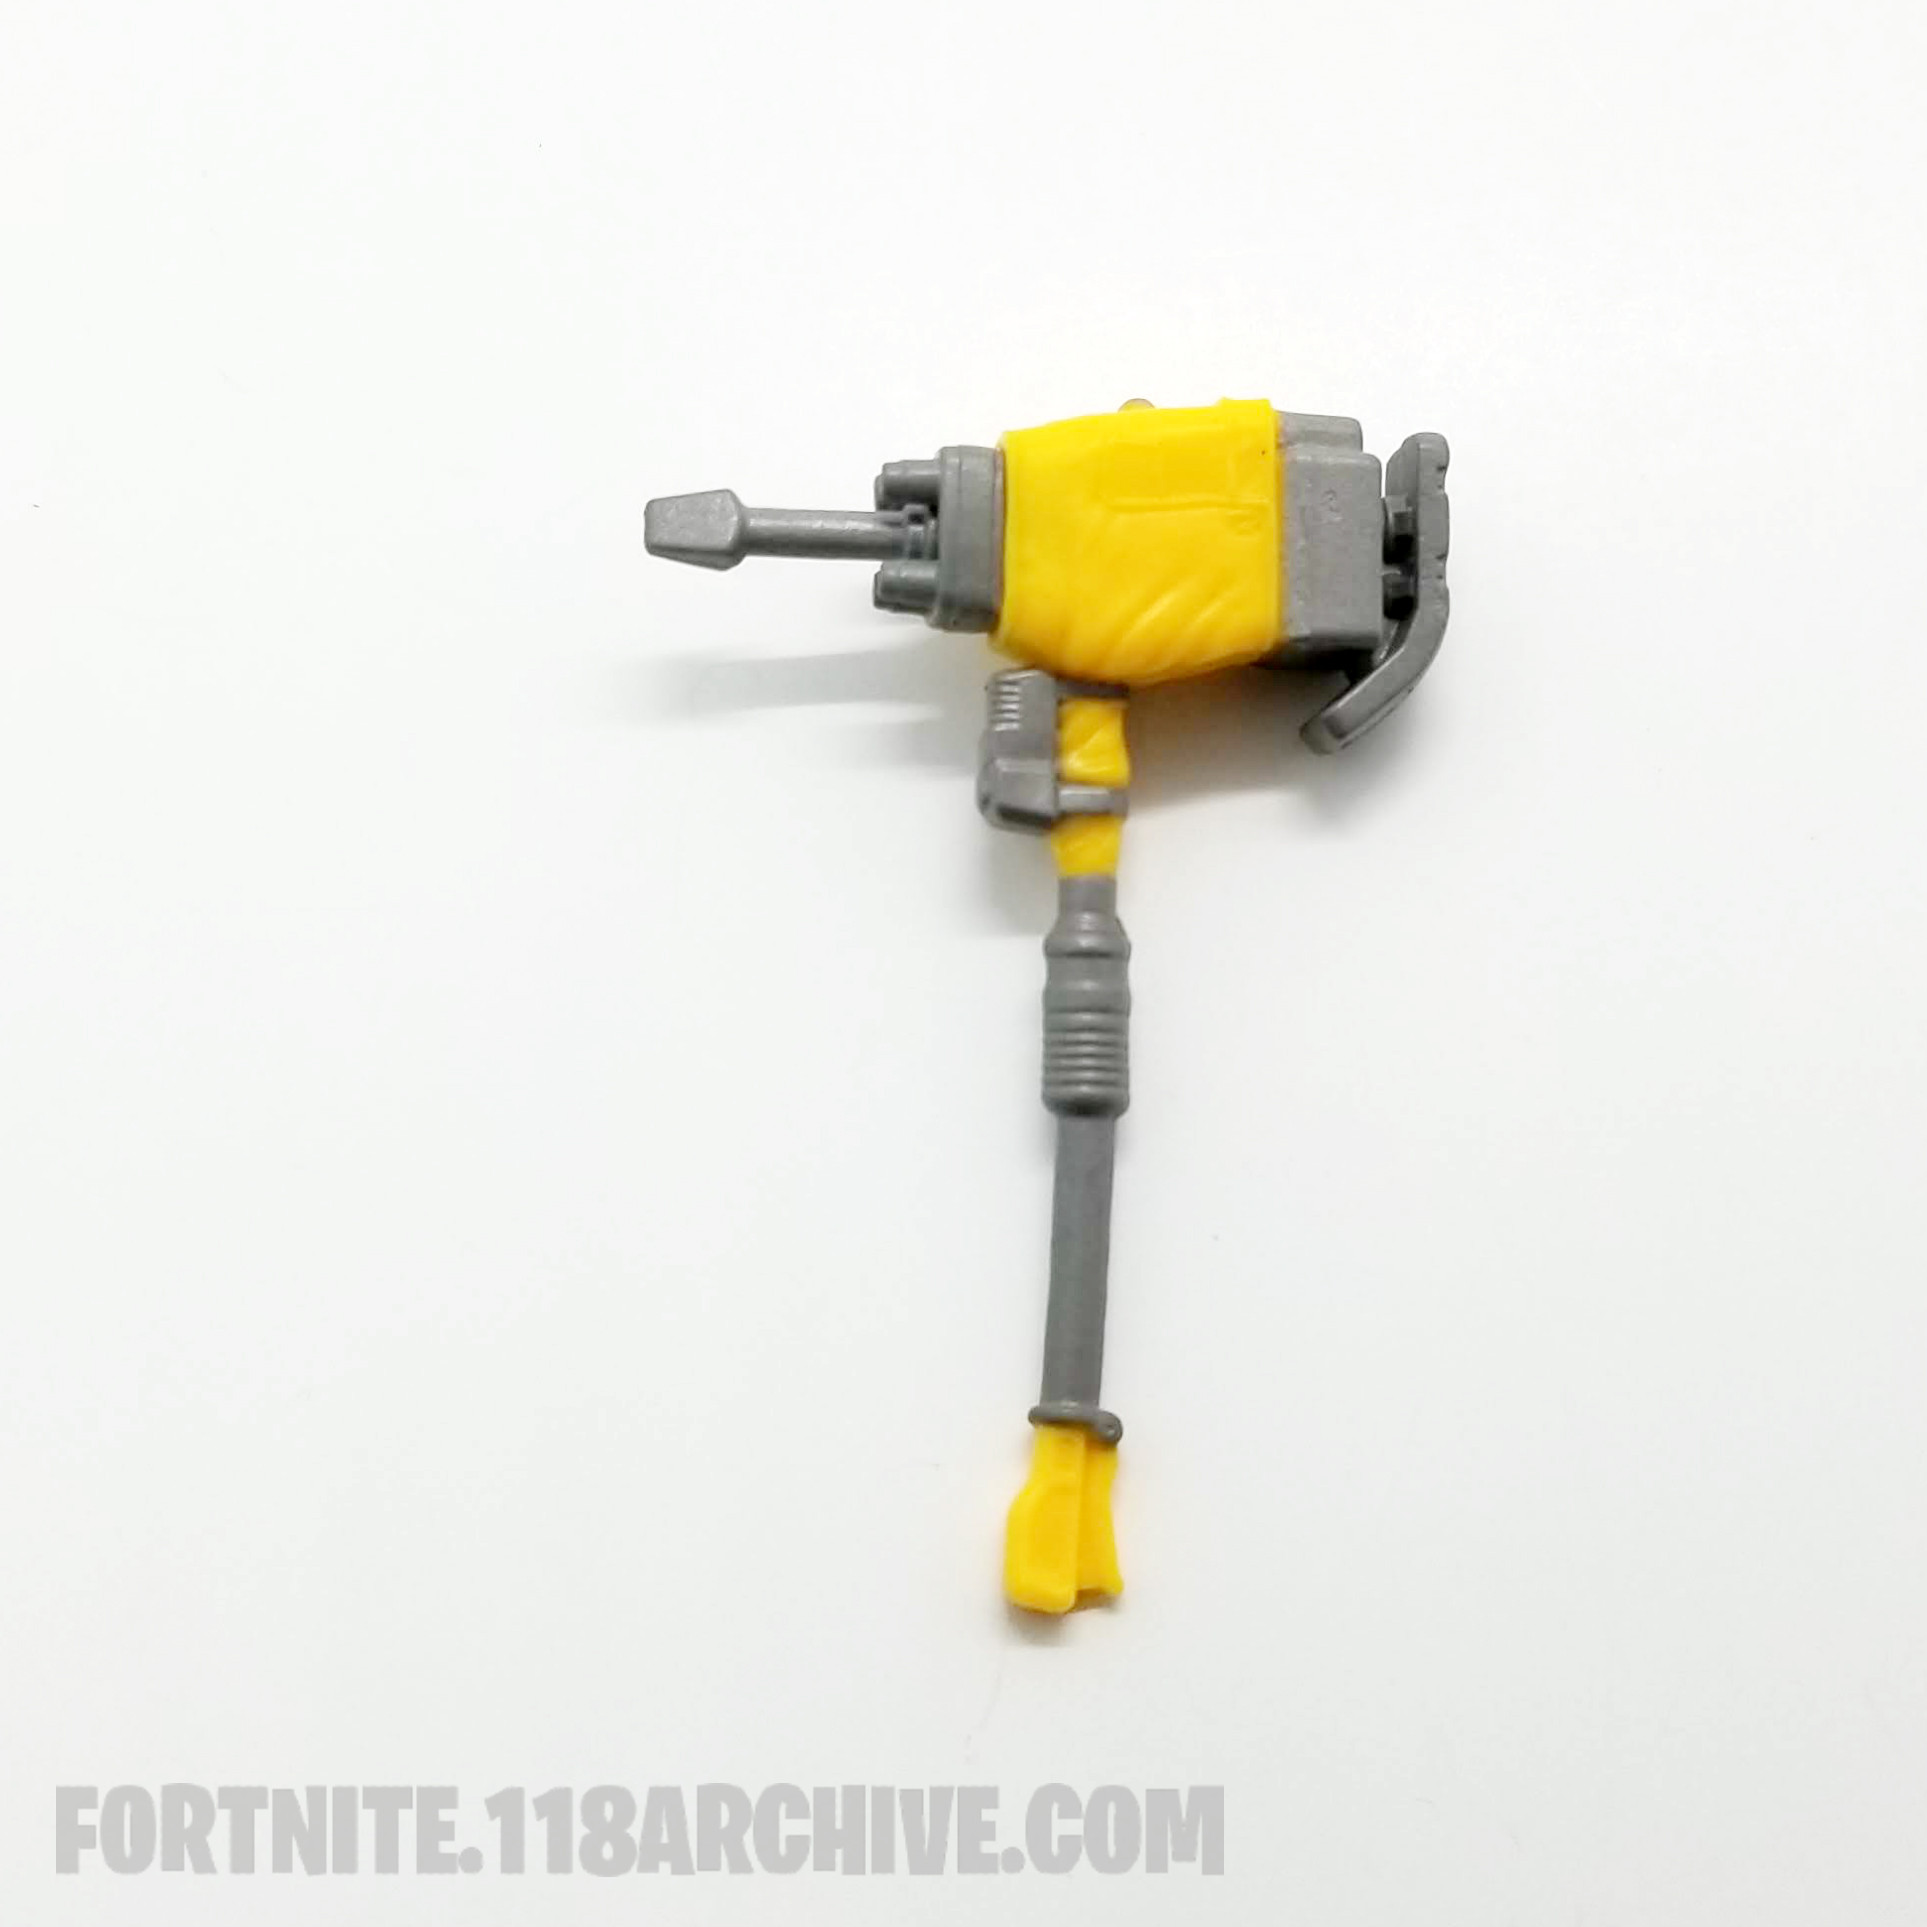
|style="text-align:center;"|[[Harvest_Tools:Lug Axe|Lug Axe]] [[Category:Lug Axe]] | |style="text-align:center;"|[[Harvest_Tools:Lug Axe|Lug Axe]] [[Category:Lug Axe]] | ||
|- | |- | ||
[[Category:RPM]] | |style="text-align:center;"|[[Game Sets:RPM|RPM]][[Category:RPM]] | ||
|} | |} | ||
| Line 589: | Line 861: | ||
|style="text-align:center;"|[[Harvest_Tools:Skully Splitter|Skully Splitter]] [[Category:Skully Splitter]] | |style="text-align:center;"|[[Harvest_Tools:Skully Splitter|Skully Splitter]] [[Category:Skully Splitter]] | ||
|- | |- | ||
[[Category:Skull and Bows]] | |style="text-align:center;"|[[Game Sets:Skull and Bows|Skull and Bows]][[Category:Skull and Bows]] | ||
|} | |} | ||
| Line 598: | Line 870: | ||
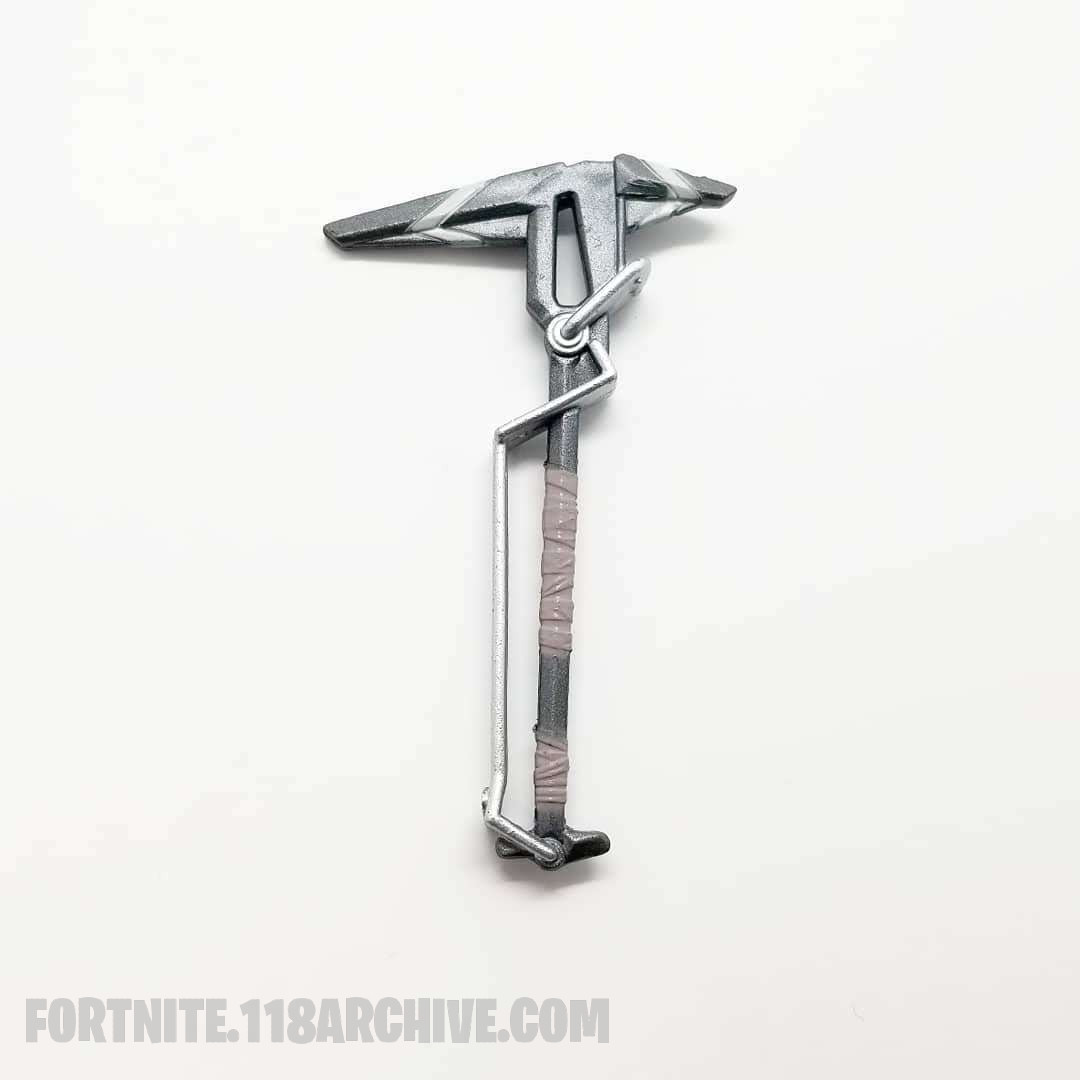
|style="text-align:center;"|[[Harvest_Tools:Stark Splitter|Stark Splitter]] [[Category:Stark Splitter]] | |style="text-align:center;"|[[Harvest_Tools:Stark Splitter|Stark Splitter]] [[Category:Stark Splitter]] | ||
|- | |- | ||
[[Category:Skull and Bows]] | |style="text-align:center;"|[[Game Sets:Skull and Bows|Skull and Bows]][[Category:Skull and Bows]] | ||
|} | |} | ||
| Line 607: | Line 879: | ||
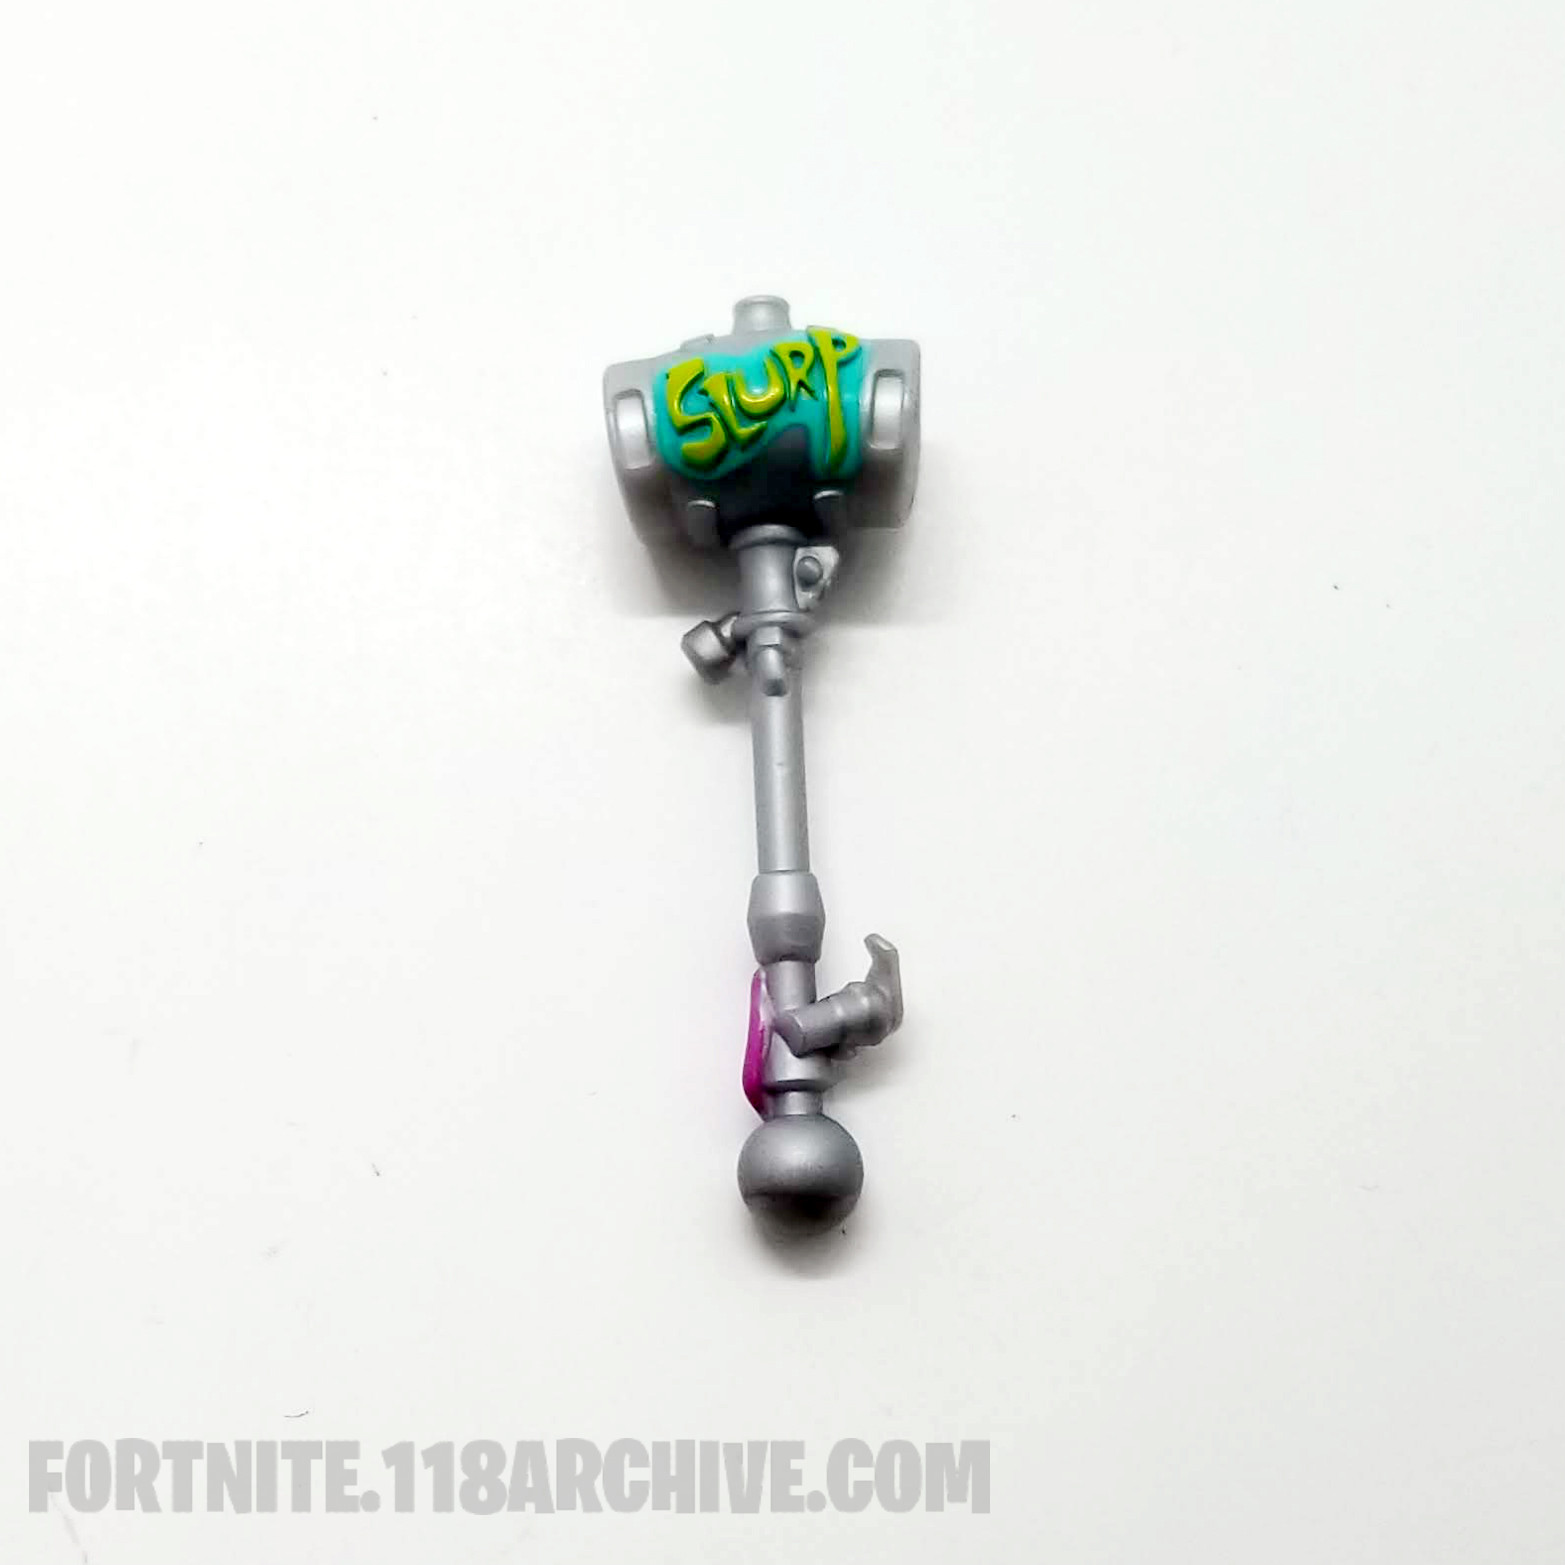
|style="text-align:center;"|[[Harvest_Tools:Party Animal|Party Animal]] [[Category:Party Animal]] | |style="text-align:center;"|[[Harvest_Tools:Party Animal|Party Animal]] [[Category:Party Animal]] | ||
|- | |- | ||
[[Category:Slurp Squad]] | |style="text-align:center;"|[[Game Sets:Slurp Squad|Slurp Squad]][[Category:Slurp Squad]] | ||
|} | |} | ||
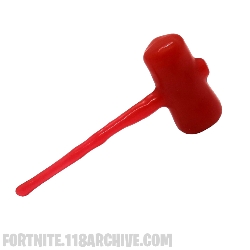
| Line 616: | Line 888: | ||
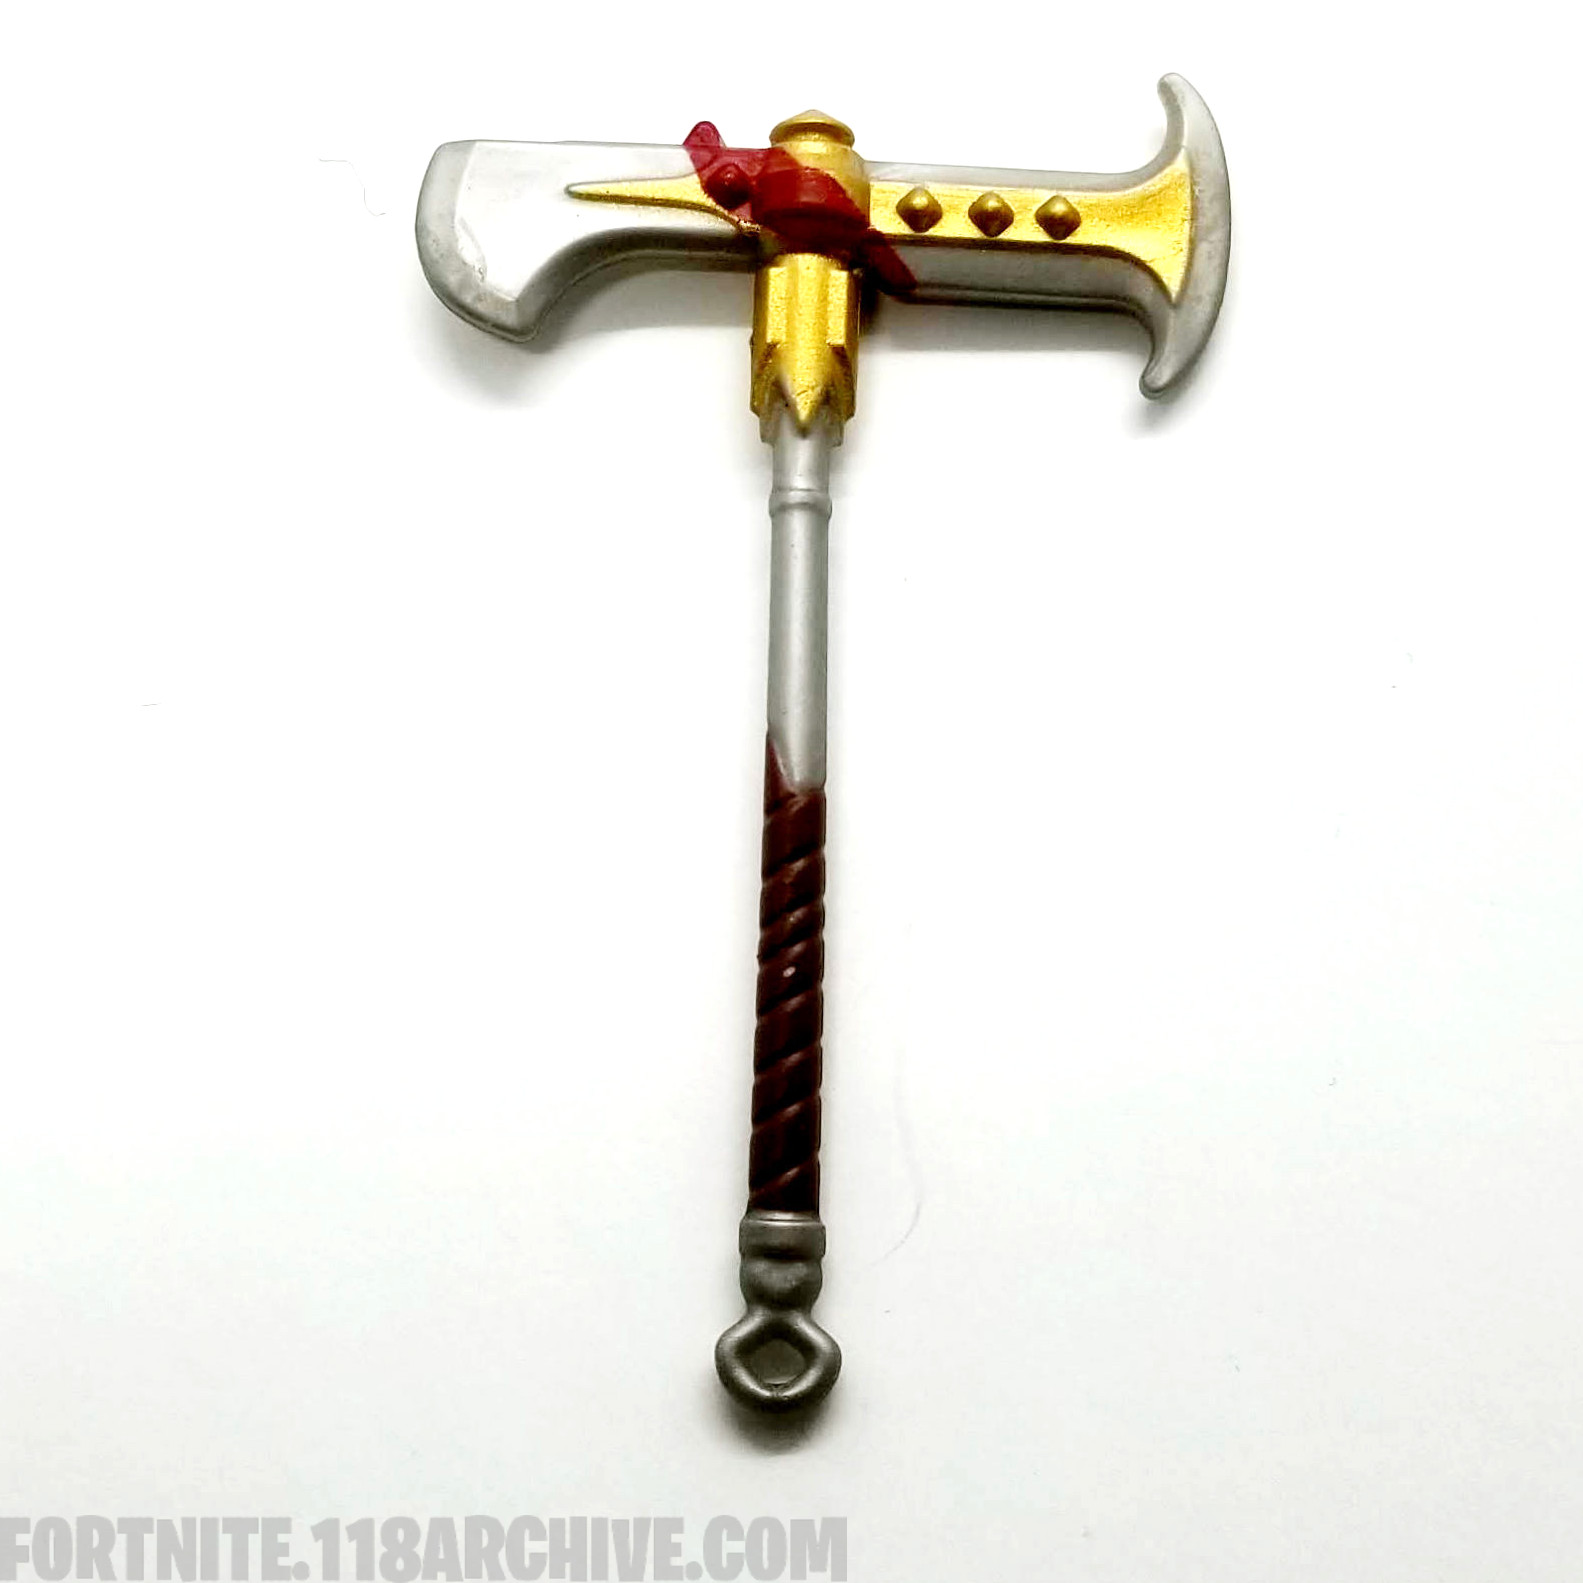
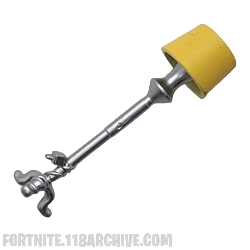
|style="text-align:center;"|[[Harvest_Tools:Sludgehammer Red|Sludgehammer (Red)]] [[Category:Sludgehammer]] | |style="text-align:center;"|[[Harvest_Tools:Sludgehammer Red|Sludgehammer (Red)]] [[Category:Sludgehammer]] | ||
|- | |- | ||
[[Category:Slurp Squad]] | |style="text-align:center;"|[[Game Sets:Slurp Squad|Slurp Squad]][[Category:Slurp Squad]] | ||
|} | |} | ||
| Line 625: | Line 897: | ||
|style="text-align:center;"|[[Harvest_Tools:Spectre|Spectre]][[Category:Spectre]] | |style="text-align:center;"|[[Harvest_Tools:Spectre|Spectre]][[Category:Spectre]] | ||
|- | |- | ||
[[Category:Stealth Syndicate]] | |style="text-align:center;"|[[Game Sets:Stealth Syndicate|Stealth Syndicate]][[Category:Stealth Syndicate]] | ||
|} | |} | ||
| Line 634: | Line 906: | ||
|style="text-align:center;"|[[Harvest_Tools:Primal Sting|Primal Sting]][[Category:Primal Sting]] | |style="text-align:center;"|[[Harvest_Tools:Primal Sting|Primal Sting]][[Category:Primal Sting]] | ||
|- | |- | ||
[[Category:Sting]] | |style="text-align:center;"|[[Game Sets:Sting|Sting]][[Category:Sting]] | ||
|} | |} | ||
| Line 643: | Line 915: | ||
|style="text-align:center;"|[[Harvest_Tools:Stripe Slicer|Stripe Slicer]][[Category:Stripe Slicer]] | |style="text-align:center;"|[[Harvest_Tools:Stripe Slicer|Stripe Slicer]][[Category:Stripe Slicer]] | ||
|- | |- | ||
[[Category:Street Stripes]] | |style="text-align:center;"|[[Game Sets:Street Stripes|Street Stripes]][[Category:Street Stripes]] | ||
|} | |} | ||
| Line 652: | Line 924: | ||
|style="text-align:center;"|[[Harvest_Tools:Bank Shots|Bank Shots]][[Category:Bank Shots]] | |style="text-align:center;"|[[Harvest_Tools:Bank Shots|Bank Shots]][[Category:Bank Shots]] | ||
|- | |- | ||
[[Category:Stripes and Solids]] | |style="text-align:center;"|[[Game Sets:Stripes and Solids|Stripes and Solids]][[Category:Stripes and Solids]] | ||
|} | |} | ||
| Line 661: | Line 933: | ||
|style="text-align:center;"|[[Harvest_Tools:Bank Shots|Bank Shots (Gold)]] | |style="text-align:center;"|[[Harvest_Tools:Bank Shots|Bank Shots (Gold)]] | ||
|- | |- | ||
[[Category:Stripes and Solids]] | |style="text-align:center;"|[[Game Sets:Stripes and Solids|Stripes and Solids]][[Category:Stripes and Solids]] | ||
|} | |} | ||
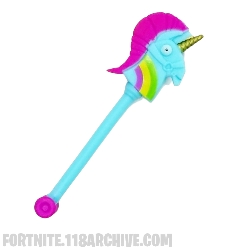
| Line 670: | Line 942: | ||
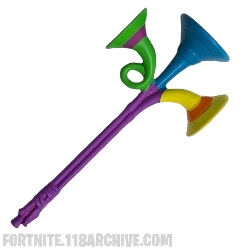
|style="text-align:center;"|[[Harvest_Tools:Rainbow Smash|Rainbow Smash]][[Category:Rainbow Smash]] | |style="text-align:center;"|[[Harvest_Tools:Rainbow Smash|Rainbow Smash]][[Category:Rainbow Smash]] | ||
|- | |- | ||
[[Category:Sunshine and Rainbows]] | |style="text-align:center;"|[[Game Sets:Sunshine and Rainbows|Sunshine and Rainbows]][[Category:Sunshine and Rainbows]] | ||
|} | |} | ||
| Line 679: | Line 951: | ||
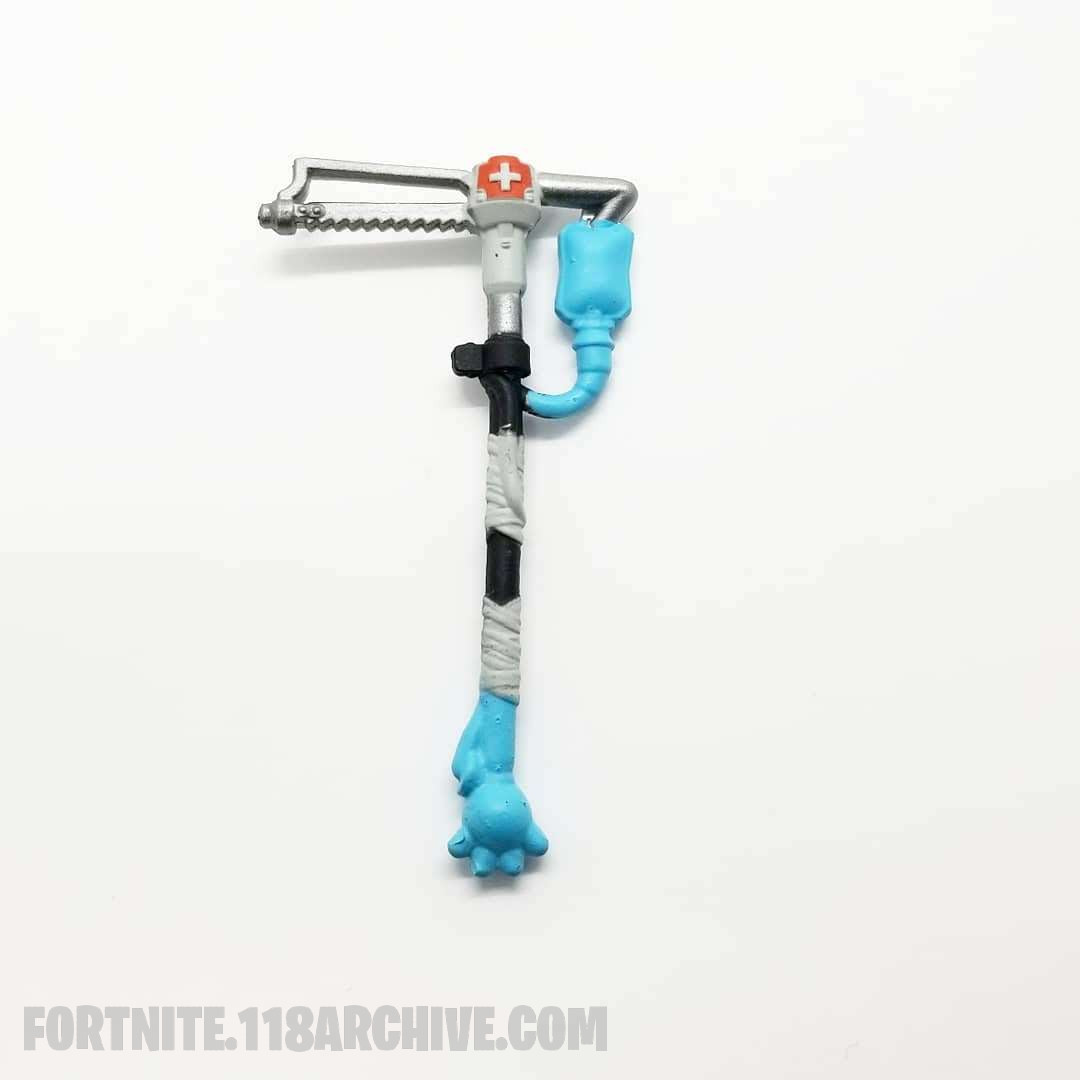
|style="text-align:center;"|[[Harvest_Tools:Flatliner|Flatliner]][[Category:Flatliner]] | |style="text-align:center;"|[[Harvest_Tools:Flatliner|Flatliner]][[Category:Flatliner]] | ||
|- | |- | ||
[[Category:Support Squadron]] | |style="text-align:center;"|[[Game Sets:Support Squadron|Support Squadron]][[Category:Support Squadron]] | ||
|} | |} | ||
| Line 688: | Line 960: | ||
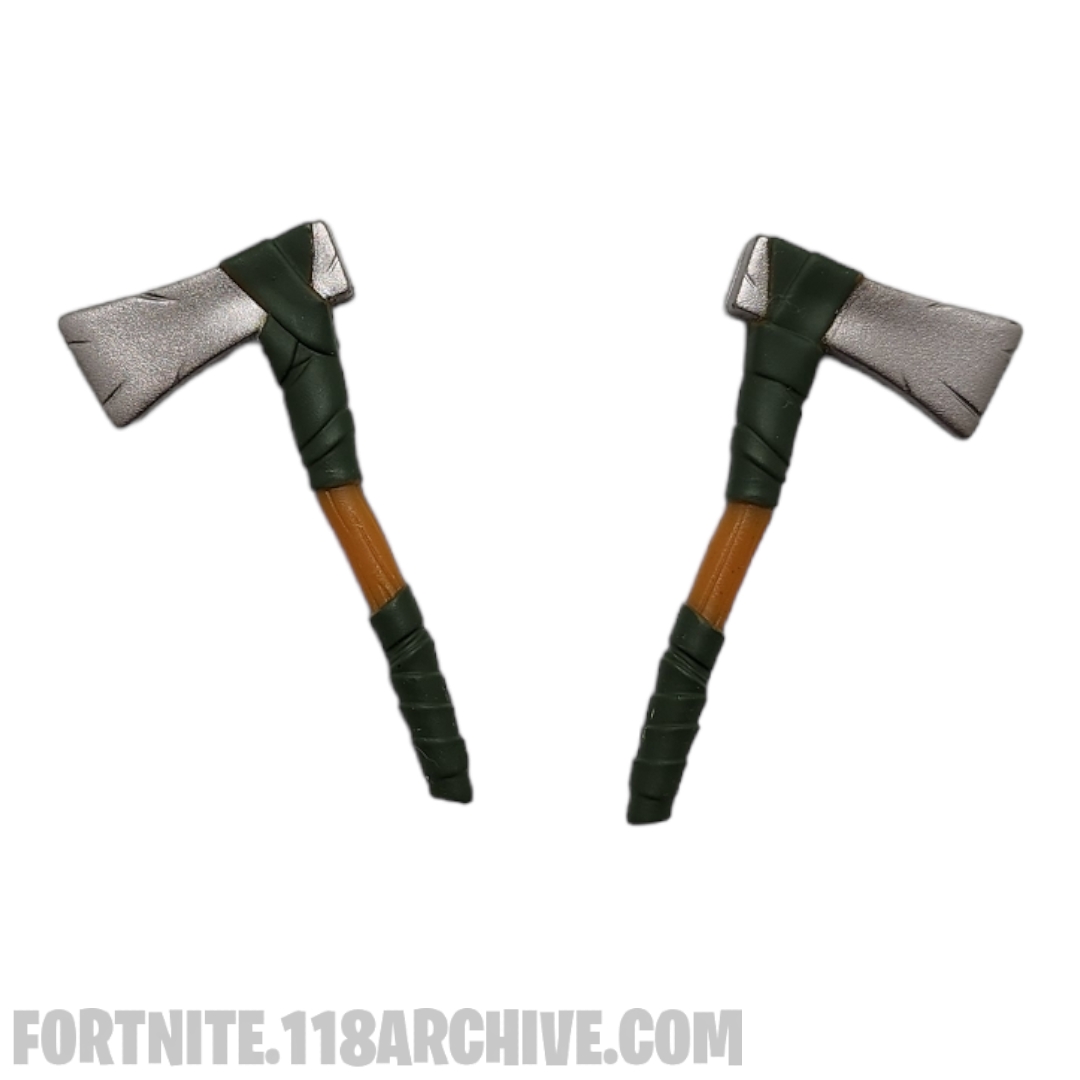
|style="text-align:center;"|[[Harvest_Tools:Machete|Machete]][[Category:Machete]] | |style="text-align:center;"|[[Harvest_Tools:Machete|Machete]][[Category:Machete]] | ||
|- | |- | ||
[[Category:Tropic Troopers]] | |style="text-align:center;"|[[Game Sets:Tropic Troopers|Tropic Troopers]][[Category:Tropic Troopers]] | ||
|} | |} | ||
| Line 697: | Line 969: | ||
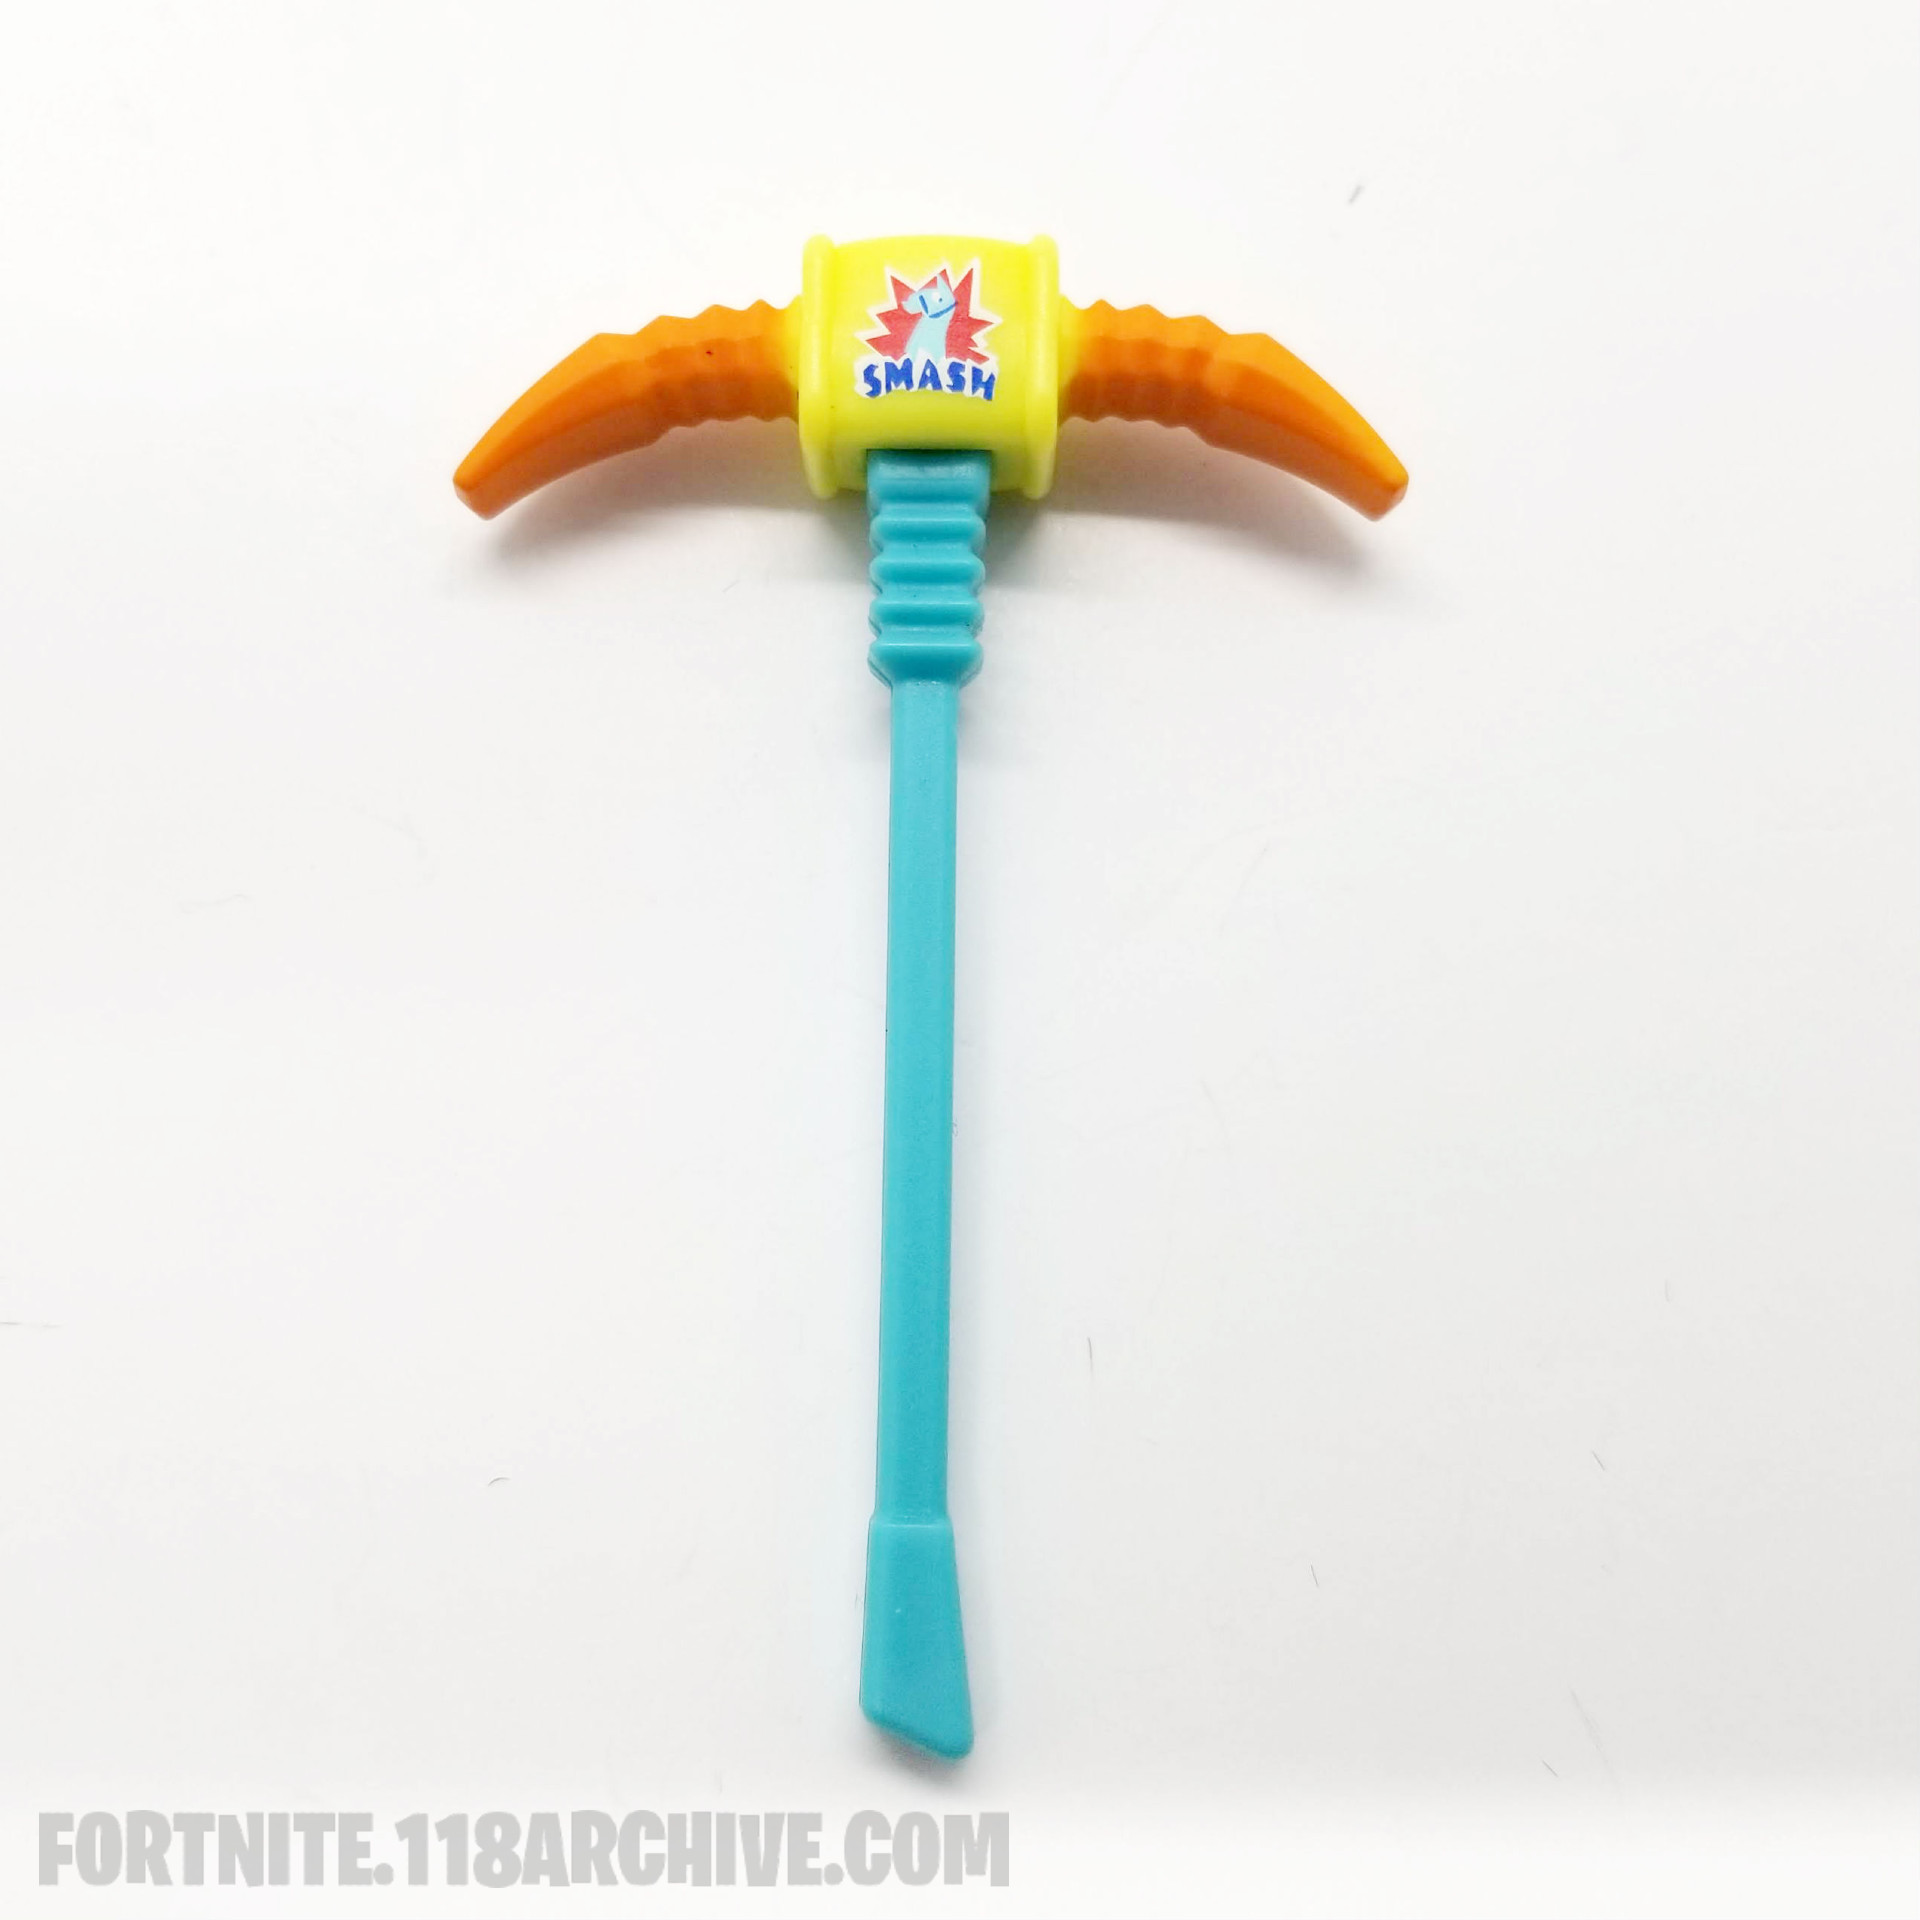
|style="text-align:center;"|[[Harvest_Tools:Smash Up|Smash Up]][[Category:Smash Up]] | |style="text-align:center;"|[[Harvest_Tools:Smash Up|Smash Up]][[Category:Smash Up]] | ||
|- | |- | ||
[[Category:Twin Turntables]] | |style="text-align:center;"|[[Game Sets:Twin Turntables|Twin Turntables]][[Category:Twin Turntables]] | ||
|} | |} | ||
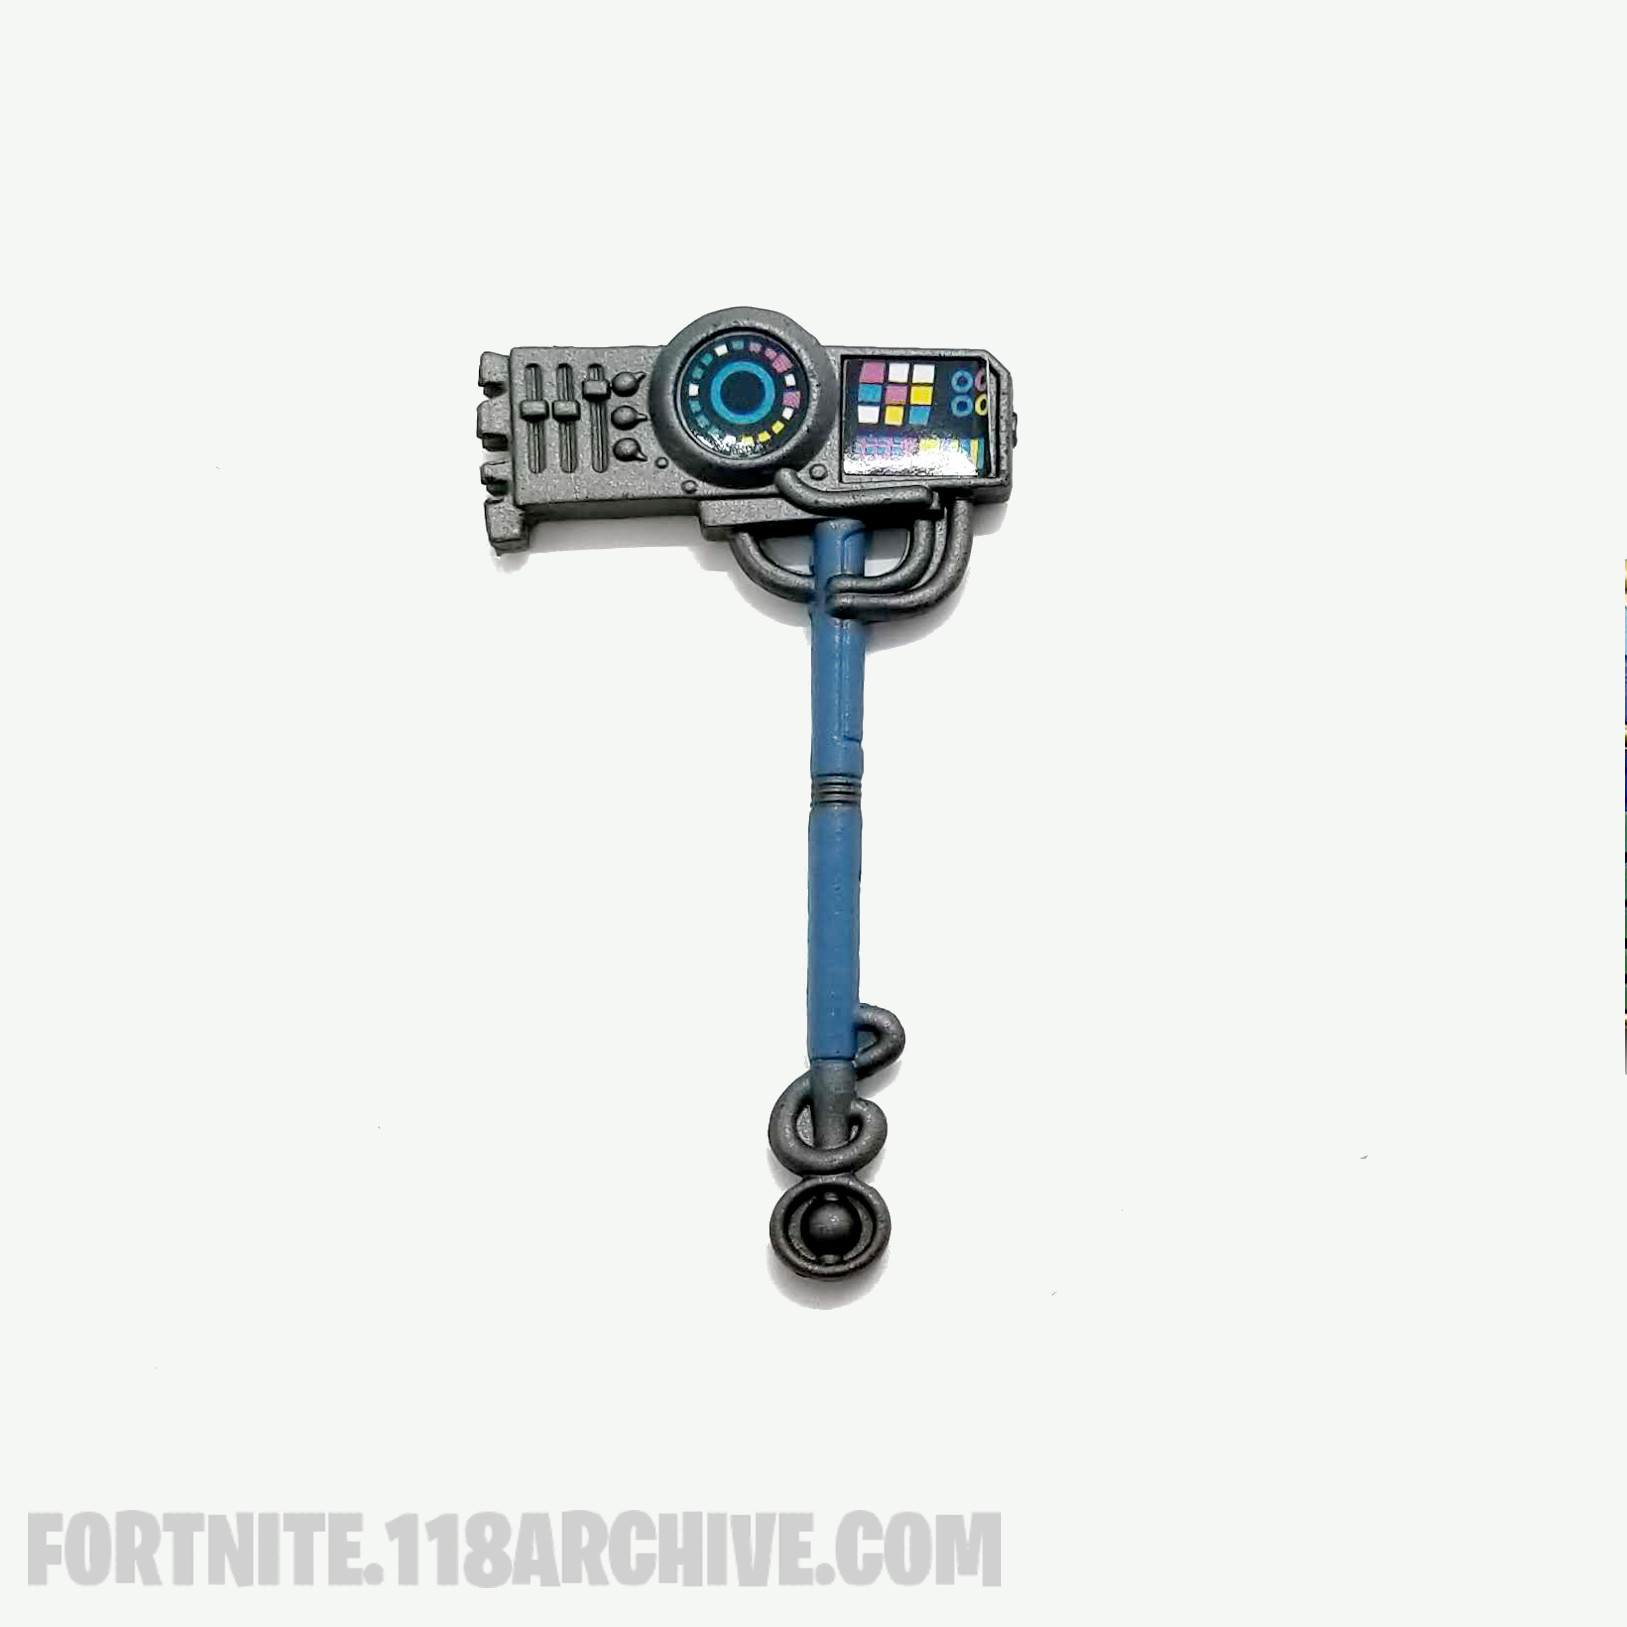
| Line 706: | Line 978: | ||
|style="text-align:center;"|[[Harvest_Tools:SC3PT3R|SC3PT3R]][[Category:SC3PT3R]] | |style="text-align:center;"|[[Harvest_Tools:SC3PT3R|SC3PT3R]][[Category:SC3PT3R]] | ||
|- | |- | ||
[[Category:Twin Turntables]] | |style="text-align:center;"|[[Game Sets:Twin Turntables|Twin Turntables]][[Category:Twin Turntables]] | ||
|} | |} | ||
| Line 715: | Line 987: | ||
|style="text-align:center;"|[[Harvest_Tools:Splinterstrike|Splinterstrike]][[Category:Splinterstrike]] | |style="text-align:center;"|[[Harvest_Tools:Splinterstrike|Splinterstrike]][[Category:Splinterstrike]] | ||
|- | |- | ||
[[Category:Wasteland Warriors]] | |style="text-align:center;"|[[Game Sets:Wasteland Warriors|Wasteland Warriors]][[Category:Wasteland Warriors]] | ||
|} | |} | ||
| Line 724: | Line 996: | ||
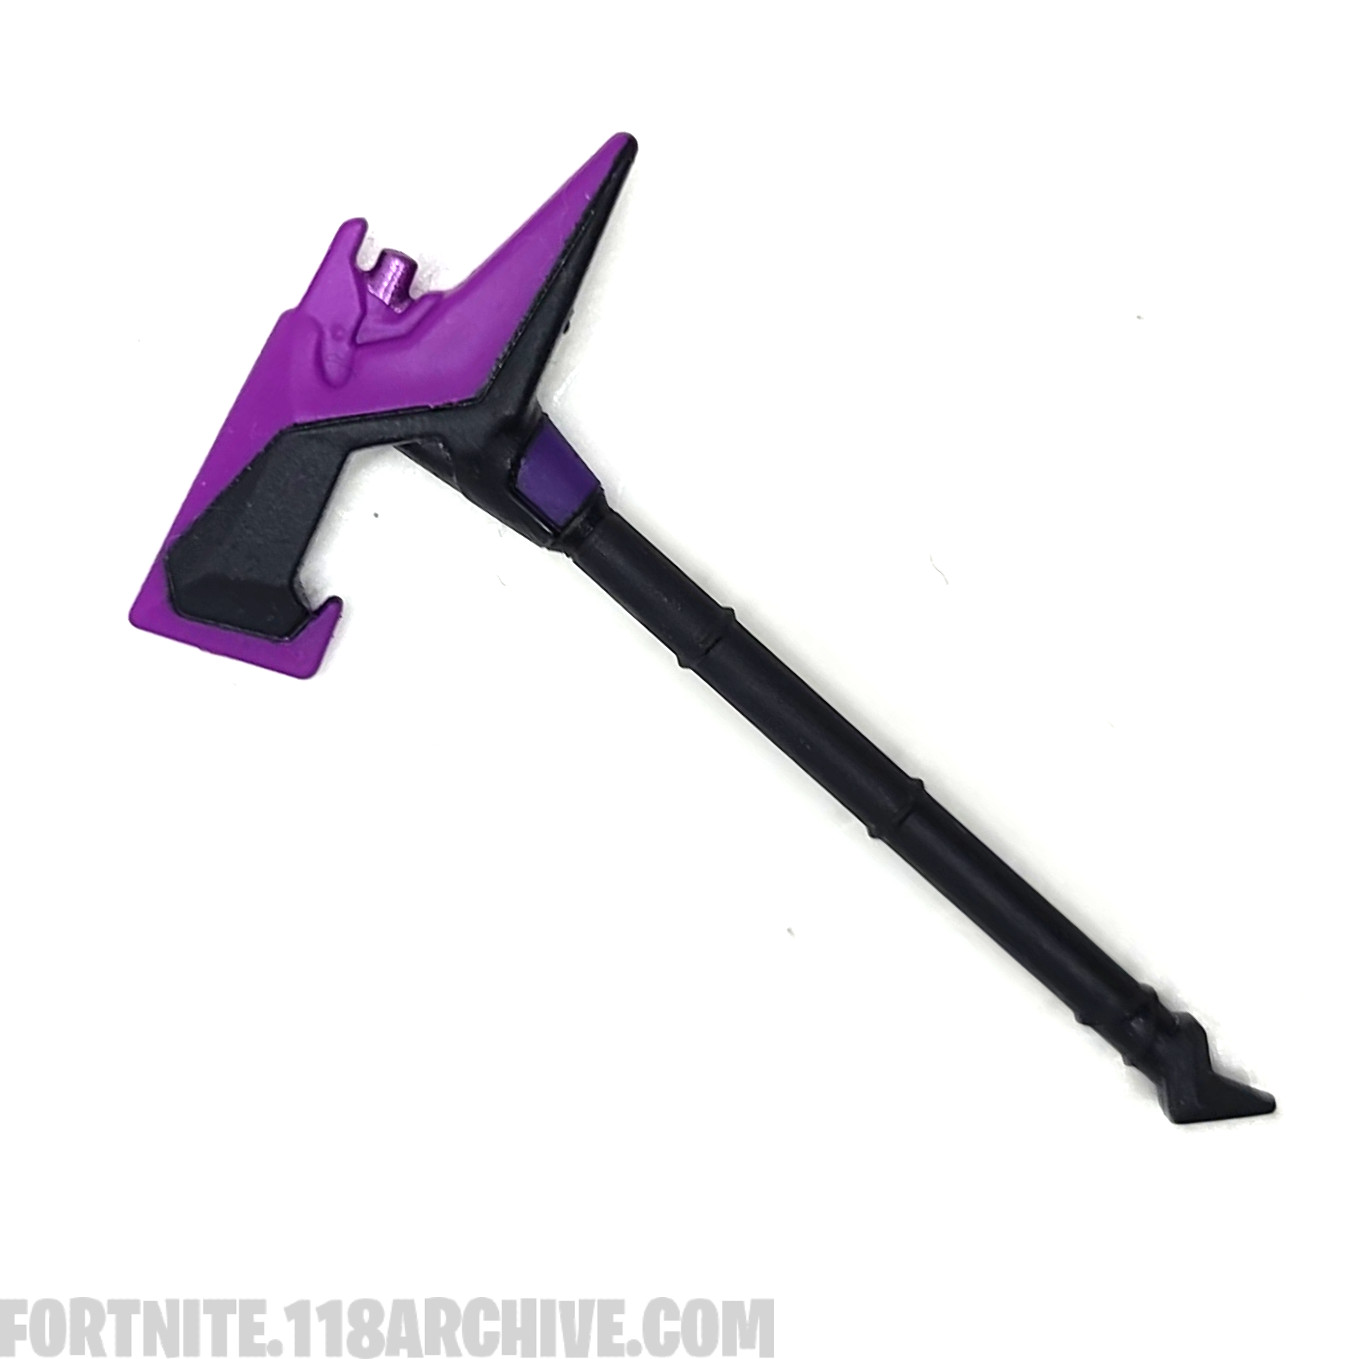
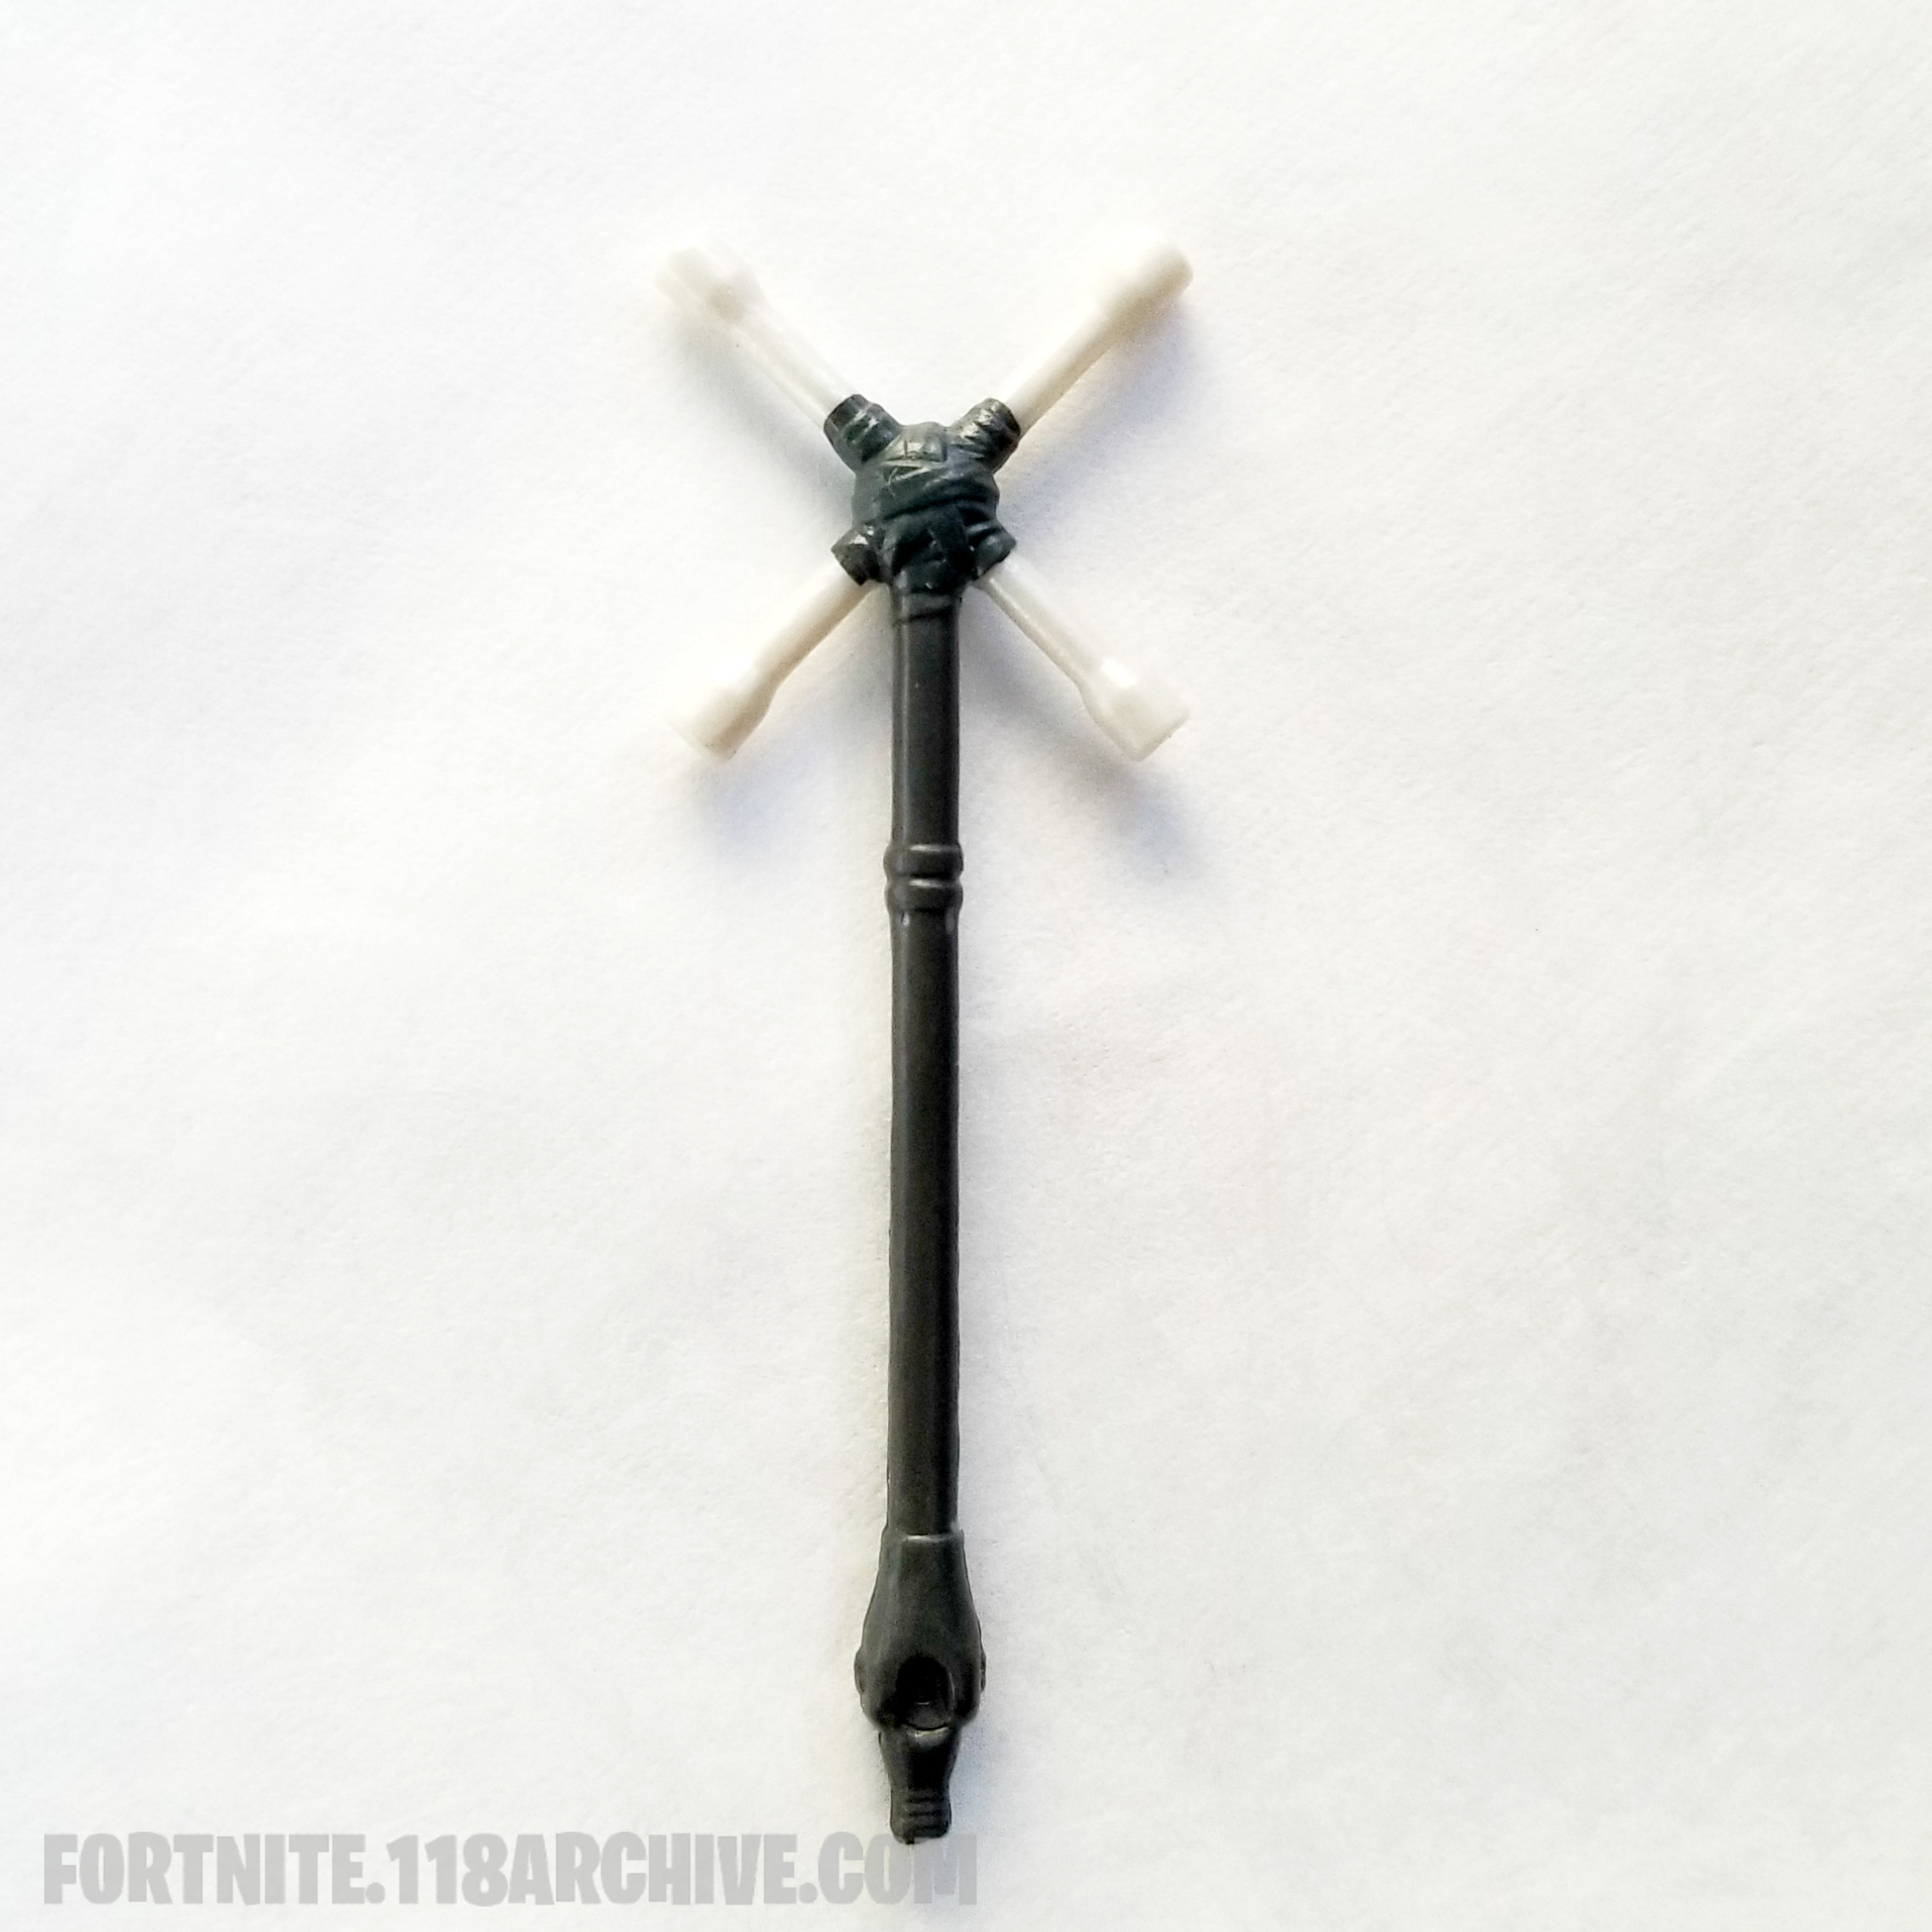
|style="text-align:center;"|[[Harvest_Tools:Dark Shard|Dark Shard]][[Category:Dark Shard]] | |style="text-align:center;"|[[Harvest_Tools:Dark Shard|Dark Shard]][[Category:Dark Shard]] | ||
|- | |- | ||
[[Category:Western Wilds]] | |style="text-align:center;"|[[Game Sets:Western Wilds|Western Wilds]][[Category:Western Wilds]] | ||
|} | |} | ||
| Line 733: | Line 1,005: | ||
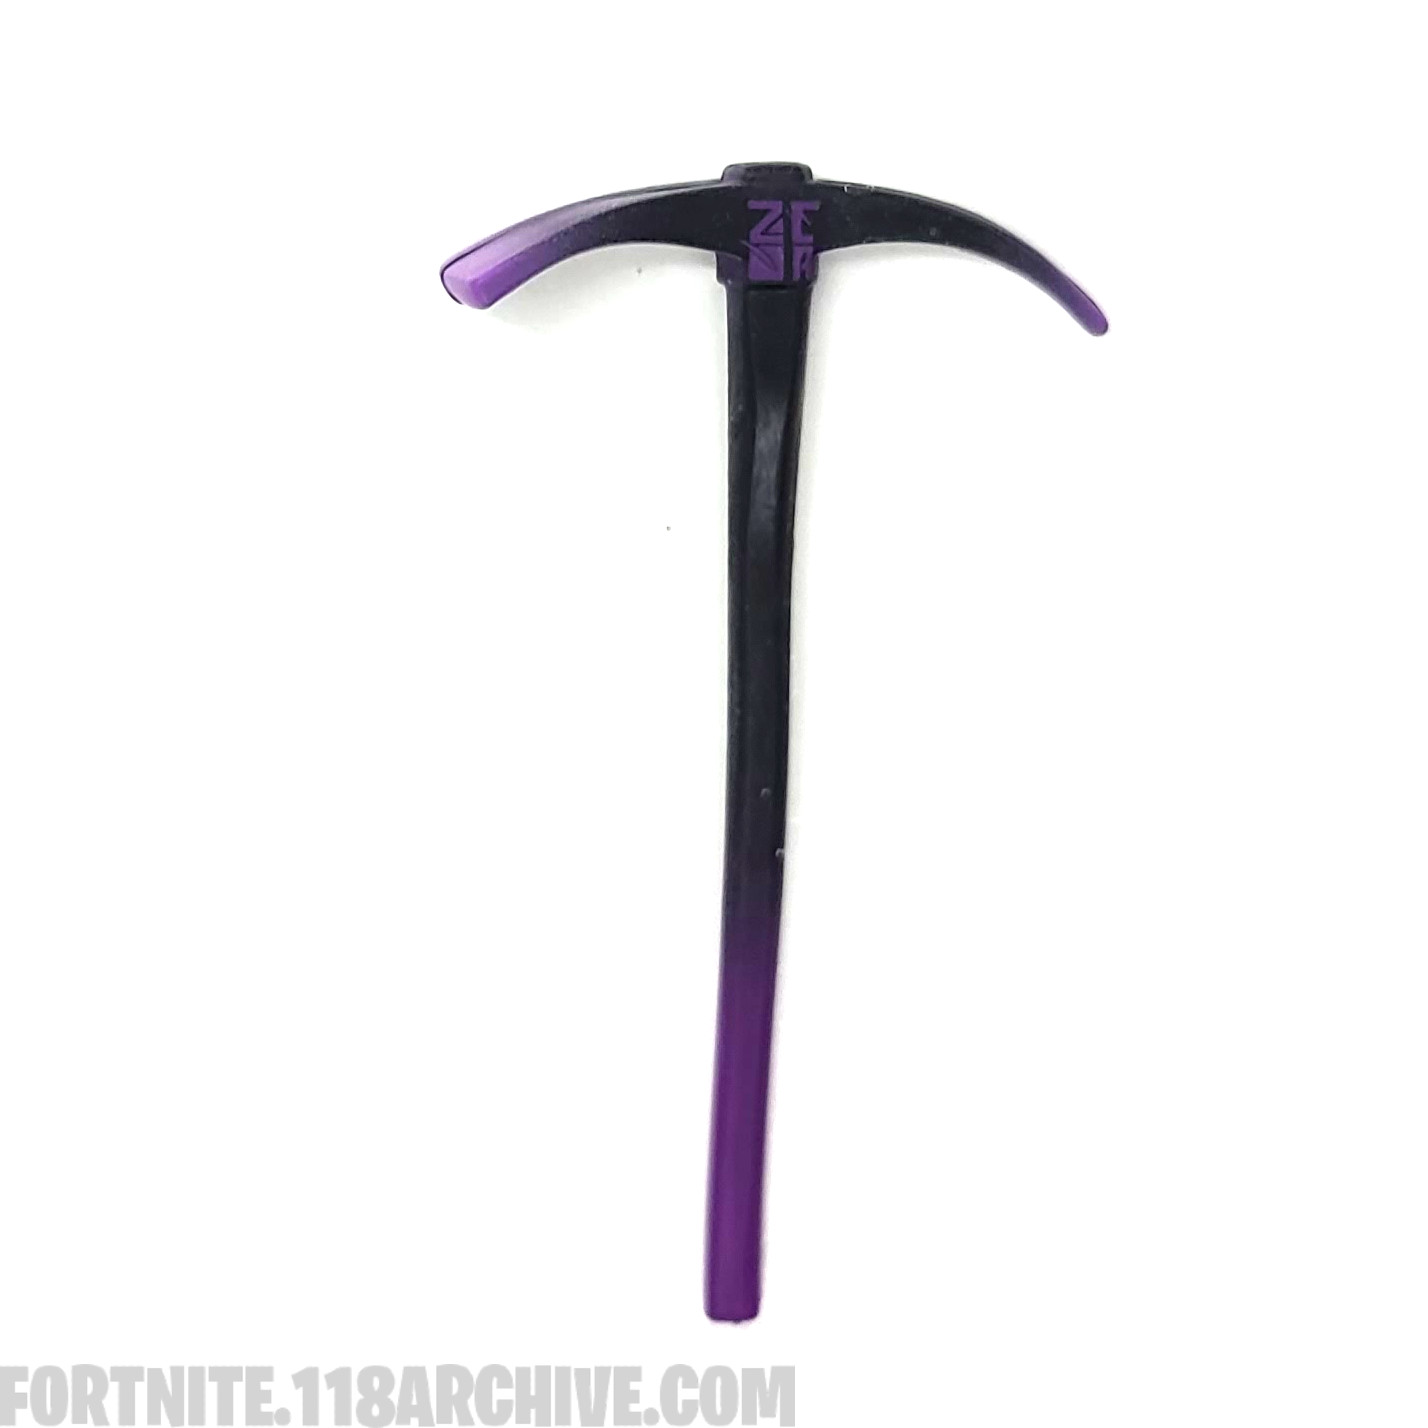
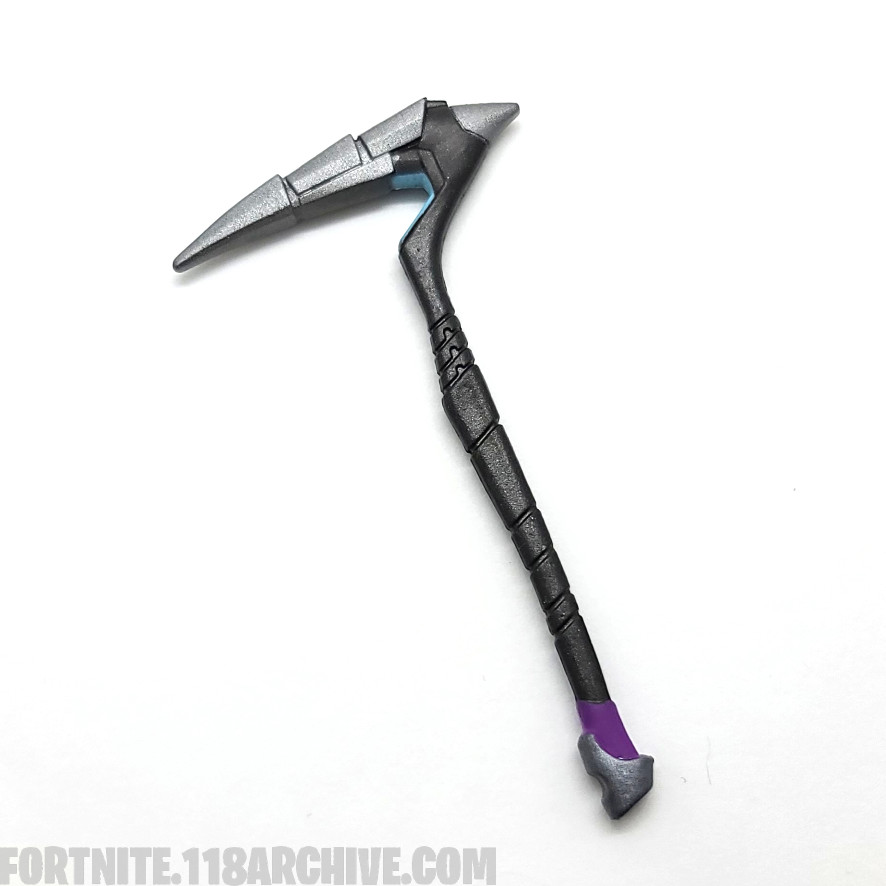
|style="text-align:center;"|[[Harvest_Tools:Dark Shard Purple|Dark Shard (Purple)]][[Category:Dark Shard]] | |style="text-align:center;"|[[Harvest_Tools:Dark Shard Purple|Dark Shard (Purple)]][[Category:Dark Shard]] | ||
|- | |- | ||
[[Category:Western Wilds]] | |style="text-align:center;"|[[Game Sets:Western Wilds|Western Wilds]][[Category:Western Wilds]] | ||
|} | |} | ||
| Line 741: | Line 1,013: | ||
|- | |- | ||
|style="text-align:center;"|[[Harvest_Tools:Reckoning|Reckoning]][[Category:Reckoning]] | |style="text-align:center;"|[[Harvest_Tools:Reckoning|Reckoning]][[Category:Reckoning]] | ||
|- | |||
|style="text-align:center;"|[[Game Sets:Western Wilds|Western Wilds]][[Category:Western Wilds]] | |||
|} | |} | ||
| Line 750: | Line 1,024: | ||
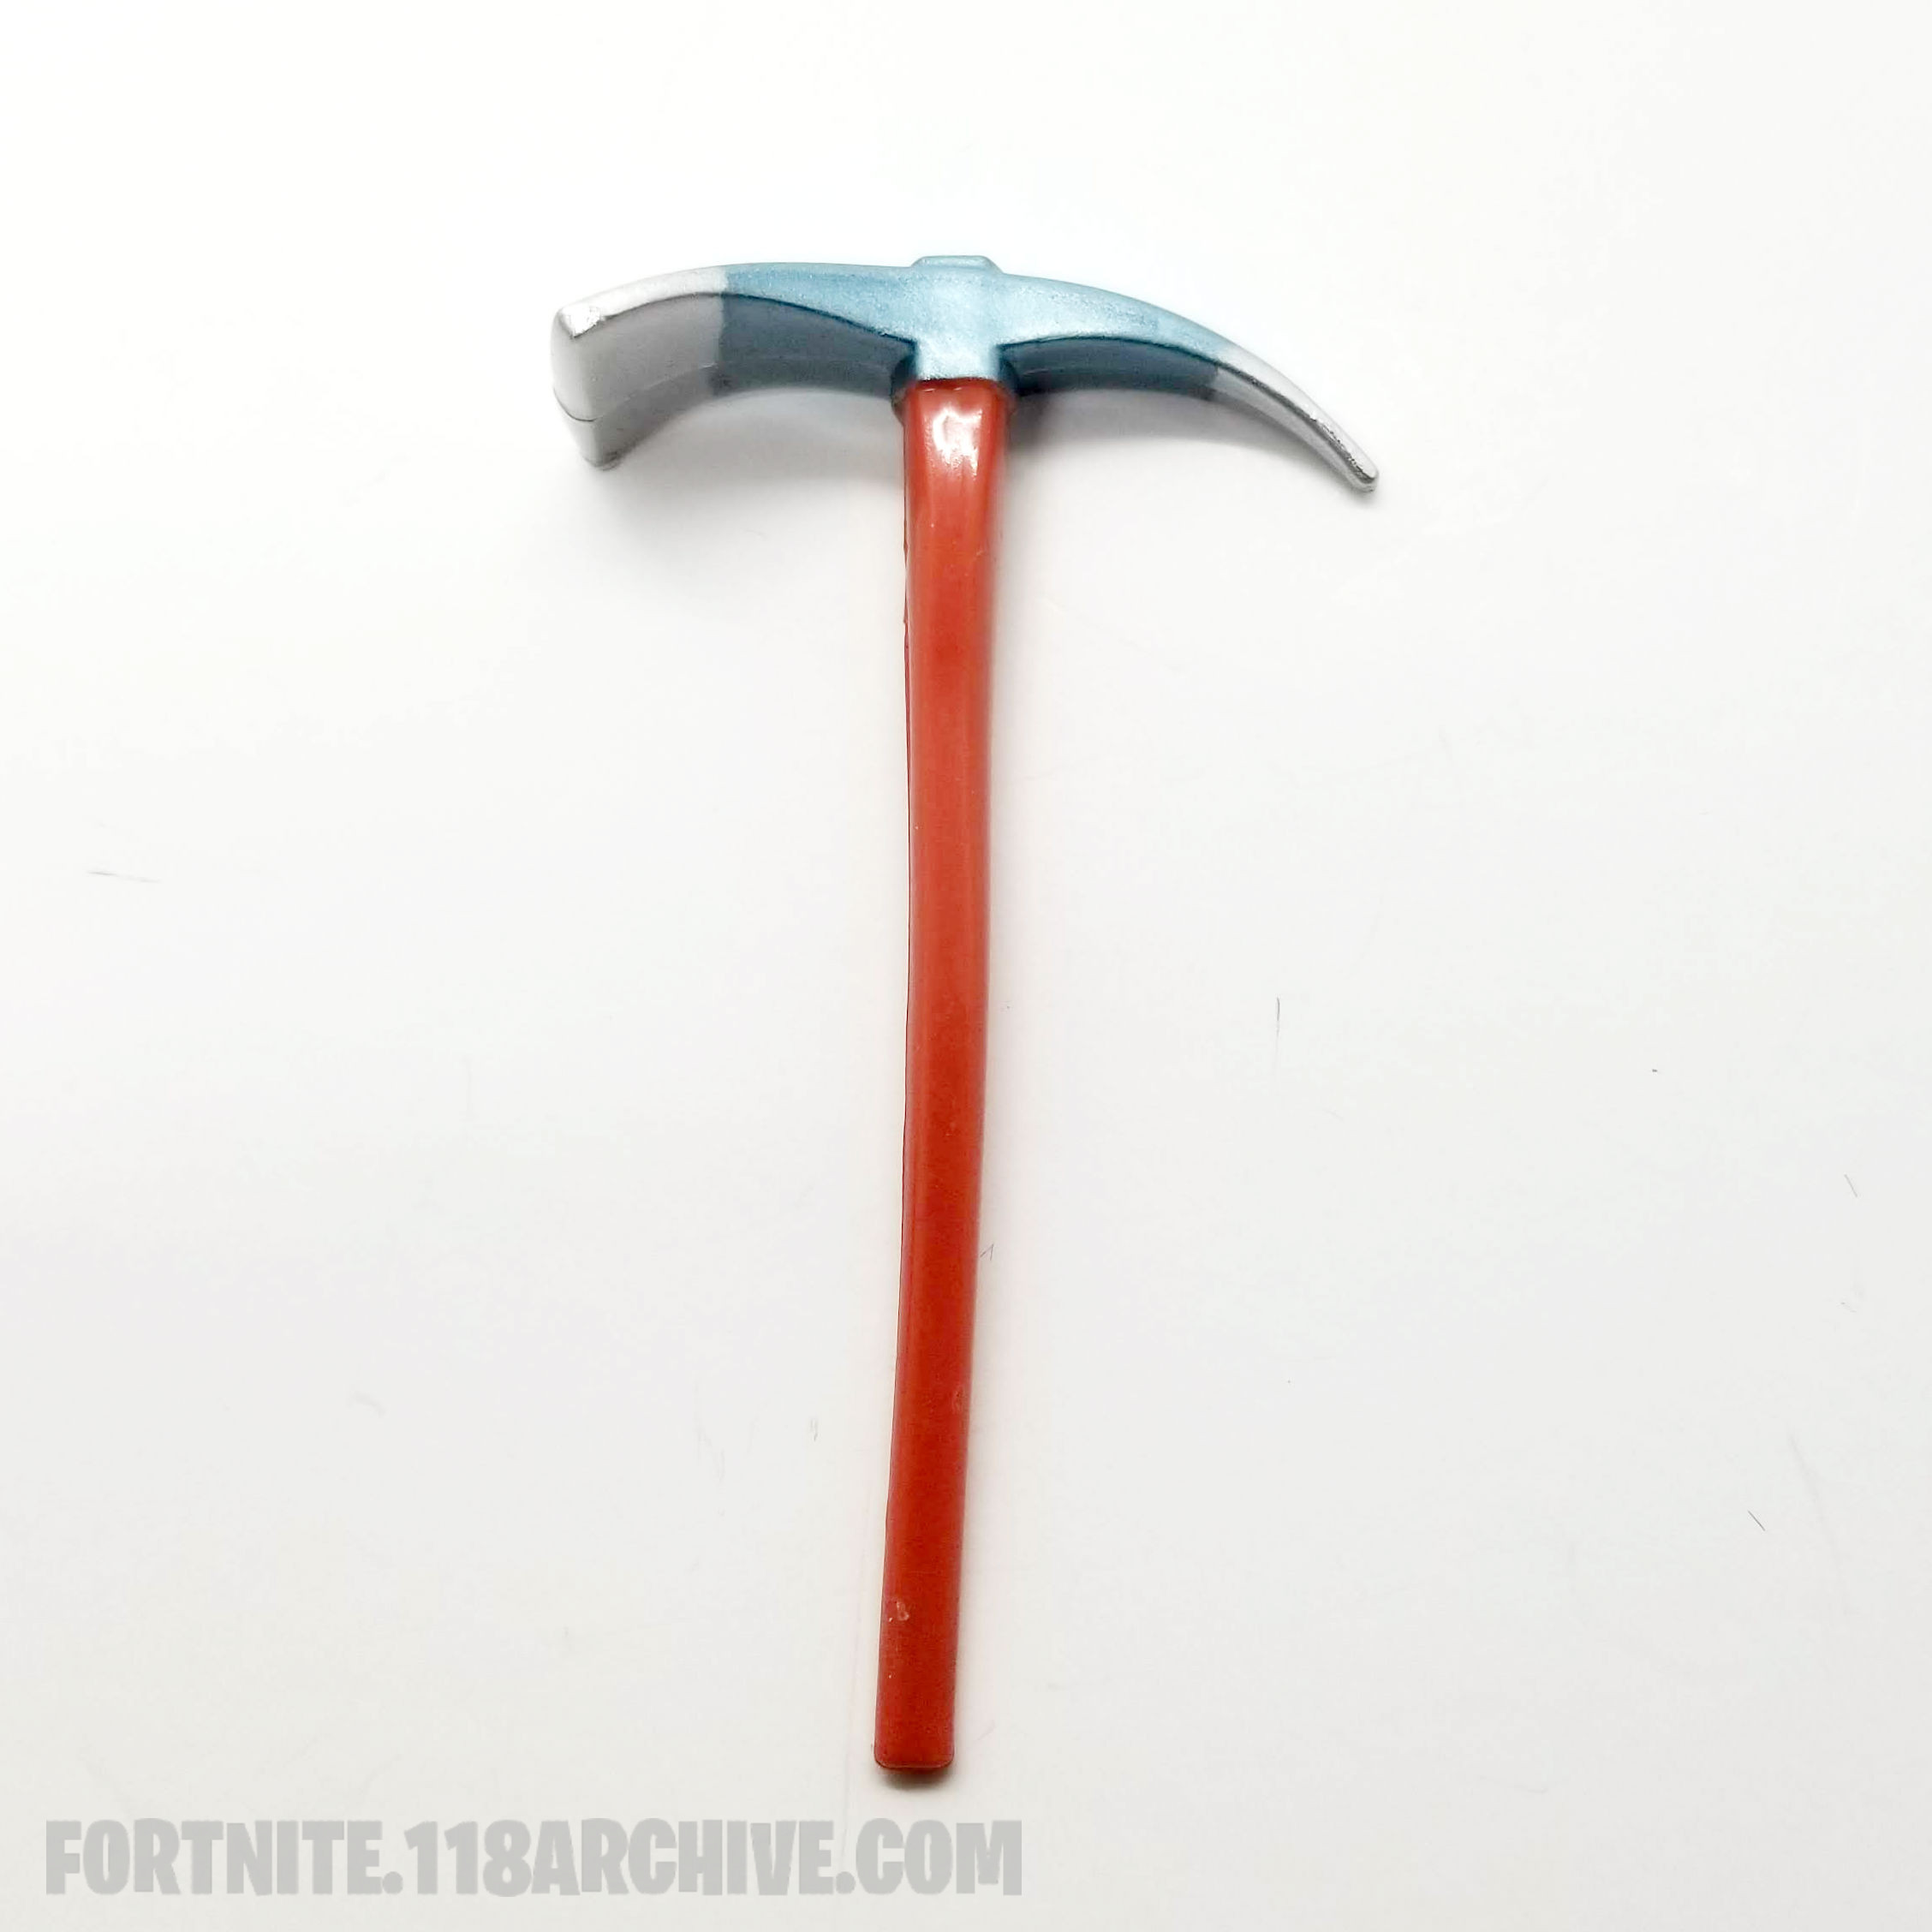
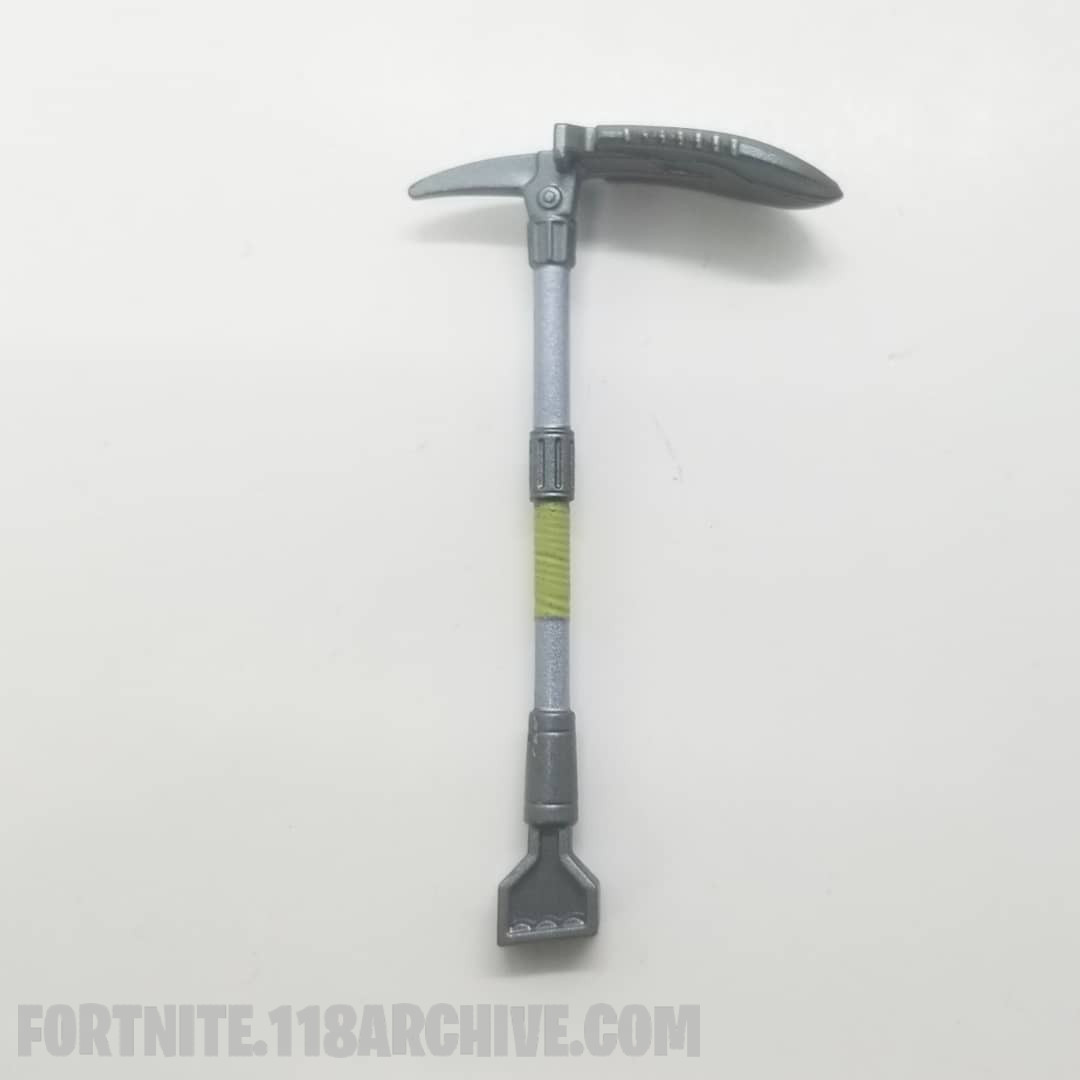
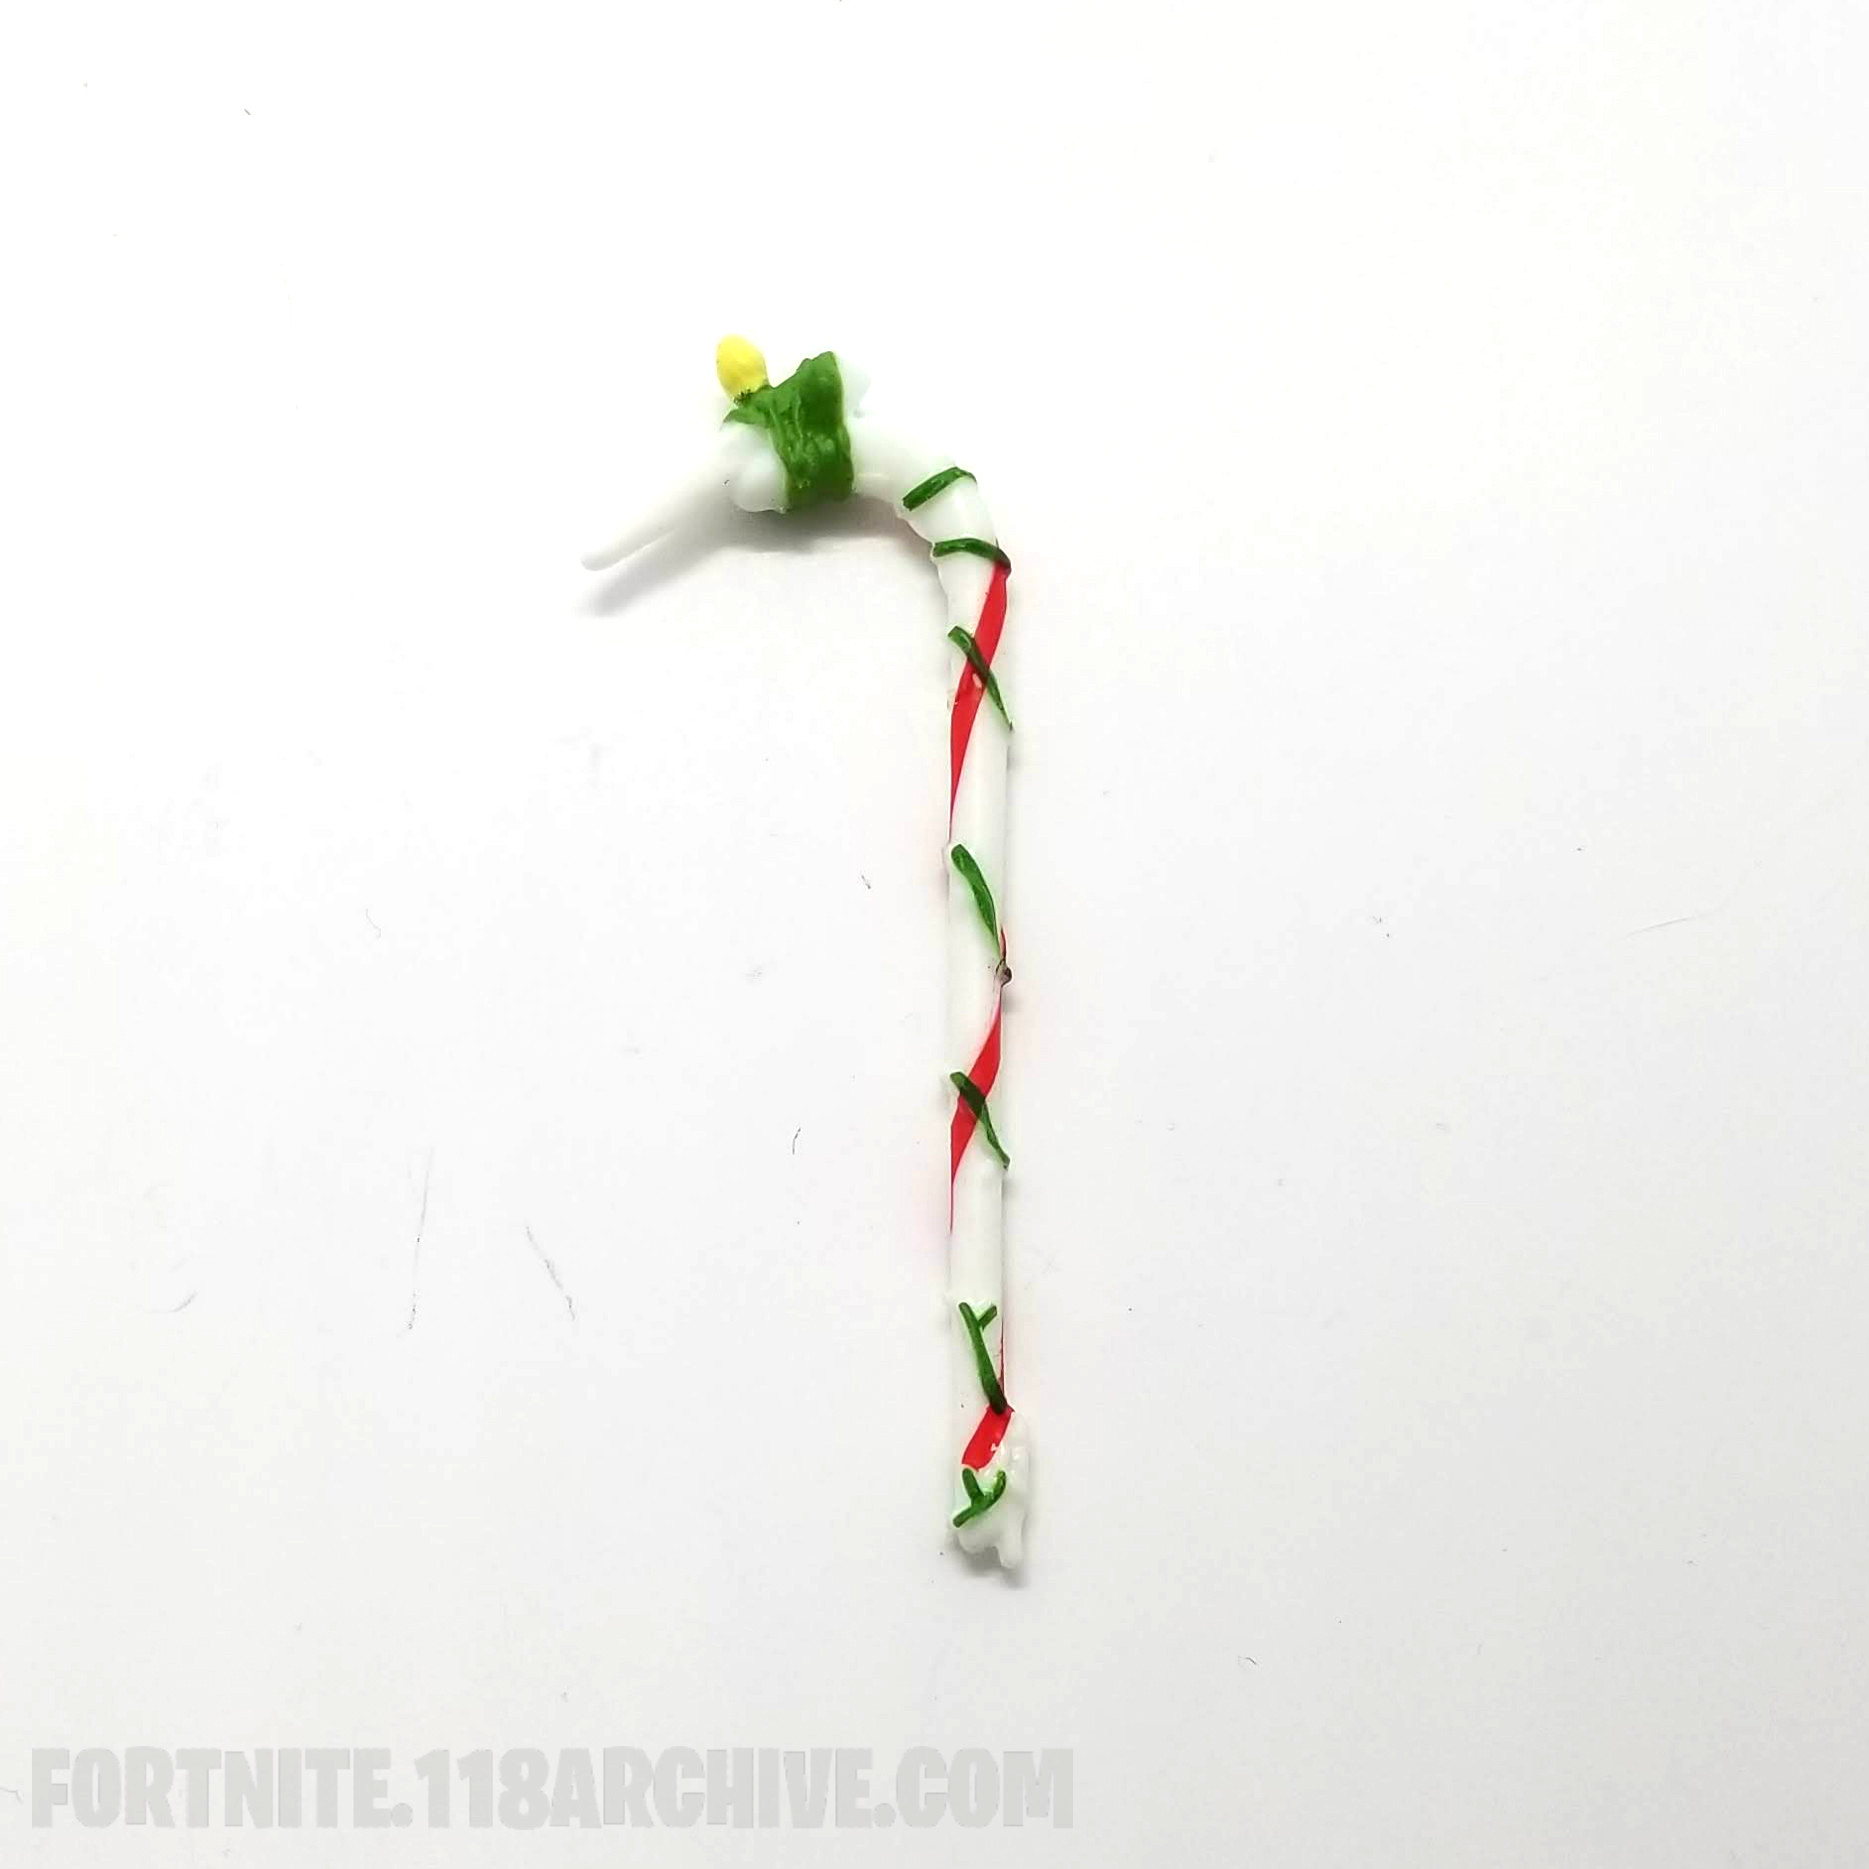
|style="text-align:center;"|[[Harvest_Tools:Peppermint Pick|Peppermint Pick]][[Category:Peppermint Pick]] | |style="text-align:center;"|[[Harvest_Tools:Peppermint Pick|Peppermint Pick]][[Category:Peppermint Pick]] | ||
|- | |- | ||
[[Category:Winter Wonderland]] | |style="text-align:center;"|[[Game Sets:Winter Wonderland|Winter Wonderland]][[Category:Winter Wonderland]] | ||
|} | |} | ||
Revision as of 21:51, 12 May 2024

|

|

|

|
| AC/DC |
| No Set |

|
| Bottom Feeder |
| No Set |
|
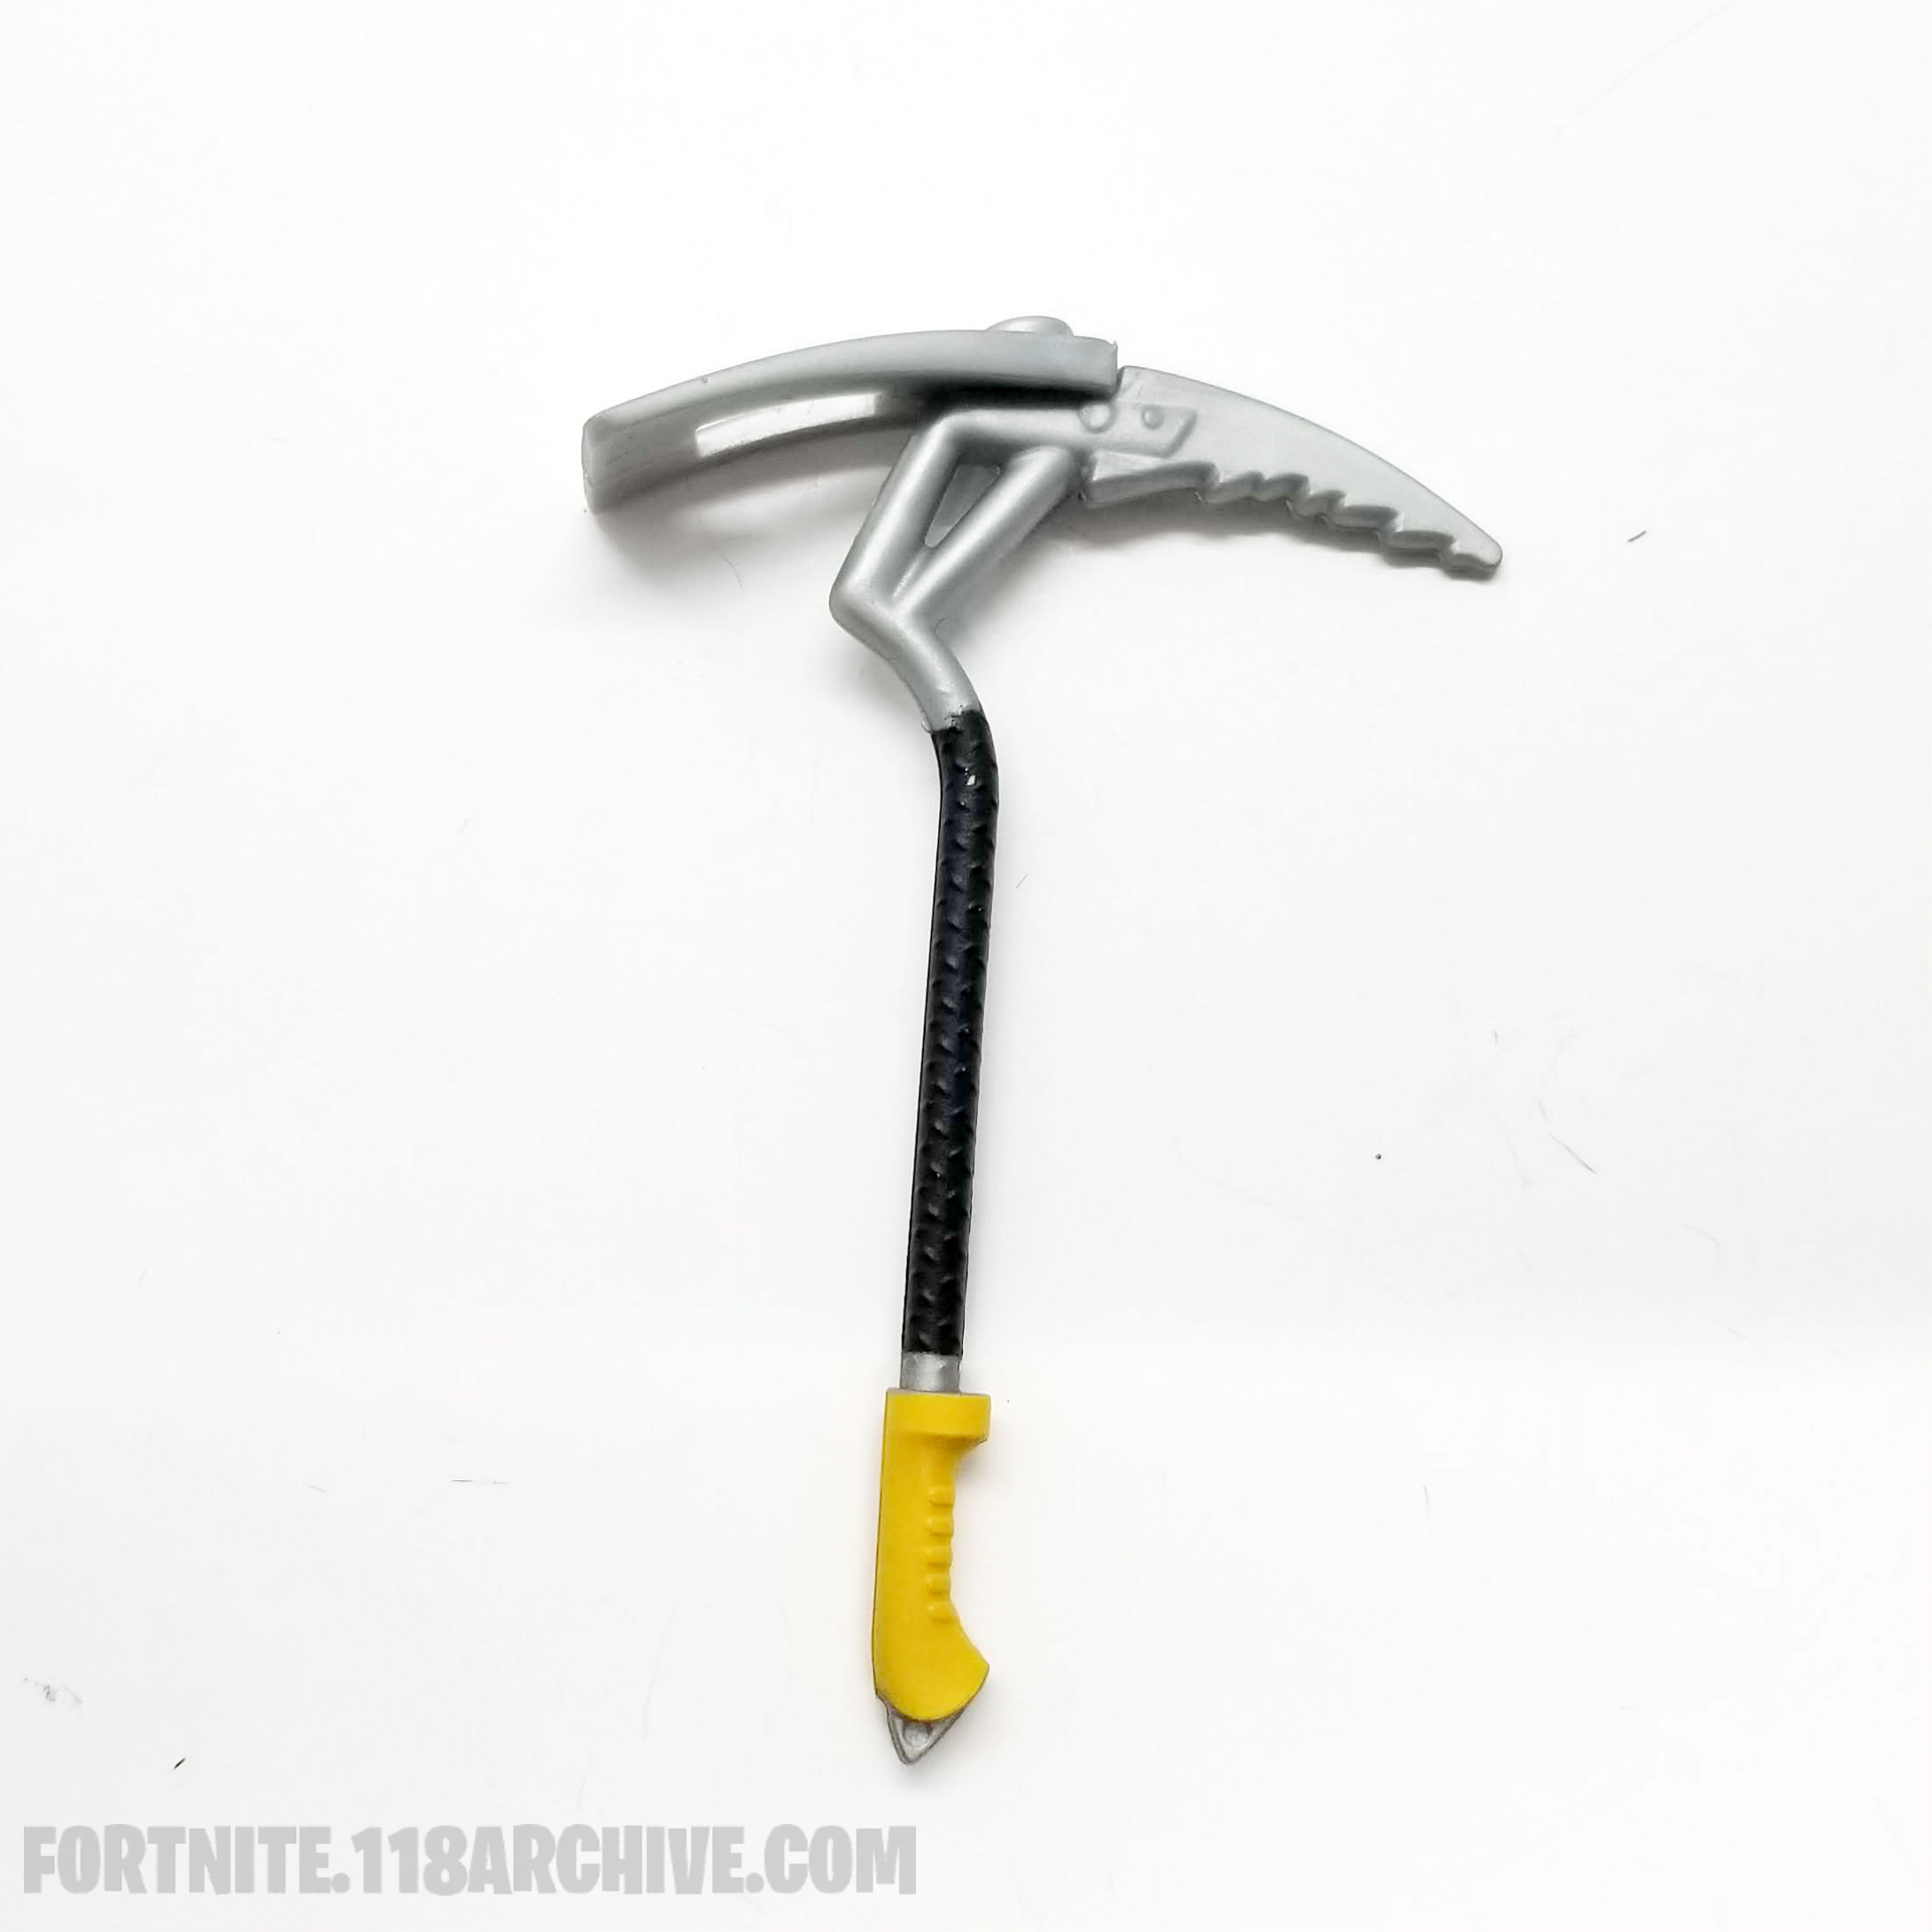
| Cliff Hanger |
| No Set |
|
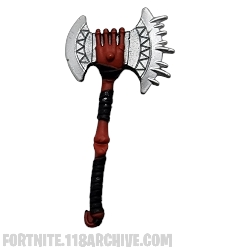
| Dark Axe |
| No Set |

|
| Knockwurst |
| No Set |

|
| Lucky |
| No Set |
|
| Pick Axe |
| No Set |

|
| Pick Axe (Glow) |
| No Set |
|
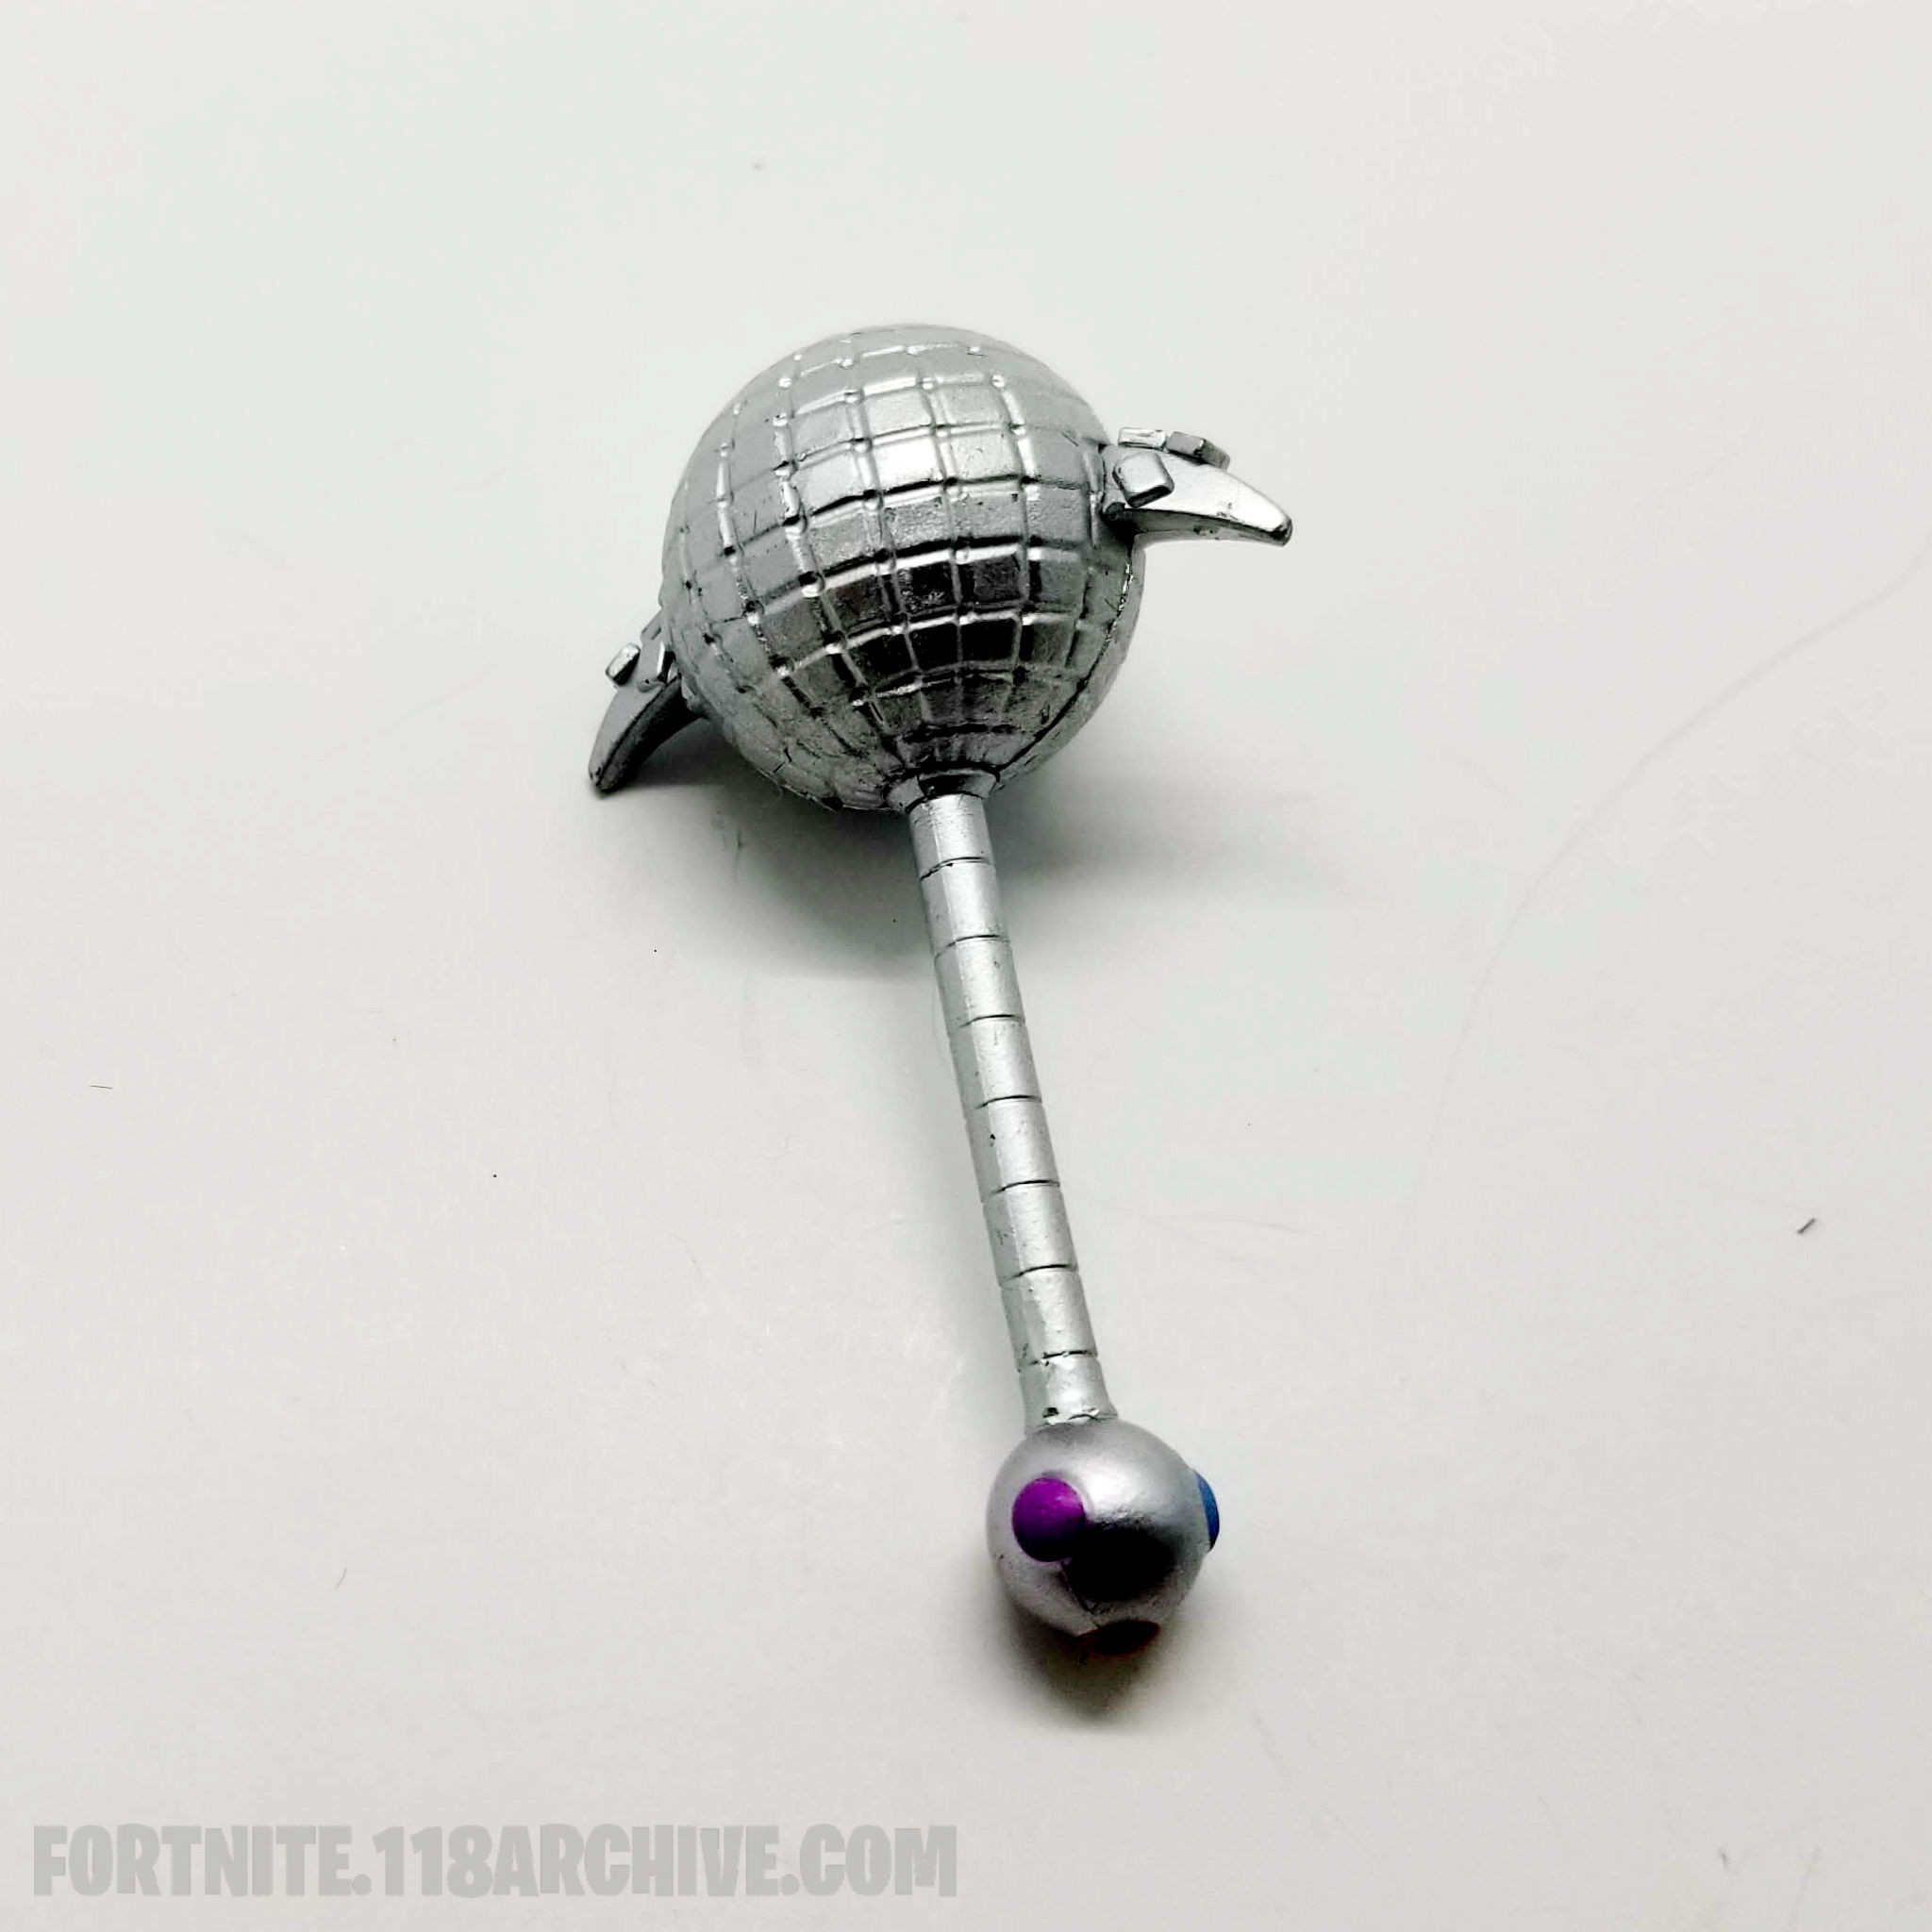
| Pick Squeak |
| No Set |
|
| Reaper |
| No Set |

|
| Reaper (Glow) |
| No Set |
|
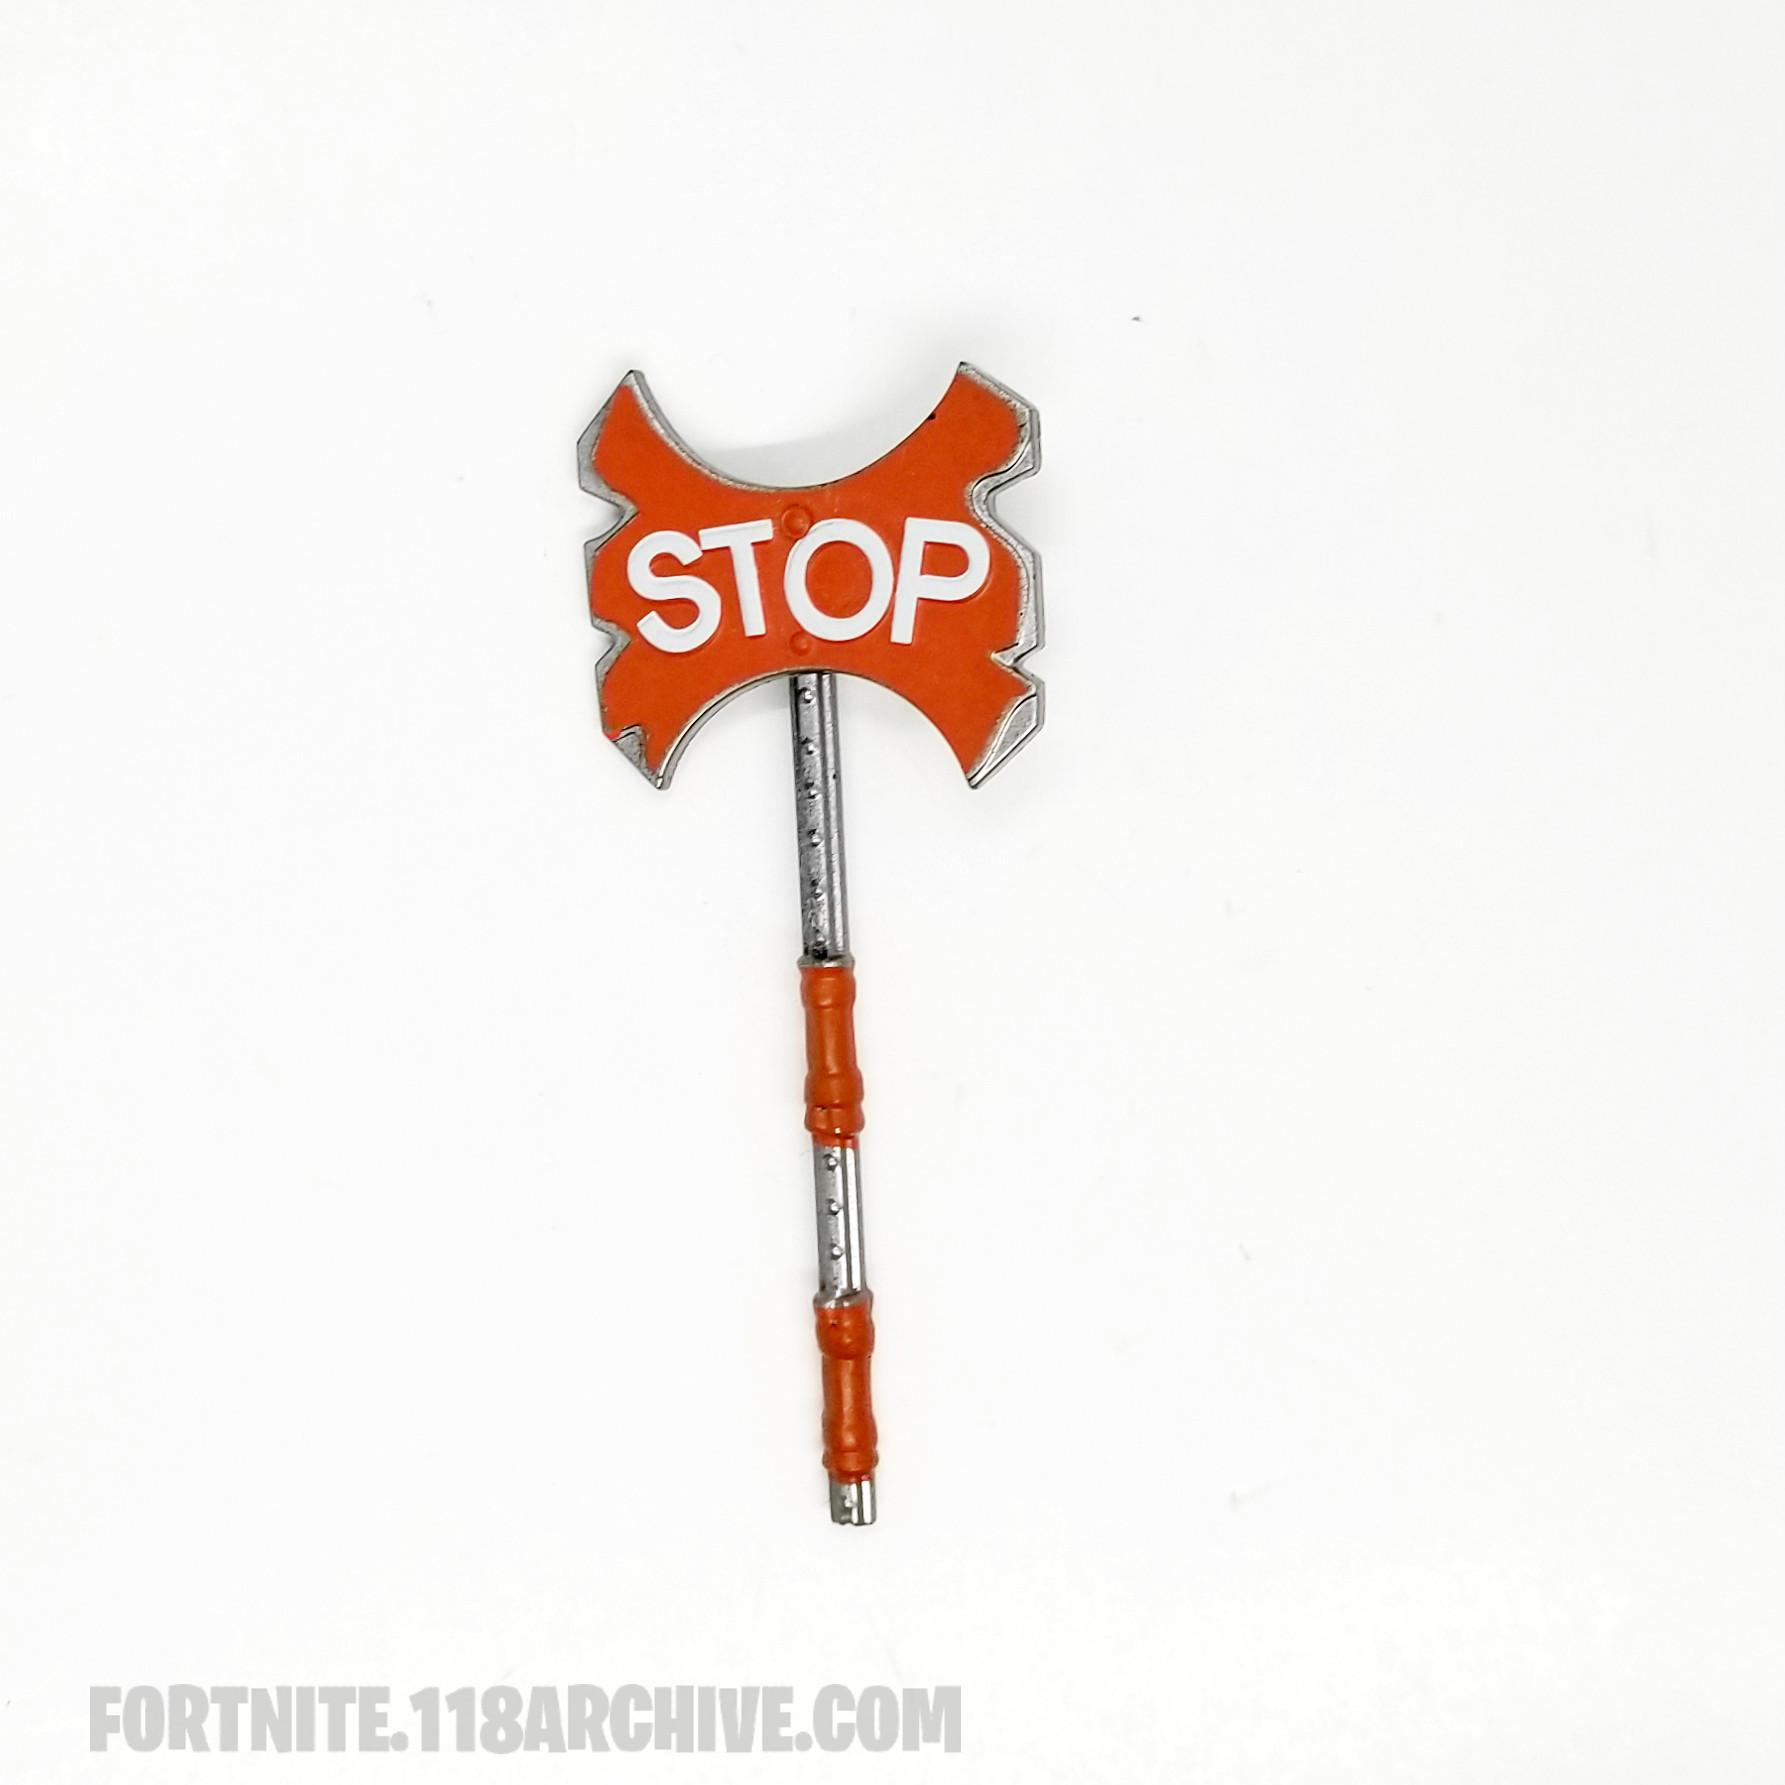
| Stop Axe |
| No Set |

|
| A.X.E. |
| A.I.M. Set |
|
| Renegade Roller |
| Aerosol Assassins |

|
| Kings Oath |
| Age of Kings |
|
| Razors Edge |
| Apex Protocol |

|
| Web Breaker |
| Arachnid |
|
| Caliper |
| Archetype |

|
| Caliper (Shadow) |
| Archetype |

|
| Axe-olotl |
| Axolotl Attack! |
|
| Peely Pick |
| Banana Bunch Set |

|
| Cold'en Touch |
| Black Ice Set |
|
| Ice Carver |
| Black Ice Set |
|
| Tactical Spade |
| Black Vector Set |

|
| Phantasmic Pulse (Red) |
| Boundless |
|
| Ripe Rippers |
| Bunker Days |

|
| Bunker Basher (Glow) |
| Bunker Days |
|
| Positron |
| Carbide |

|
| Chomp Jr |
| Chomp |
|
| Dark Razor |
| Dark Apex |
|
| Chill Axe |
| Deep Freeze |

|
| Giant Jelly Sourfish |
| Delicious Fishes |

|
| Burning Blades |
| Diabolical |
|
| Mayhem Scythe |
| Double Agent |

|
| Dual Edge |
| Drift Set |
|
| Rift Edge |
| Drift Set |

|
| Patty Whacker |
| Durrr Burger |

|
| Drummies |
| Explosives Expert Set |
|
| Eon Blades |
| Fade Out Set |
|
|
| Chaos Scythe |
| Final Reckoning Set |

|
| Fresh Fish |
| Fish Food Set |

|
| Scampi |
| Fish Food Set |

|
| Forsaken Strike |
| Forsaken |
|
| Axecalibur |
| Fort Knights Set |
|
| Disco Brawl |
| Fortnite Fever Set |
|
| Candy Axe |
| Frosty Fights Set |

|
| Merry Mint |
| Frosty Fights Set |
|
| Frozen Axe |
| Frozen Legends Set |

|
| Frozen Beak |
| Frozen Legends Set |

|
| Spikeclone |
| Fur Force Set |

|
| Fusion Scythe |
| Fusion Set |
|
| Fusion Scythe (Xev) |
| Fusion Set |

|
| Cosmic Llamacorn |
| Galaxia |

|
| Crowbar |
| Getaway Gang |
|
|
| Crowbar (Glow) |
| Getaway Gang |
|
| Cookie Cutter |
| Gingerbread Set |
|
| Shortbread Slicers |
| Gingerbread Set |
|
| Vuvuzela |
| Goalbound Set |
|
| Chew Toy |
| Grumble Gang Set |
|
| Holiday Ham |
| Grumble Gang Set |
|
| Permafrost |
| Harbinger |

|
| Knights Torment [[Category:]] |
| Honor Glory Gold Set |
|
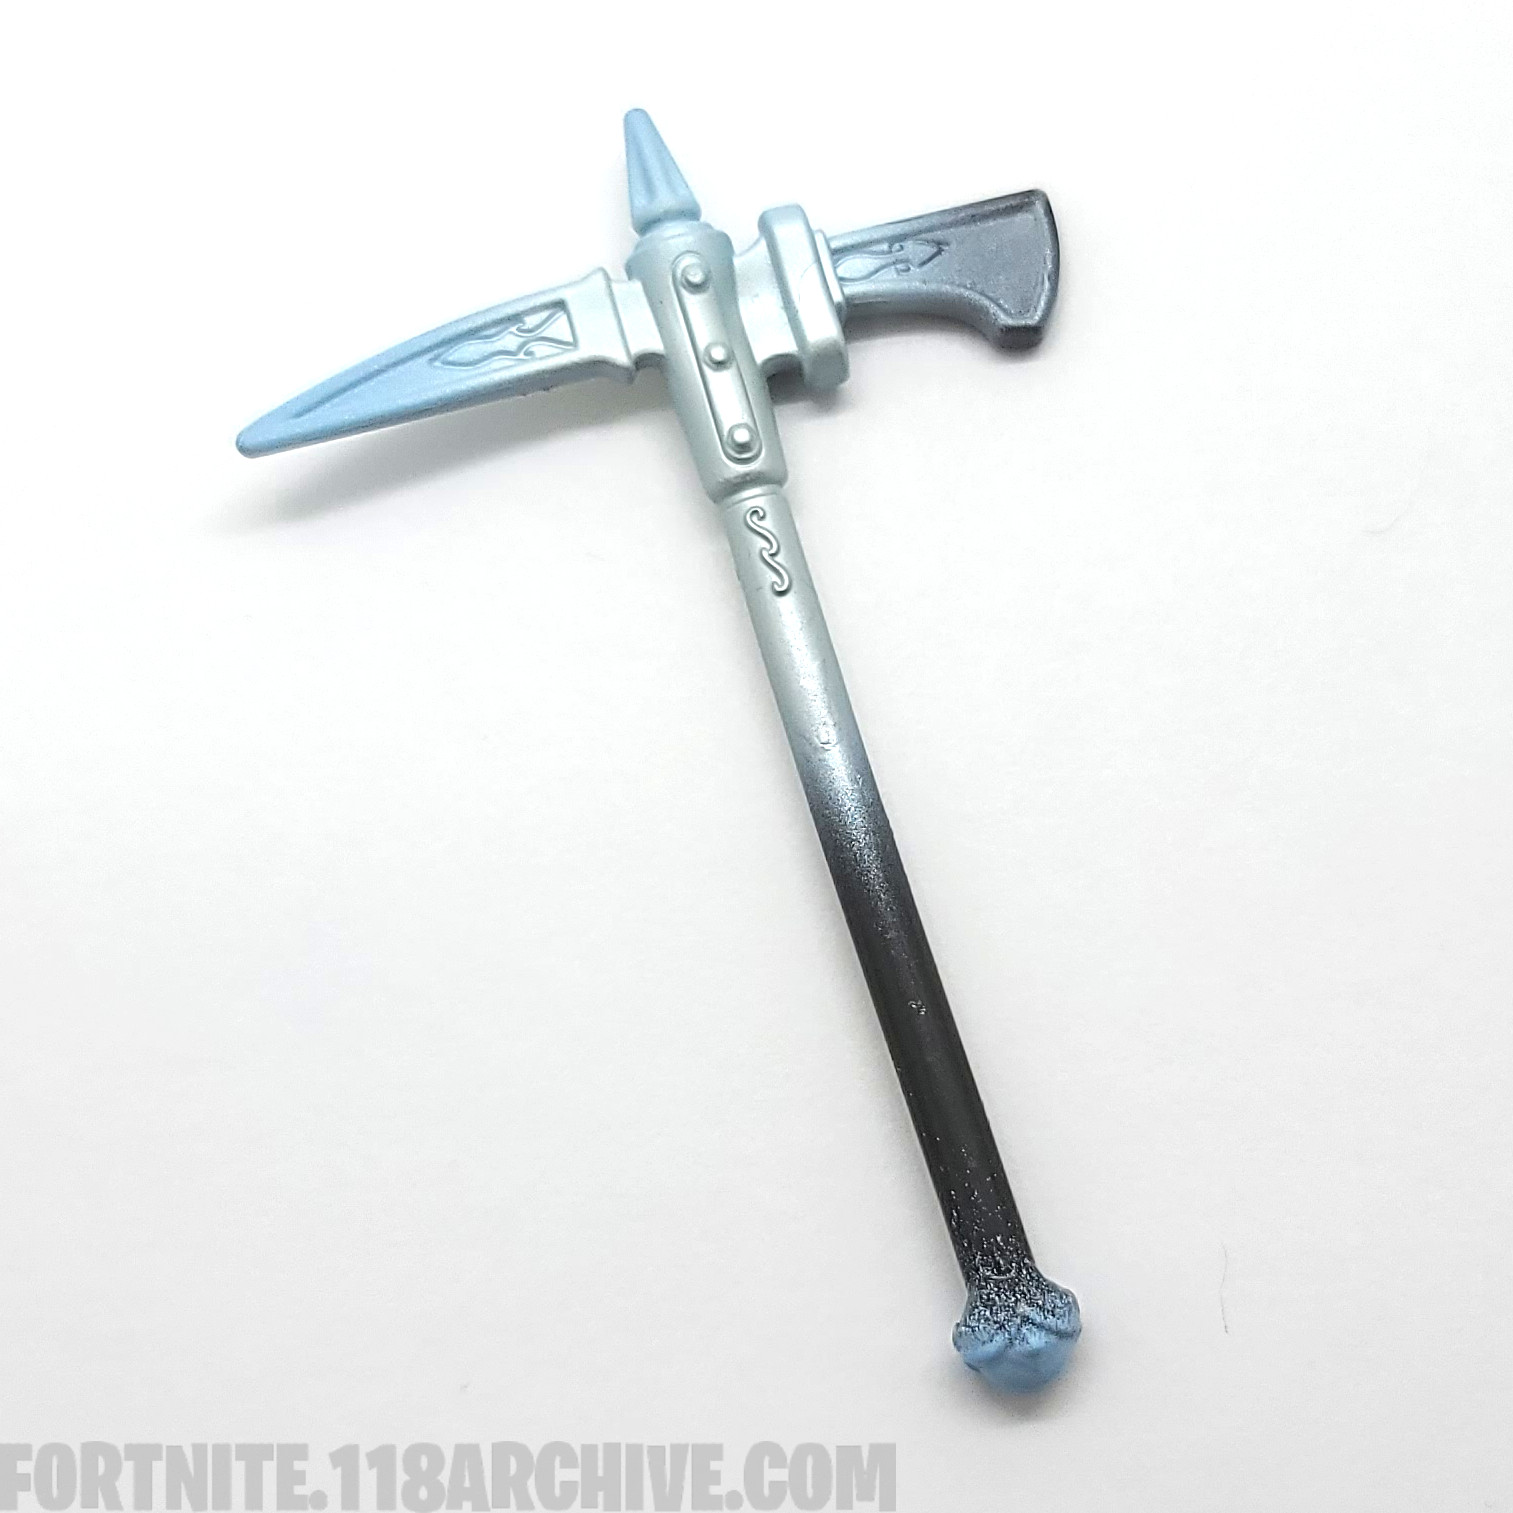
| Ice Scepter |
| Ice Kingdom |
|
| Crimson Scythe |
| Inferno |

|
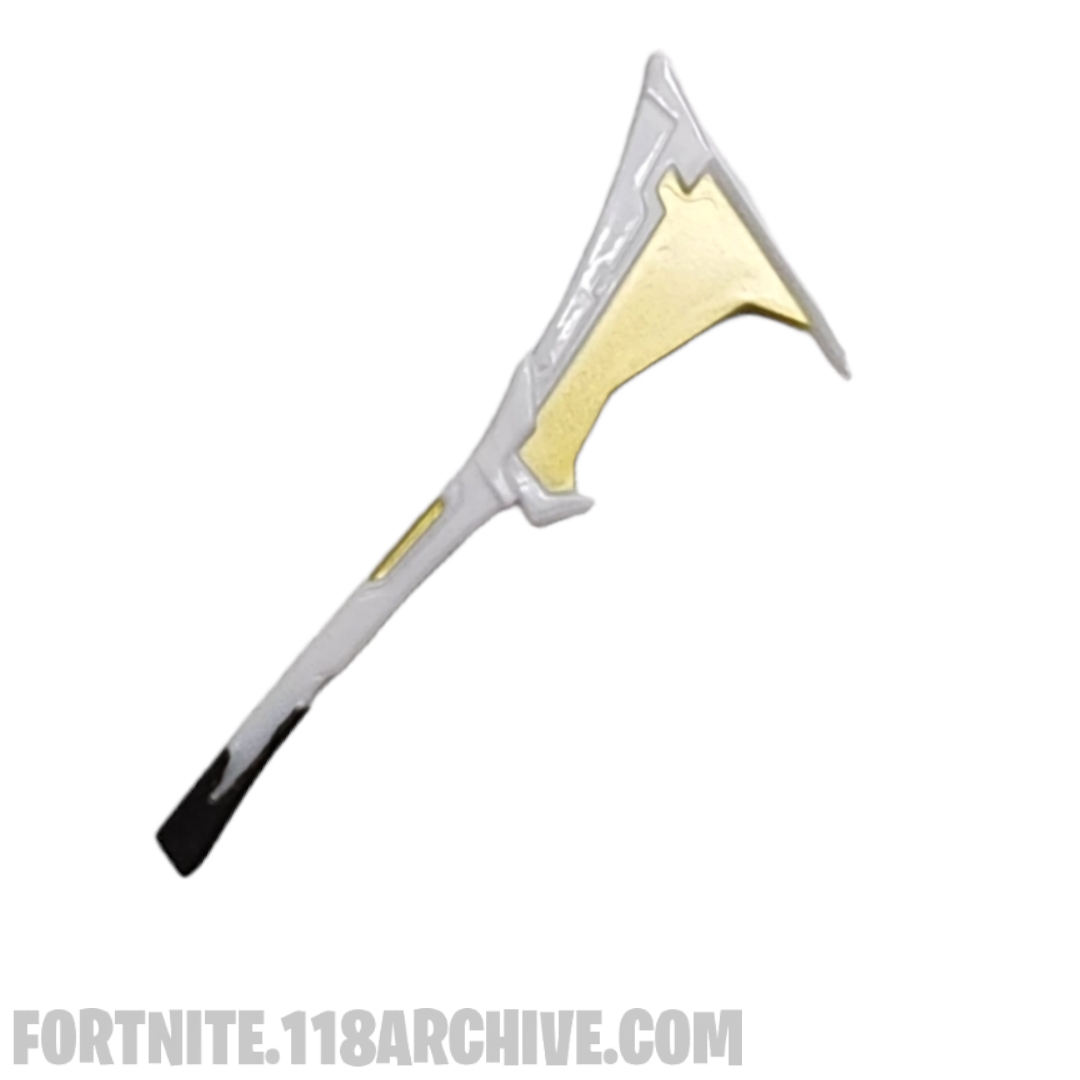
| Astral Axe |
| Interstellar |
|
| Punch Saw |
| IO Inquest Set |
|
|
| Sparkleaxe |
| Ka-Bang! Set |

|
| Lockpick |
| Key Force |
|
| Silver Fang |
| Laoch |

|
| Razor Smash |
| Leftovers |

|
| Razor Smash (Dark) |
| Leftovers |

|
| Snack Attackers |
| Leftovers |

|
| Thunder Crash |
| Lightning & Thunderstorms |
|
| Steel Shadow |
| Lone Shadow |

|
| Reality Render |
| Long Live the Queen |
|
| Scratchmark |
| Lynx |

|
| Grafitaxe |
| Marked Man |
|
| You Shouldnt Have |
| Merry Christmas |
|
| Triple Mint Scepter |
| Minty Legends Set |
|
| Clean Cut |
| Modern Mercenary |
|
| Lamp |
| Moth Command Set |

|
| Abominable Axe |
| Mountain Myths |
|
| Sorrows Reach |
| Neo Underworld Set |
|
| Iron Beak |
| Nevermore |

|
| Onslaught |
| Omega |
|
| Autocleave |
| Outbreak |
|
| Fated Frame |
| Overseer |
|
| Oracle Axe |
| Overseer |
|
| Molten Strikers |
| Overseer |
|
| Balloon Axe |
| Party Parade |
|
| Carrot Stick |
| Pastel Patrol |
|
| Rose Glow |
| Rose Team |
|
| Tat Axe |
| Royale Hearts |
|
| Lug Axe |
| RPM |

|
| Skully Splitter |
| Skull and Bows |
|
|
| Stark Splitter |
| Skull and Bows |
|
| Party Animal |
| Slurp Squad |
|
| Sludgehammer (Red) |
| Slurp Squad |
|
| Spectre |
| Stealth Syndicate |

|
| Primal Sting |
| Sting |

|
| Stripe Slicer |
| Street Stripes |
|
| Bank Shots |
| Stripes and Solids |

|
| Bank Shots (Gold) |
| Stripes and Solids |
|
| Rainbow Smash |
| Sunshine and Rainbows |
|
| Flatliner |
| Support Squadron |
|
| Machete |
| Tropic Troopers |
|
| Smash Up |
| Twin Turntables |

|
| SC3PT3R |
| Twin Turntables |
|
| Splinterstrike |
| Wasteland Warriors |
|
| Dark Shard |
| Western Wilds |

|
| Dark Shard (Purple) |
| Western Wilds |
|
| Reckoning |
| Western Wilds |

|
| Peppermint Pick |
| Winter Wonderland |
Categories:
- Jazwares Fortnite Master Checklist
- Master Checklist
- Harvest Tool
- AC-DC
- Bottom Feeder
- Cliff Hanger
- Dark Axe
- Knockwurst
- Lucky
- Pick Axe
- Pick Squeak
- Reaper
- Stop Axe
- A.X.E.
- A.I.M.
- Renegade Roller
- Aerosol Assassins
- Kings Oath
- Razors Edge
- Apex Protocol
- Web Breaker
- Arachnid
- Caliper
- Archetype
- Axe-olotl
- Axolotl Attack!
- Peely Pick
- Banana Bunch
- Cold'en Touch
- Black Ice
- Ice Carver
- Tactical Spade
- Black Vector
- Phantasmic Pulse
- Boundless
- Ripe Rippers
- Bunker Days
- Bunker Basher
- Positron
- Carbide
- Chomp Jr
- Chomp
- Dark Razor
- Dark Apex
- Chill Axe
- Deep Freeze
- Giant Jelly Sourfish
- Delicious Fishes
- Burning Blades
- Diabolical
- Mayhem Scythe
- Double Agent
- Dual Edge
- Drift
- Rift Edge
- Patty Whacker
- Durrr Burger
- Drummies
- Explosives Expert
- Eon Blades
- Fade Out
- Chaos Scythe
- Final Reckoning
- Fresh Fish
- Fish Food
- Scampi
- Forsaken Strike
- Forsaken
- Axecalibur
- Fort Knights
- Disco Brawl
- Fortnite Fever
- Frosty Fights
- Candy Axe
- Merry Mint
- Frozen Axe
- Frozen Legends
- Frozen Beak
- Spikeclone
- Fur Force
- Fusion Scythe
- Fusion
- Cosmic Llamacorn
- Galaxia
- Crowbar
- Getaway Gang
- Cookie Cutter
- Gingerbread
- Shortbread Slicers
- Vuvuzela
- Goalbound
- Chew Toy
- Grumble Gang
- Holiday Ham
- Permafrost
- Harbinger
- Honor Glory Gold
- Ice Scepter
- Ice Kingdom
- Crimson Scythe
- Inferno
- Astral Axe
- Interstellar
- Punch Saw
- IO Inquest
- Sparkleaxe
- Ka-Bang!
- Lockpick
- Key Force
- Silver Fang
- Laoch
- Razor Smash
- Leftovers
- Snack Attackers
- Thunder Crash
- Lightning & Thunderstorms
- Steel Shadow
- Lone Shadow
- Reality Render
- Long Live the Queen
- Scratchmark
- Lynx
- Grafitaxe
- Marked Man
- You Shouldnt Have
- Merry Christmas
- Triple Mint Scepter
- Minty Legends
- Clean Cut
- Modern Mercenary
- Lamp
- Moth Command
- Abominable Axe
- Mountain Myths
- Sorrows Reach
- Neo Underworld
- Iron Beak
- Nevermore
- Onslaught
- Omega
- Autocleave
- Outbreak
- Fated Frame
- Overseer
- Oracle Axe
- Molten Strikers
- Balloon Axe
- Party Parade
- Carrot Stick
- Pastel Patrol
- Rose Glow
- Rose Team
- Tat Axe
- Royale Hearts
- Lug Axe
- RPM
- Skully Splitter
- Skull and Bows
- Stark Splitter
- Party Animal
- Slurp Squad
- Sludgehammer
- Spectre
- Stealth Syndicate
- Primal Sting
- Sting
- Stripe Slicer
- Street Stripes
- Bank Shots
- Stripes and Solids
- Rainbow Smash
- Sunshine and Rainbows
- Flatliner
- Support Squadron
- Machete
- Tropic Troopers
- Smash Up
- Twin Turntables
- SC3PT3R
- Splinterstrike
- Wasteland Warriors
- Dark Shard
- Western Wilds
- Reckoning
- Winter Wonderland
- Peppermint Pick